
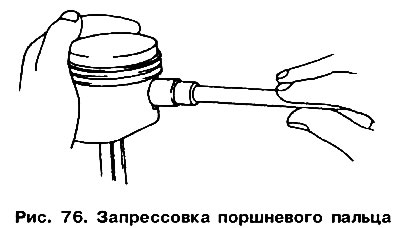
Insert the lubricated piston pin by hand into the heated piston and the upper end of the connecting rod until it stops against the circlip. On fig. 76 shows how to hold the piston while installing the piston pin.
When assembling the piston with the connecting rod, pay attention to the following:
Arrow on the bottom of the piston (applied with paint, and in the case of installing a new piston - knocked out) should point towards the front of the engine (see fig. 64).
Lugs on the bottom head and connecting rod cap (rice. 66) must be on the same side (according to the marking when disassembling).
The designation of the cylinder numbers on the lower head and the connecting rod cap must match.
Install the circlips that hold the pin against axial movement in the piston and check that they are well seated in the grooves.
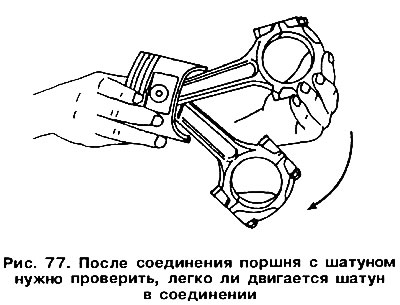
Make sure the piston can turn on the connecting rod after assembly, as shown in fig. 77.
Using piston ring pliers, insert the rings into the grooves - rice. 69. Before installing the rings, pay attention to the shape of their section so as not to confuse them, moreover, both compression rings have an embossed inscription on one side «TOR» or «OBEN», which in the installed ring should be facing up (towards the bottom of the piston).
Visitor comments