



Contents: Outer ball joint ↓ Installation ↓
1. If the steering rod and ball joints are worn, the play can be easily detected by moving the wheel. Since only the left steering rod is adjusted, only the left ball joint is replaced separately. If the right ball joint is worn, the entire rod must be replaced.
2. Raise the front of the vehicle and place it on stands. Remove the front wheel(s).
Outer ball joint
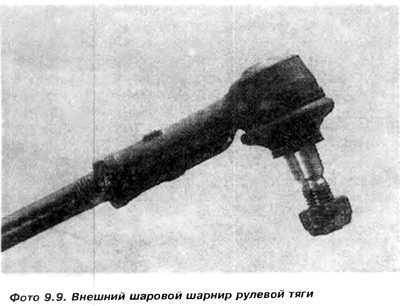
3. If the outer ball joint of the tie rod end is being replaced, it is necessary to measure the length of the thread coming out from under the lock nut. Record this value, then loosen the lock nut (photo 9.9)
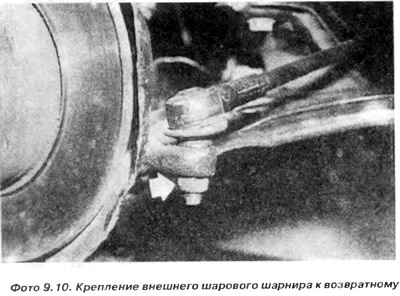
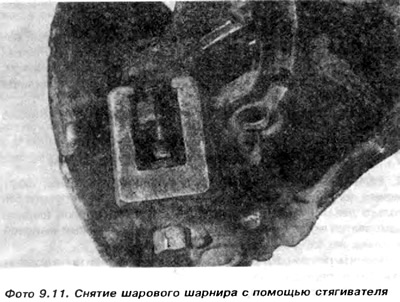
4. Loosen the ball joint nut (photo 9.10). Using a tensioner, disconnect the joint from the return mechanism arm (photo 9.11). After disconnecting the outer ball joint from the return mechanism, it can be unscrewed from the steering rod.
The original can be seen on the portal: VWManual
5. The new joint is screwed onto the rod until the length of the thread coming out from under the lock nut is equal to (after the hinge) length measured before disassembly.
Left steering rod included
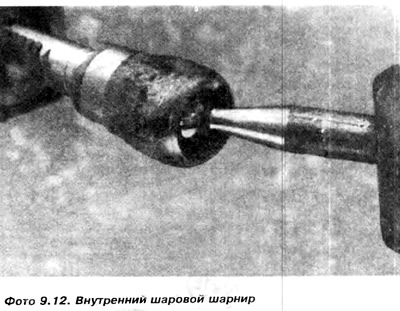
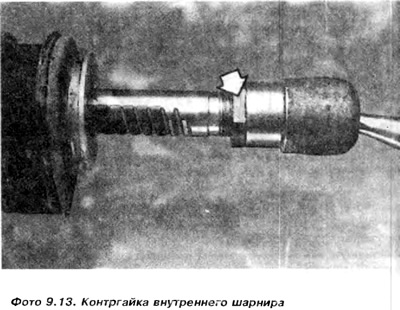
6. To remove the left tie rod end as a complete unit, remove the clamps from the steering gear housing, then remove the housing along the tie rod end to expose the inner ball joint (Photo 9.12).
7. Mark on the tribe (better with quick drying paint) the place where the inner ball joint is bolted. This marking will be needed when installing a new joint.
8. Loosen the inner joint lock nut and then unscrew the rod from the steering pinion. You can then remove the steering gear housing from the inner end of the steering rod. Replace the housing with a new one if it is damaged or out of order.
9. Before screwing the new rod onto the pinion, it is necessary to pre-adjust its length by 379 mm from the middle of the outer joint housing to the end of the inner joint. Pre-adjustment is performed by screwing or unscrewing the outer ball joint onto the rod.
Installation
10. Assembly is performed in the reverse order of disassembly. It is necessary to pay attention to several features of disassembly.
11. Remove old locking fluid from the steering pinion and from the steel steering rod if it needs to be reinstalled. Before installation, lubricate the two threads of the connection with fresh locking fluid.
12. Before installing and pulling the casing onto the rod, coat the surfaces of the holes on both sides with grease.
13 The lever (rod) must be screwed onto the pinion until it reaches the place marked with paint. At this point it must be locked with a lock nut.
14. Put on the casing and clamps.
15. Connect the outer hinge to the return mechanism and tighten the new self-locking nut to a torque of 35 Nm.
Right steering rod included
16. Since the length of this rod is not adjustable, it is necessary to perform the actions described in paragraphs 7.2-7.15, excluding paragraph 7.9. When installing old ball joints on the steering rod, it is always necessary to use new safety nuts 17. After installation, it is necessary to adjust the toe-in of the front wheels.
Visitor comments