



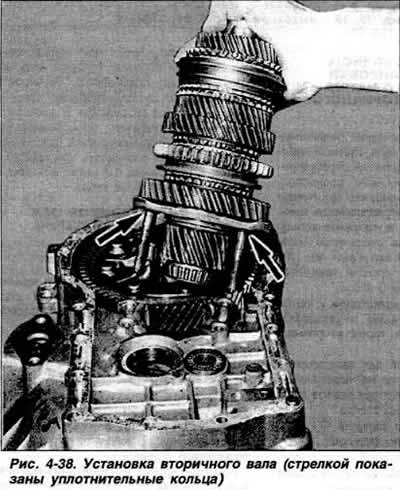
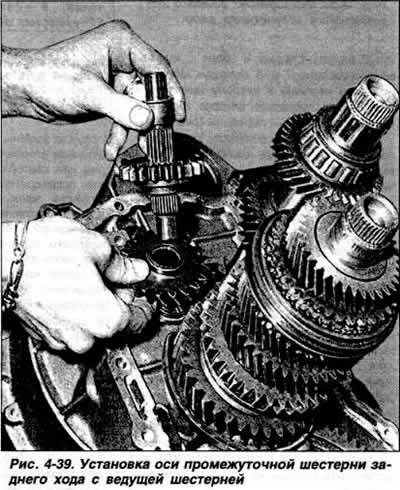
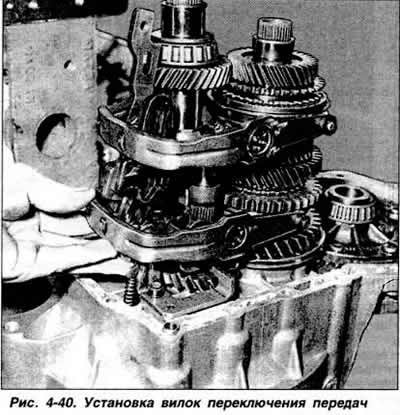
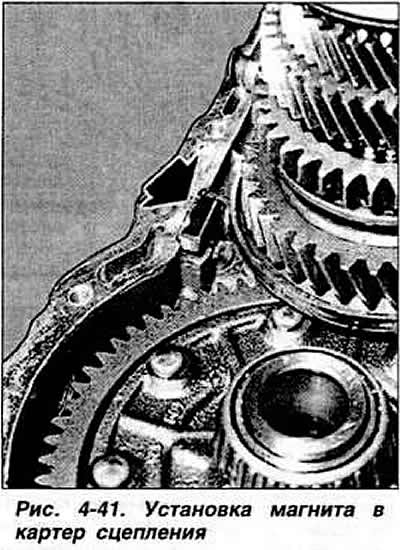
Install the bracket onto the reverse intermediate gear shaft.
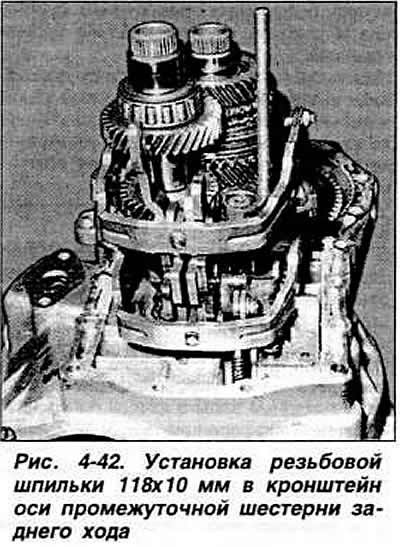
Screw a 118x10 mm stud into the threaded hole of the reverse intermediate gear axle bracket parallel to the axes of the gear blocks (Fig. 4-42).
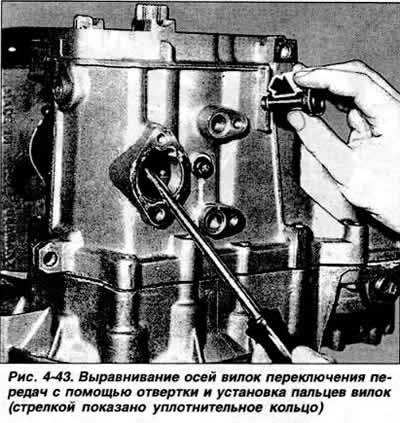
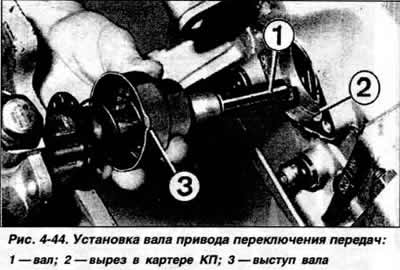
Apply a layer of sealant to the mating surfaces of the clutch housing and gearbox housing. Attach the gearbox housing with the mounting bolts to the clutch housing. Aligning the holes in the gear shift forks with the holes for the fork pins using a screwdriver inserted into the hole in the gearbox housing for the gear shift drive, insert the fork pins and tighten the mounting bolts (Fig. 4-43). Make sure that the gear shift mechanism is in the neutral position. Insert the gear shift drive shaft into the hole in the gearbox housing, ensuring that the shaft pin enters the inner carrier, and the shaft projection enters the 8th cutout in the housing (Fig. 4-44).
Install the cover of the clamps. Tighten the outer bolt of the reverse intermediate gear axle bracket by hand, unscrew the previously tightened stud, tighten the inner bolt of the bracket and tighten the bolts, starting with the outer bolt.
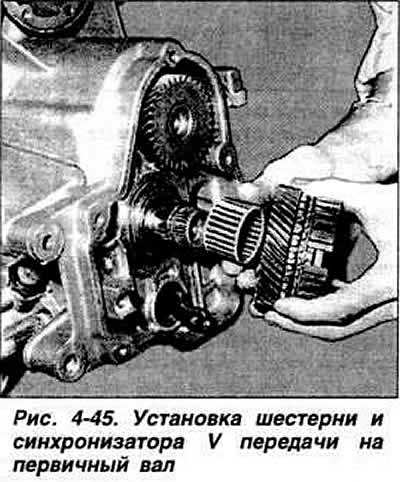
On a five-speed gearbox, use a suitable mandrel to press the driven gear of the 5th gear onto the secondary shaft. Install the retaining sleeve and tighten the fastening bolt. Press the needle bearing and the driving gear of the 5th gear onto the primary shaft (Fig. 4-45). Install the synchronizer locking ring on the cone of the 5th gear and check the degree of wear of the locking ring with a feeler gauge.
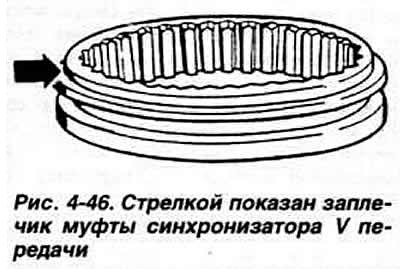
Using a suitable mandrel, press on the 5th gear synchronizer so that the hub shoulder and the pointed teeth of the sliding sleeve face the 5th gear pinion. Starting with gearbox No.03050, the sliding sleeve of the 5th gear synchronizer is made with a shoulder (Fig. 4-46). This sleeve is interchangeable with the sleeve of the previous design.
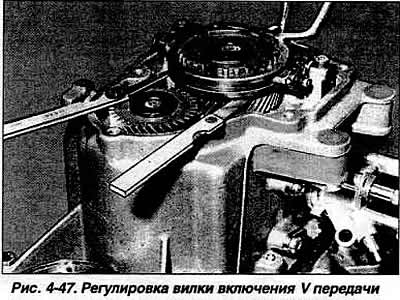
Engage 5th gear and any other gear at the same time, tighten the bolts into the shaft ends and tighten them to a torque of 4.0 kgf·m. Install the 5th gear engagement fork and tighten the two fork mounting bolts. Adjust the 5th gear engagement drive (Fig. 4-47). To do this, engage 5th gear using the sliding clutch, loosen the drive bracket bolt, insert two 1.2 mm thick feeler gauges into two diametrically opposite places between the sliding clutch and the 5th gear pinion, set the gear shift drive to the 5th gear position, using a screwdriver as a lever, press the bracket toward the synchronizer and tighten the bracket bolt. Disengage 5th gear and make sure the spring and the synchronizer locking ring are free to move.
Connect the gearbox housing to the clutch housing, installing the sealing gasket, and tighten the mounting bolts to a torque of 2.5 kgf·m, then turn them 90° further.
Using a suitable mandrel, press the new seal into the clutch release bearing guide sleeve and lubricate the working lips of the seal with oil.
Place a new sealing ring on the clutch release bearing guide sleeve and secure it with grease, then install the guide sleeve on the clutch housing.
Install the driven shaft gear of the speedometer drive.
(The original information is posted on the website: «VWManual»)
Using a suitable mandrel, press the seals into the differential housing seats and fill the space between the working edges of the seals with grease.
Install new retaining rings on the differential output shafts and insert the output shafts into the splines of the differential axle gears.
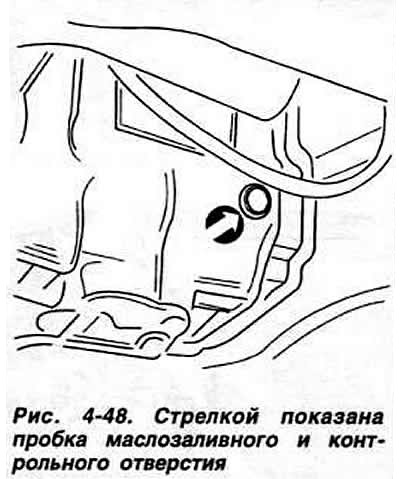
Pour oil into the gearbox and tighten the plug of the oil filler and inspection hole (Fig. 4-48).
Visitor comments