



Contents: Removal ↓ Control and repair ↓
Removal
If the engine is in the car, first carry out the following operations:
1. Disconnect the battery wire with the "-" sign.
2. Remove the air filter.
3. Remove the generator V-belt.
4. Rotate the crankshaft until you see the marks on the timing wheel in the TDC hole of the timing cover, and the mark on the crankshaft pulley coincides with the gmp indicator, which is located on the oil pump cover.
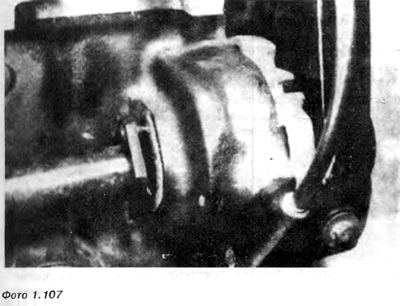
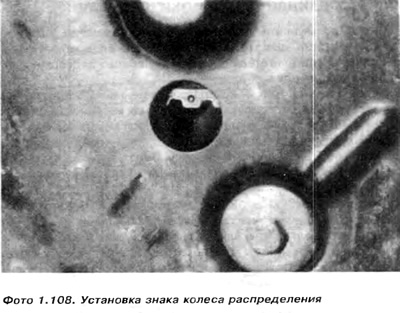
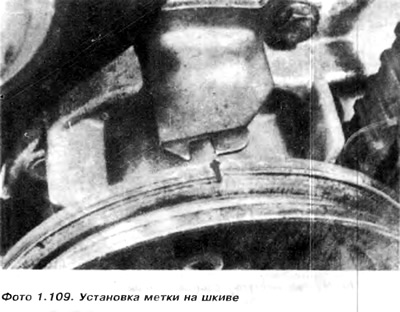
5. Unscrew and remove the distribution cover, paying attention to the fact that the oil level measuring tube and the engine ground wire are secured to the upper bolts.
6. Loosen the bolts securing the water pump, then rotate the water pump housing clockwise to reduce the tension of the timing belt.
7. Remove the timing belt from the gear.
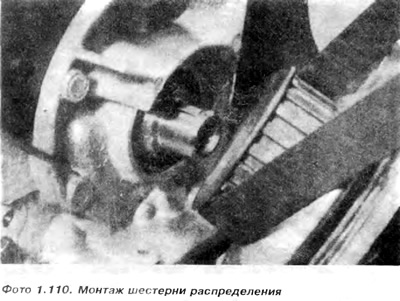
8. Unscrew the bolt that secures the large timing gear to the timing shaft and remove it together with the spacer. Lock the timing gear with two bolts while unscrewing.
9. To remove the small timing gear together with the pulley from the crankshaft, unscrew the bolt that secures it to the crankshaft. It is necessary to lock the crankshaft using a large screwdriver inserted into the flywheel ring gear (if necessary, remove the starter).
10. Remove the gears, using two large screwdrivers or a hammer.
Please note that when unscrewing and removing the gears, the shafts do not turn, as the pistons may hit the valves and bend them.
11. After removing the gears, you can begin installing new ones and a new timing belt. If not, then you also need to knock out the screws from the crankshaft and timing shaft so that they do not disappear.
Control and repair
The timing belt should be replaced after 30,000 km. You should not repeat this operation, for example, after 20,000 km. because under normal conditions the belt should be replaced after 60,000 km. A belt that is torn or has torn edges must be replaced
The camshaft and crankshaft gears do not require replacement at all, because they wear out very slowly.
Installation
12. Insert the screw into the crankshaft. Place the gear together with the pulley on the shaft journal, making sure that the groove on the gear matches the tongue on the crankshaft.
13. Insert the bolts and tighten them to a certain torque, while locking them with a lever inserted into the flywheel teeth through the starter hole.
14. Insert the groove into the timing shaft, fit the toothed gear, then insert the spacer and bolt. Tighten the bolt, lock the toothed gear with a strip with two bolts,
15. Place the timing belt on the crankshaft gear, then insert the pulley, insert the bolts and tighten them with a hex key.
16. Rotate the camshaft until the mark on the toothed gear aligns with the mark on the inside of the timing cover plate. Make sure that the mark on the crankshaft pulley aligns with the TDC mark on the front of the oil pump.
17. Place the timing belt on the camshaft gear and water pump.
18. Using a screwdriver, turn the water pump counterclockwise and tighten the timing belt. The belt is properly tensioned when it can be turned 90° using your thumb and forefinger, grasping the middle between the camshaft gear and the water pump gear (photo 1.111).
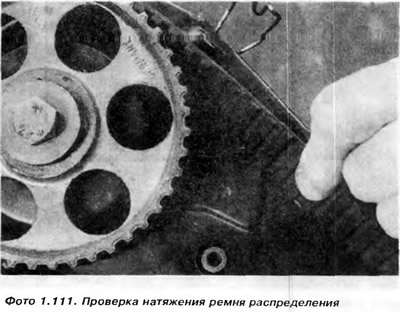
19. Tighten the water pump bolts when the belt tension is correct and check if the timing settings are in the correct positions.
20. Secure the oil level gauge tube to the cylinder block.
21. Assemble the distribution cover, insert the bolts with the engine ground wire and the oil level tube bracket and tighten the bolts.
Visitor comments