



1. Manufacturers recommend replacing the connecting rod bolts.
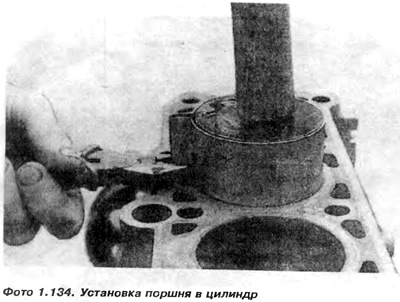
2. Using piston ring compression belts coated with oil, drive in the pistons (lightly tapping the bottom with the handle of a hammer) (photo 1.134). We insert pistons with connecting rods into the corresponding cylinders. It is necessary to do this carefully so that the belt is constantly pressed against the block. Otherwise, you can break the rings.
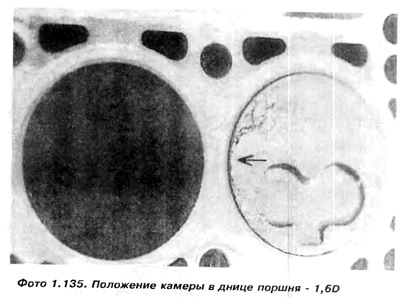
The crankshaft journal should be in the lower position - this will make it easier to install the connecting rod. The piston with the connecting rod should be installed in the cylinder in the same way as it will work in it. After installation, the piston cannot be rotated, because then the ring locks set at 120° can move. Remember that the arrow on the piston bottom should be directed towards the timing belt. In the 1.6D engine, the piston should be installed with the chamber in the piston bottom on the side of the intermediate shaft (photo 1.135).
3. Wipe the back of the bearings and the bearing seats in the connecting rods and connecting rod caps
4. Insert the liners into the connecting rod and cap sockets in their proper places and generously coat with oil. The tongues should fit into their places in the sockets.
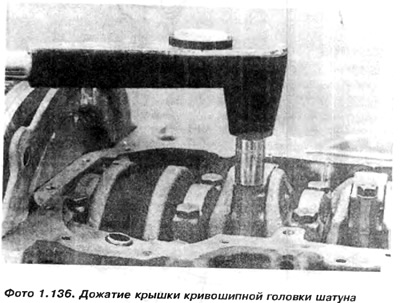
5. Install the connecting rod crank cap according to the preliminary markings and tighten it to the torque specified in the "Technical Data",
6. Check whether the crankshaft rotates freely using a feeler gauge, and whether the connecting rod clearance is equal to 0.37 mm.
The original information is posted on the website: VWmanual
7. After installing the connecting rods in the first and fourth cylinders, rotate the shaft half a turn and repeat the operations for the second and third cylinders.
8. If the engine is installed in a car, we attach the oil pump suction pipe and the oil pump suction screen, the oil pan and the cylinder head.
Visitor comments