
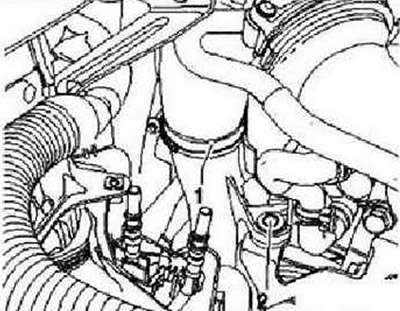
Disconnect fuel supply line -1- and line to activated charcoal filter -2-. To do this, press the release buttons.

Unscrew hose clamp -1- in charge air pipe. Unscrew securing screw for charge air pipe -2-.
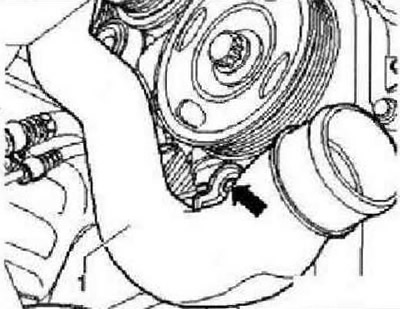
Depending on the vehicle's equipment, remove the noise insulation or the underride guard. Removing the V-ribbed belt. Remove right drive shaft. Remove lambda probe after catalytic converter -G130- -1-. Unscrew exhaust pipe at catalytic converter -arrows-.
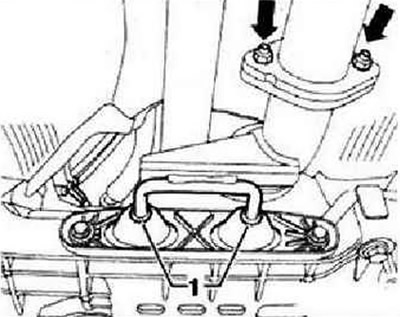
Unscrew the nuts of the double clamp -arrows- and move it forwards along the exhaust pipe -1-.
Unscrew nuts -arrows- and pull exhaust pipe back. Press exhaust pipe back out of hanger -1-.
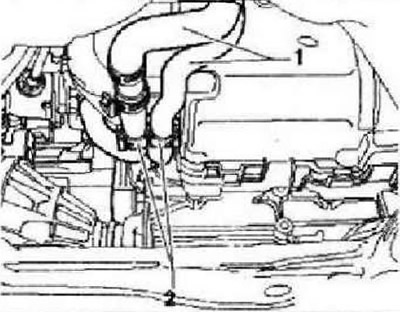
Lower the subframe. Remove front exhaust pipe. Remove bevel gear. Press retaining clip in intercooler in -direction of arrow- and remove hose -arrow-.
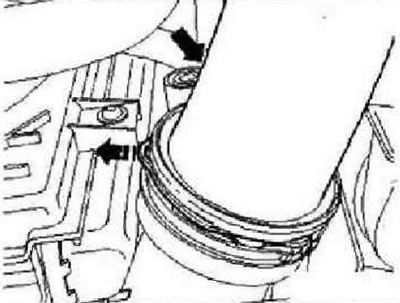
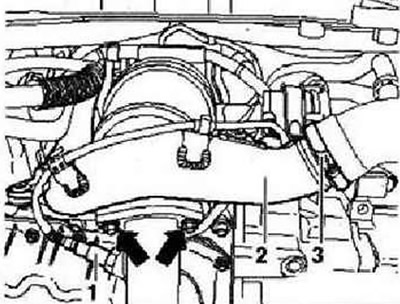
Unscrew securing bolt for charge air pipe -arrow- and remove charge air pipe -1-.
Disconnect both coolant hoses -1- at heat exchanger for heater. Open the hose guide clips -2- and press the hoses on the side. Carefully press locking tabs in soundproofing housing arrows outwards.
Remove the front part of the housing with soundproofing screen.
Release the stresses on the poly V-belt of the compressor by turning the tensioning element with a 16 wrench in -direction of the arrow-.
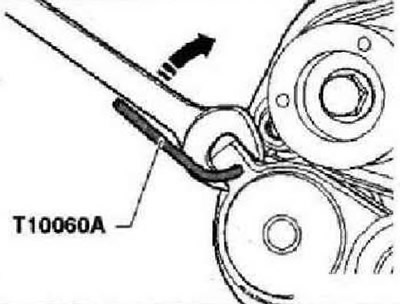
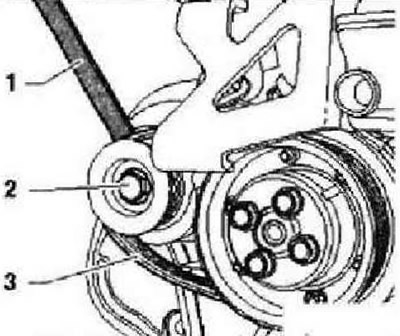
Secure tensioning element with locking pin -T10060 A-. Unscrew securing bolts -arrows- for tensioning element and remove tensioning element. Hold the compressor shaft with a 16 wrench -1-.
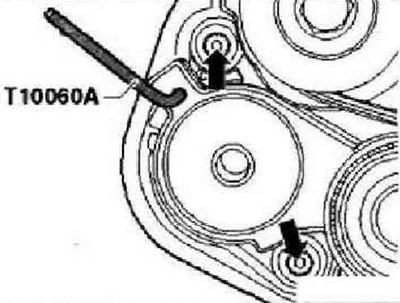
Remove fixing screw -2- of belt pulley and remove belt pulley and V-ribbed belt on compressor -3-.
Remove bolts -1- for compressor and remove compressor together with intake silencer. Remove the charge air silencer.
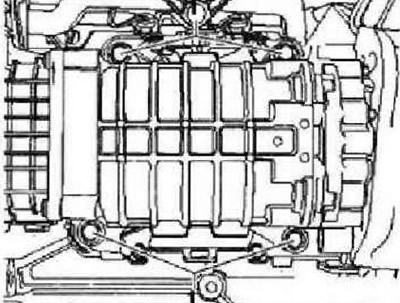
Pull charge air silencer -2- together with pressure pipe in -direction of arrow-.
Installation
Instructions: Replace pressure tube O-rings. Lightly lubricate the O-rings with engine oil before installing. The pressure pipe is installed in the charge air silencer in only one position (took into account the position of the stopper from turning).
Press the charge air silencer -2- together with the pressure pipe in -direction of arrow- into the intake manifold,
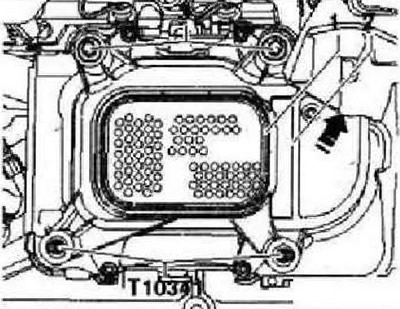
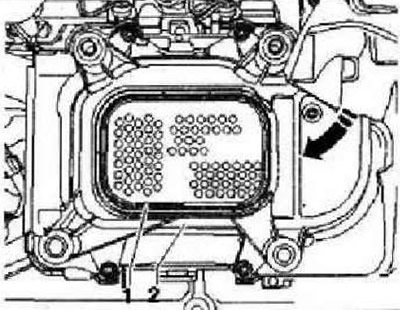
Press charge air silencer -2- towards engine crankcase until both bushings -3- fit into holes. Turn guide pins -T10341- hand-tight to stop in both lower threaded holes. Replace lip seal -1- and make sure it is correctly seated in groove. Push compressor with intake silencer onto guide pins -T10341- and hand-tighten upper securing screws. Unscrew guide pins -T10341-. Tighten lower securing screws by hand. Tighten the fastening screws evenly, crosswise. Tightening torque: 25 Nm. Install the housing with soundproofing cover on the compressor.
Instructions: Pay attention to the correct position of the acoustic cover in the housing.
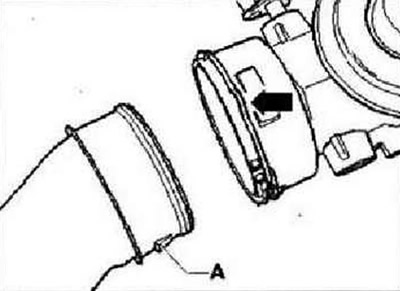
Press the casing against the compressor with the soundproofing casing until the latches -arrows- engage (a click should be heard). Further installation is carried out in the reverse order. Replace compressor pulley screw. Tightening torque: 40 Nm + tighten by 90°. Gaskets, lip seals and self-locking nuts must be replaced. Degrease hose connections and charge system hoses before installation. Fasten all hose connections with clamps corresponding to those installed at the factory. Install the exhaust system and align it without mechanical stress. When installing air pipes with a connector, make sure that the safety clip -arrow- clicks into place in the holder -A-.
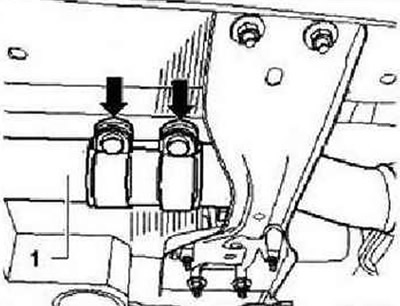
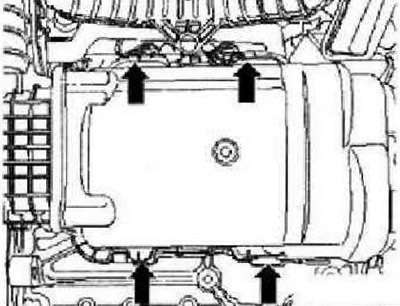
Press engine cover at points -1- in -direction of arrow- downwards until it snaps into place at these points.
Visitor comments