
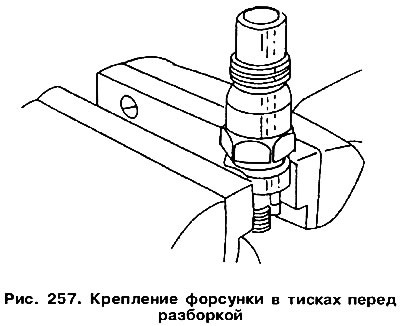
To detect a faulty injector, it is necessary to disconnect the injector pipes one by one and start the engine. If, after disconnecting this pipeline, the engine does not change the sound of operation, then this nozzle is faulty. To remove the nozzle, you need to disconnect the pipeline and unscrew the nozzle with a 27 mm wrench. When assembling, install a new heat sink washer and insert it so that the concave side is directed towards the injector. The nozzle body is tightened with a torque of 70 Nm, and the pipeline - 25 Nm. If you only need to replace the atomizer, you can disassemble the nozzle. These operations must be carried out in conditions of maximum cleanliness. Fix the nozzle body in a vise and loosen the body nut (pic. 257). Then fix the housing nut in a vise and take out the parts shown in fig. 258.
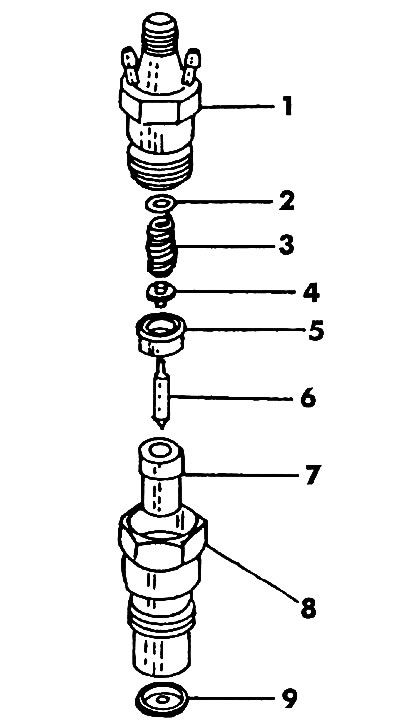
Pic. 258. Nozzle components: 1 - body; 2 - control washer; 3 - spring; 4 - bushing; 5 - clip; 6 - needle; 7 - needle seat; 8 - housing nut; 9 - heat sink washer
Insert the new atomizer in reverse order and tighten the body nut to 70 Nm. To do this, the housing must be again clamped in a vise.
Visitor comments