

2. To remove the hard brake pipe, you must:
A) Seal the tank by inserting a piece of foil under the cork.
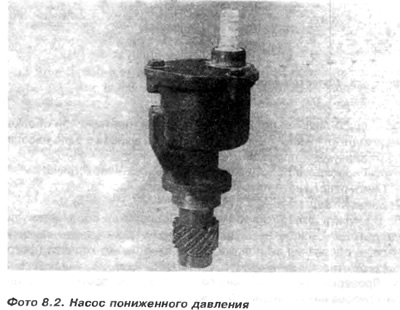
b) Clean the connections and unscrew the connection nuts at both ends, preferably with a wrench with a cutout equal in width to the diameter of the brake pipe (photo 8.2).
Installation is carried out in the reverse order to dismantling.
3. To remove the flexible conduit:
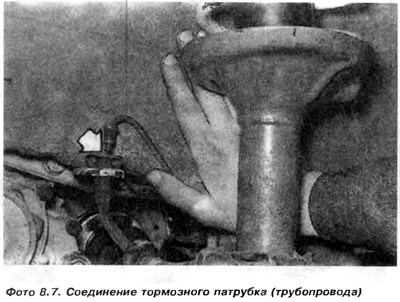
A) Unscrew the connection nut that secures the rigid pipeline with the flexible one, and remove the pipeline from the socket. Put on the end of the rigid pipe a rubber cap removed, for example, from the brake clamp bleeder (photo 8.7).
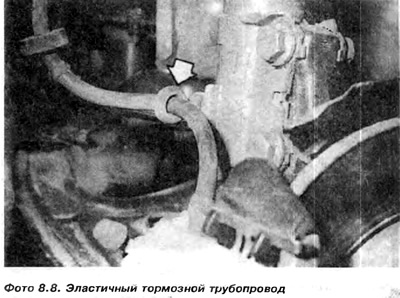
V) Remove the spring-loaded protection that secures the end of the flexible conduit to the bracket. Unscrew the other end of the pipeline from the working part. Remove the rubber pipe bracket from the return mechanism hook (photo 8.8).
4. If you have difficulty getting the joint nut out of the flexible tubing socket, coat the joint with a penetrating agent, and if this does not help, cut off the rigid tubing near the nut, install a hex wrench and try again. In this case, the nut will either turn out, or its outgoing part will break off from the socket of the elastic pipeline. Therefore, care must be taken not to damage the nut connections during previous attempts.
It is not recommended to drill the nut. Any loosening of the threads or scratches on the sealing surface in the socket creates the risk of a leak or the rigid pipe nut being pulled out of the socket. In this case, it is better to replace the pipeline with a new one.
5. After removing the rigid and elastic pipelines, it is necessary to remove air from the brake system.
6. Finally, the tightness of the twisted connections should be checked. To do this, you will need the help of another person who, during the inspection, will press the brake pedal hard. If there are no smudges, the connection can be considered tight.
Visitor comments