
2. When replacing the synchronizer rings, it is recommended to install new synchronizer crackers and springs supporting the crackers in the synchronizer hubs. Leaving old crackers causes the synchronizer to start working with gaps between the worn cracker and the new synchronizer ring.
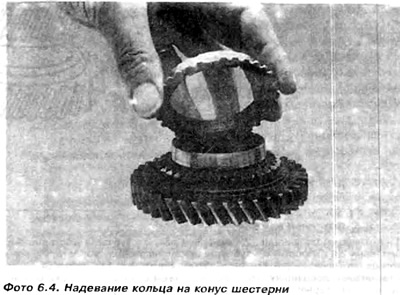
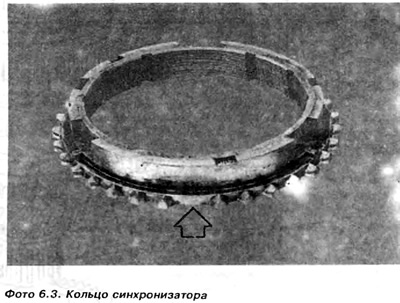
3. The synchronizer rings must be checked by putting them on the cone of their corresponding gear (photo 6.4)
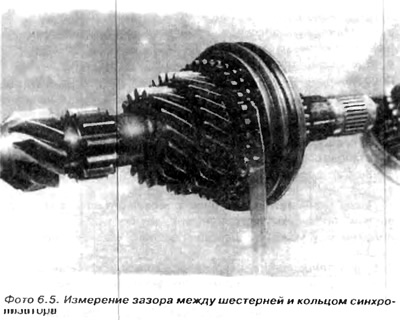
If the gap between the synchronizer ring and the gear is less than 0.5 mm, then the ring must be replaced (photo 6.5).
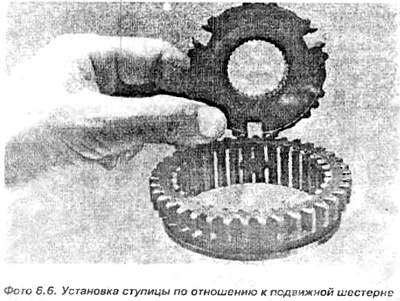
4. Before disassembling the synchronizer assembly, it is necessary to mark the relative position of the hub and the movable gear relative to the other, and then push the hub out of the movable gear, remove the spring crackers.
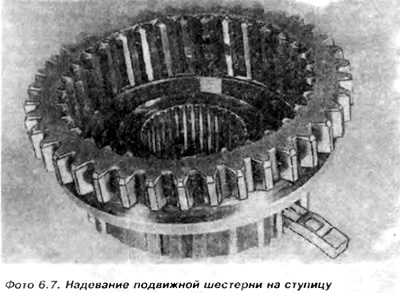
5. Check the elements, and then push on the hub like this. so that the markings on them match. It should be noted that the largest flattening, noticeable on the internal teeth of the movable gear, should coincide with the grooves of the crackers in the hub. The outer teeth of the synchronizer hub are separated by a channel on the perimeter of the hub. When mounting, it is necessary to install the hub in such a way that:
- on the input shaft, factory-marked point on the movable pinion (if available) was over the longer part of the tooth of the hub,
- on the output shaft, the fork groove ended up over the longer part of the hub tooth.
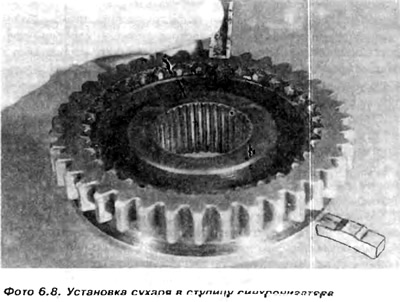
Attention: To avoid difficulties during installation, it is suggested to mark the position of the cracker in relation to the hub and the hub in relation to the shaft with quick-drying paint. Install the crackers and put on the supporting rings, inserting the bent ends into the crackers (photo 6.8 and 6.9).
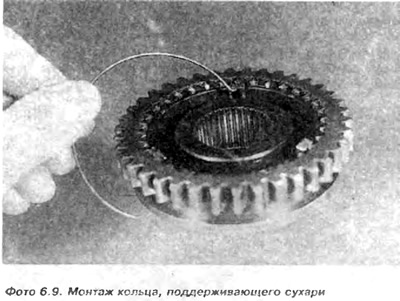
The bent ends of the rings supporting the crackers on both sides of the hub should form an angle of 120.
Visitor comments