
Extraction
1. Disconnect the battery cable with a minus sign.
2. Drain the liquid from the cooling system.
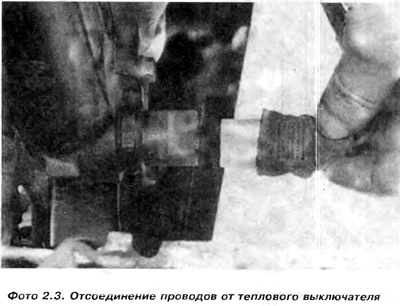
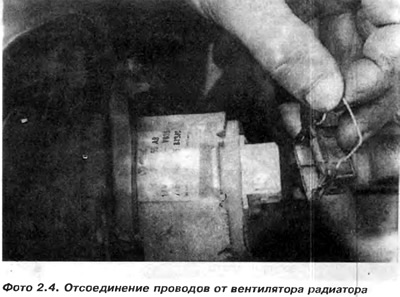
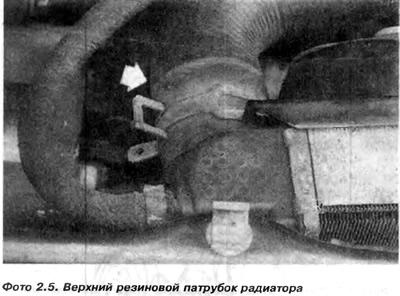
3. Disconnect the electrical wire from the thermal switch and from the radiator fan motor (photo 2.3 and 2.4) and disconnect the upper pipe from the radiator (photo 2.5).
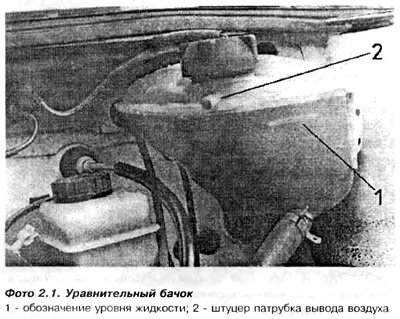
5. Disconnect the air outlet pipe from the fitting 2 of the leveling tank (photo 2.1).
6. Remove the two bolts securing the radiator to the front area (photo 2.6, 2.7 and 2.8).
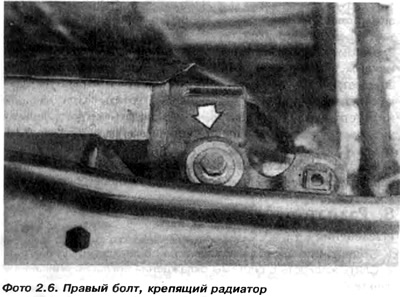
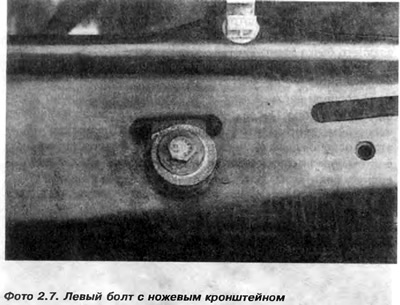
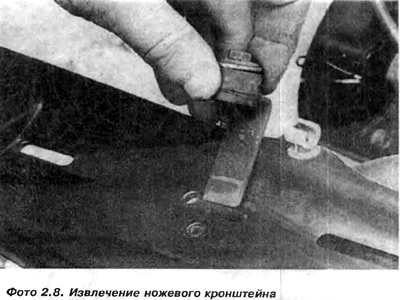
A bolt in the middle of the upper plane of the front area secures the radiator bracket. After unscrewing this bolt, we remove the bracket by moving it up. The right side of the radiator is then released. The left side of the radiator is bolted through a rubber-metal bushing. It is enough to unscrew the bolt to free the left side as well.
7. Remove the plastic radiator cover 4 (see fig. 11.1).
8. Unscrew the four fixing bolts, left and right air guides 1 and 6 (pic. 2.2) from the sides of the radiator.
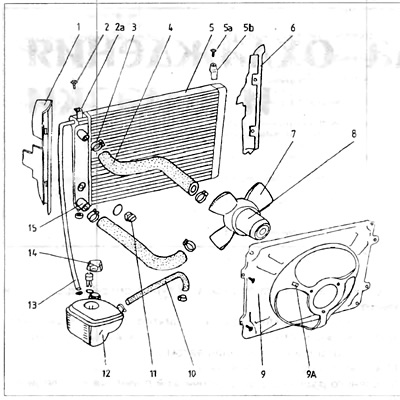
Pic. 2.2. Cooling system - 1.1 and 1.3 liter engines
1 - left cover; 2 - bolt securing the radiator; 2a - permanent fixing bracket; 3 - clamping belt; 4 - branch pipe of the head / radiator; 5 - radiator; 5a - fixing bolt; 5b - removable bracket, 6 - right cover. 7 fan blades 8 - fan motor, 9 - fan cover; 9a - fastening of wires supplying the fan; 10 - branch pipe of the surge tank / branch pipe of the stove; 11 - radiator thermal switch; 12 - surge tank. 13 - branch pipe of the surge tank / radiator; 14 - cork; 15 - outlet fitting.
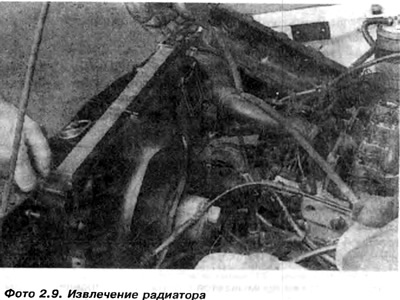
9. Remove the radiator from the engine chamber, being careful not to damage it (photo 2.9). If necessary, you can unscrew the four upper bolts securing the front part to the wings, and bend this part slightly.
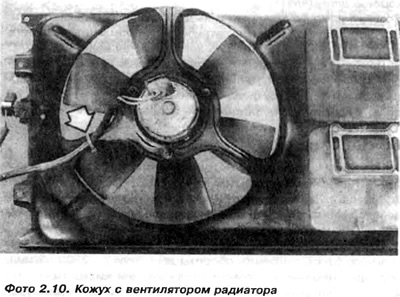
10. Unscrew the screws and remove the casing together with the fan from the radiator (photo 2.10).
11. Repair of a radiator is impossible without special equipment, although small smudges can be sealed with a sealant.
12. Clean the radiator tubes from insects and small leaves with a soft brush or water from a hose. Then flush the radiator in the opposite direction as described in point 5. Replace the hoses and clamp bands if they are damaged or torn.
Radiator installation
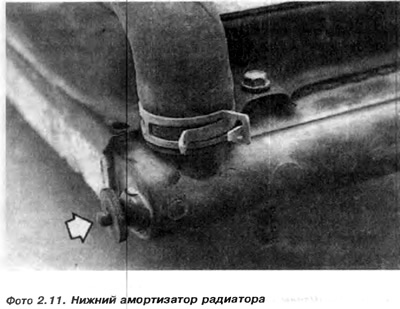
13. Installation is carried out in the reverse order of removal. During installation, it is necessary to replace the rubber of the shock absorbers on the lower bolts that fix the radiator (photo 2.11). The radiator fixing bolts must be inserted into their respective holes in the cross member.
14. Insert the central bracket into the radiator socket (photo 2.8) and wait. Insert and tighten the second bolt securing the radiator (photo 2.6).
15. Fill the cooling system with liquid.
16. Connect the wires of the radiator fan motor and fix them on the edge 9A (pic. 2.2) fan cover.
Visitor comments