



2. Remove the plastic radiator guard.
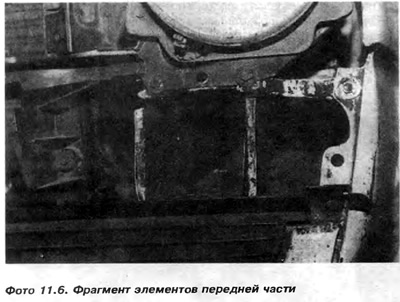
3. Unscrew and remove the lower plastic connector 8, see Figure 11.1, which is secured with nine hex-head screws. The screws simultaneously secure the lower plate 6, which protects the front part, to the wings and to the front part bracket 1 (Photo 11.6).
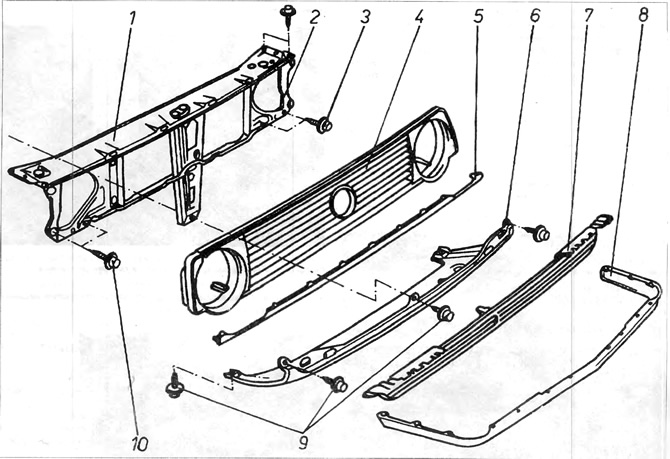
Figure 11.1. Front end elements
1 - front belt (part); 2 - headlight eyepiece; 3 - screw; 4 - radiator protection; 5 - lower radiator protection element; 6 - front belt protection; 7 - decorative grille for front belt protection; 8 - connector; 9 and 10 - screws.
4. To remove the lower plate 6 protecting the front part together with the plastic decorative grille 7, it is necessary to unscrew three additional bolts securing the upper edge of the protective plate. There is a plastic hook on the central bolt, which must be unhooked in the same way as when disassembling the plastic radiator guard. This hook secures the protective plate to the central bracket of the front part.
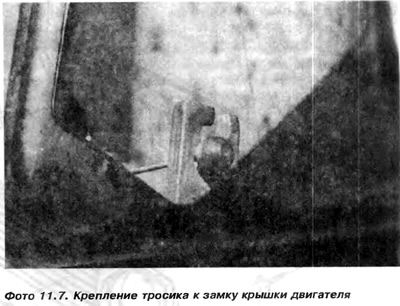
5. After removing connector 8 and lower protective plate 6, unhook the cable from the engine cover lever (photo 11.7).
6. Disconnect the headlight and horn connectors.
7. Unclip the engine cover lock cable and signal wires from the front. There are two plastic hooks there.
8. Unscrew and remove the central radiator bracket (photo 2.7), then unscrew the bolt from the right radiator shock absorber (photo 2.6).
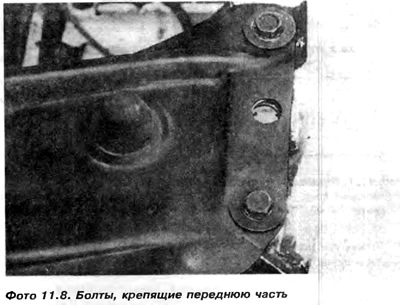
9. Unscrew the four bolts on each side securing the front part (photo 11.8) and remove it together with the headlights and horn.
Visitor comments