
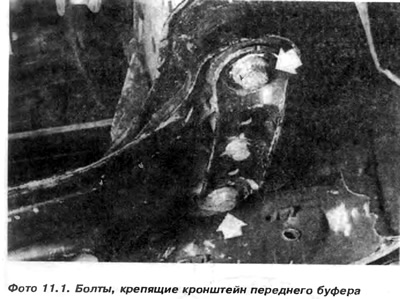
2. Unscrew the bolts shown by the arrows in photo 11.1, securing the buffer bracket to the left and right side members of the body.
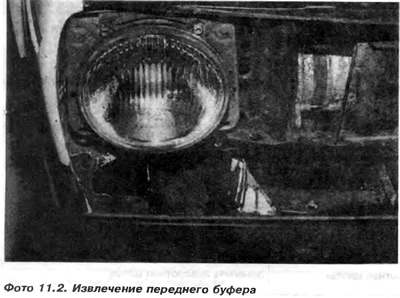
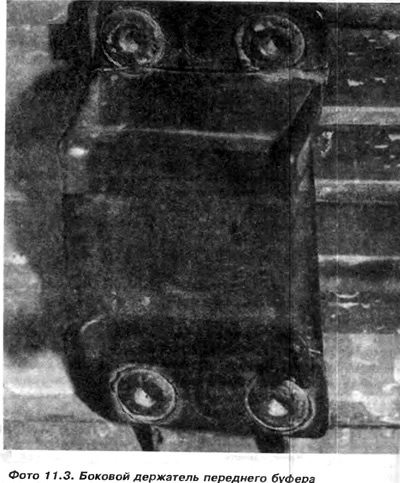
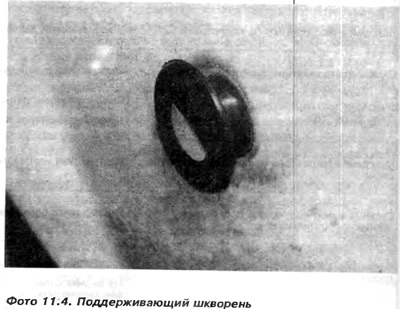
3. Push the buffer from the spars, as shown in photo 11.2, and pull it forward. The side buffer holders will pop out of their sockets in the support pins (photos 11.3 and 11.4).
4. each bracket is screwed to the buffer with two bolts. One of them is installed vertically, and the second - horizontally. To remove the bracket from the buffer, it is necessary to unscrew the nuts of both bolts. Before removing the bracket, it is necessary to indicate which of them is left and which is right.
5. Since August 1989, the installation of wide plastic buffers has begun. With such buffers, it is necessary to disconnect the aerodynamic protection on the left and right sides of the buffer. This protection increases the rigidity of the wide buffer.
6. If the car is equipped with headlight wipers, during disassembly, it is necessary to disconnect flexible pipes from them.
Installation
7. First you need to install and squeeze the brackets to the buffer as much as they were turned away. Brackets must be pressed using the designations made during disassembly. Then install the buffer with brackets in the spars and in the side rails on the wing. Screw with four bolts to the side members of the body with a torque of 82 Nm. Since these bolts also fasten the transverse bearing of the drive unit, it is necessary to insert the bolts that have been unscrewed.
8. Pass the electrical wires through the holes in the buffer bracket and connect to the direction indicator lights.
9. Put on, if necessary, elastic pipes on the nozzles of the sprinklers of the headlight wipers.
Visitor comments