
Disassembly
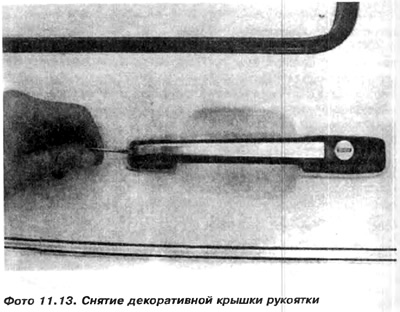
1. Use a screwdriver to pry up the front edge of the decorative cover of the handle (photo 11.13).
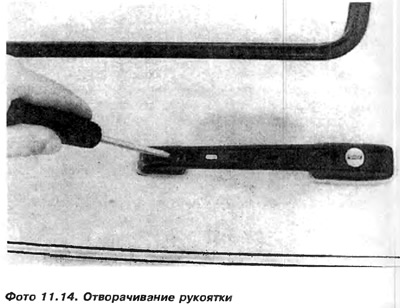
2. Unscrew the two screws with cross-shaped slots that secure the handle to the door (photo 11.14).
3. Move the handle forward of the car and remove it with the washer.
Installation
4. Install the handle with washer and fasten with two screws, see figure 11.3.
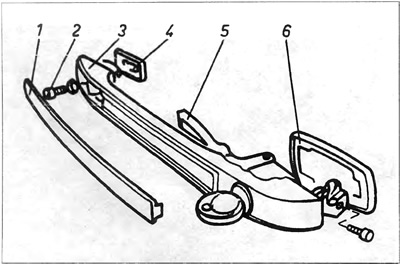
Pic. 11.3. External door handle
1 - cover; 2 - screw; 3 - handle; 4 - washer; 5 - handle tongue; 6 - washer.
5. Check work.
6. Put on the decorative handle cover. Repair of the door lock is limited to actuating the jammed lock or replacing the lock cylinder.
Removing the lock cylinder:
7. Remove the outer door handle.
8. Insert the key into the lock (Necessarily!).
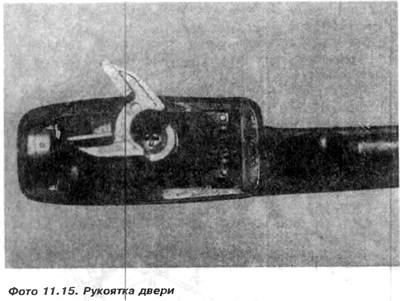
9. Loosen the cross-cut screw behind the lock cylinder. Remove cylinder eccentric with spring (photo 11.15).
10. Remove the lock cylinder with the key inserted.
11. The code number for the key is marked on the lock cylinder.
Caution: Removing the key from the removed cylinder will cause the pawls to fall out. To avoid this, it is necessary to wrap the cylinder with tape. After this operation, the key can be safely removed from the lock cylinder.
The removed lock cylinder is thoroughly washed in kerosene. Then you need to check if all the dogs move under a light touch of the finger. Jammed pawls must be removed by first wrapping the lock cylinder with tape, skipping the pawl, which will be removed.
Remove the key from the lock. Take out the dog. Clean and lubricate the dog. We do the same with the rest of the wedged dogs. If the lock cylinder cannot be repaired, it must be replaced with a new one. Based on the number on the lock cylinder, a company equipped with door lock repair kits can install a lock cylinder to match your car's locks.
Mounting the lock cylinder
12. Insert the lock cylinder with the key into the door handle.
13. Install and tension the spring so that its ends surround the tongue on the cylinder body on both sides
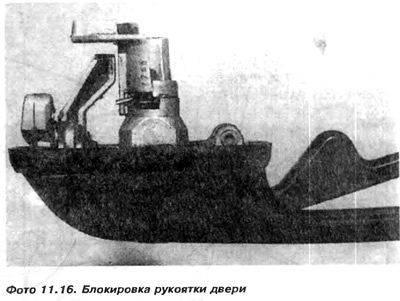
14. Put the eccentric on the square end of the cylinder, paying attention to the fact that the ends of the spring do not move from the tongue. Screw in a cross-cut screw (photo 11.16)
15. Install the outer handle on the door.
Visitor comments