
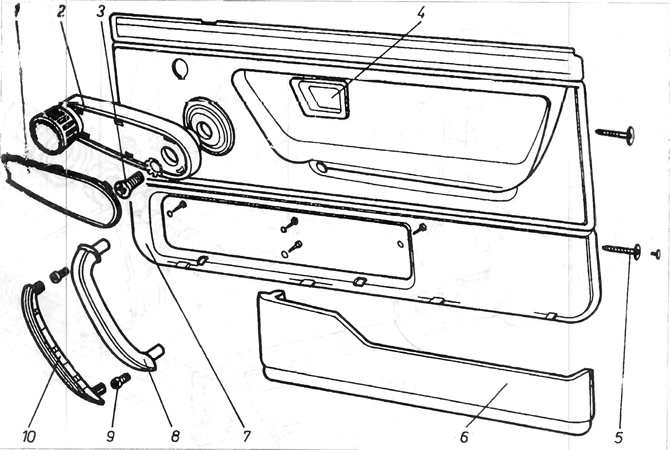
Pic. 11.6. door lining
1 - handle cover; 2 - handle; 3 - bolt; 4 - inner door handle; 5 - screws; 6 - pocket; 7 - facing; 8 - holder; 9 - screws; 10 - holder cover.
Disassembly
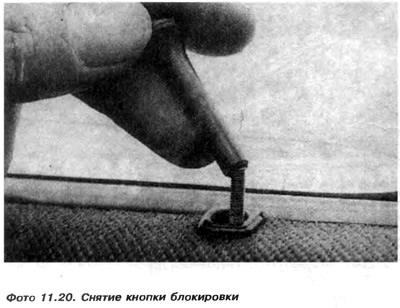
1. Unscrew the lock button (photo 11.20).
2. Pry up with a small screwdriver and remove the frame of the lock button
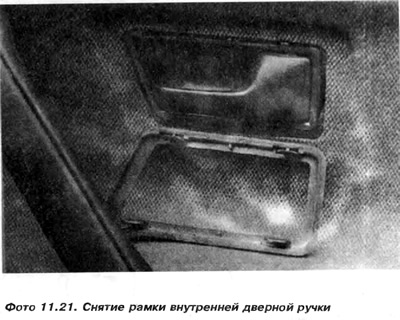
3. Slightly press the frame of the inner door handle, push it back and remove (photo 11.21).
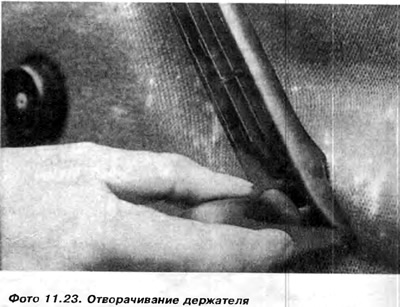
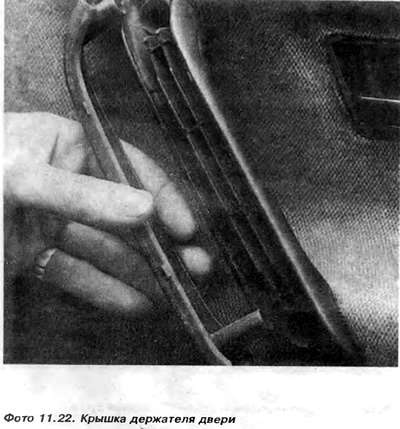
4. Lift the top edge of the holder cover 10 with a screwdriver and remove. Unscrew the two screws 9 securing the holder (photo 11.23).
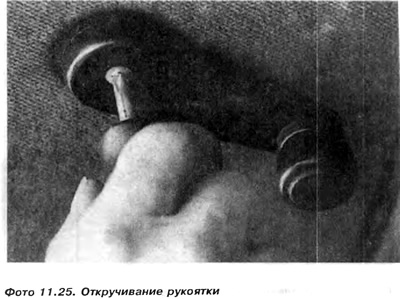
5. Using a small screwdriver, lift and remove the decorative cover 1 of the handle 2 of the glass lift (photo 11.24). Loosen cross-cut screw 3 and remove the handle (photo 11.25).

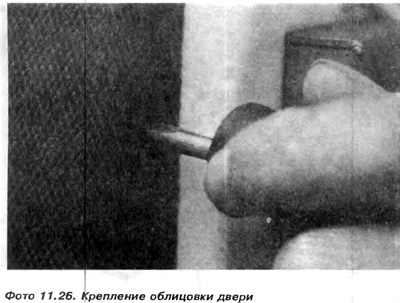
6. Remove cross-cut screws 5 securing the door trim (photo 11.26). These screws are protected by plastic caps.
7. To take out facing. With a design installed from 9.87, it is necessary to additionally remove the holder that controls the external mirror.
8. Unscrew the screws securing the door pocket from the rear side of the cladding (if available). Installation of the door lining is carried out in the reverse order to dismantling.
Visitor comments