
Removing and installing auxiliary brake light bulb -U25-
Instruction. Failure of the LED in additional brake lights. The individual LEDs in the additional brake light are combined into groups of 4 LEDs and are provided more intensely in groups. Additional brake lights are designed in such a way that if one LED group fails, compliance with regulatory requirements is ensured. If another LED group comes out, the statutory provisions are no longer respected. In the event of a failure of an LED group, serviceable LEDs are loaded more heavily, so you should take into account the possible early damage to the remaining LED groups. In case of failure of more than four LED groups in the additional brake light, the light must be replaced (repair case).
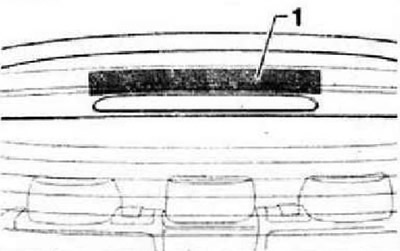
Switch off the ignition and all electrical consumers, remove the ignition key. Tape area of luggage compartment lid above brake light with tape -1-.
Carefully. When dismantling the additional brake light, take care not to damage the seal.
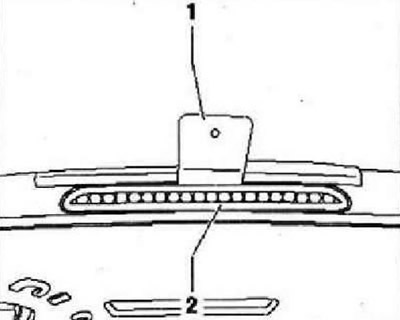
Insert plastic wedge -T10039/1- -1- between top brake light bulb -M25- -2- and rear lid.
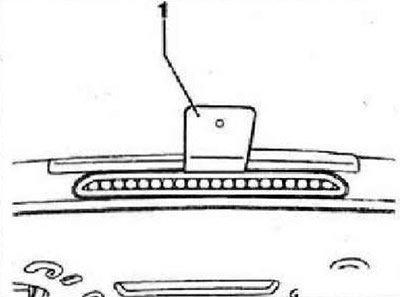
Release retainer for additional brake light bulb -M25- by pressing wedge -1- in direction of travel. Carefully remove auxiliary brake light bulb -M25-, paying attention to the length of the connected wiring, from the tailgate.
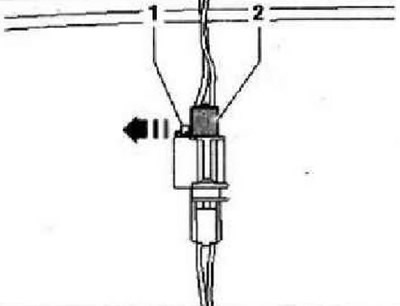
Unlock fuse -2- in -direction of arrow A- and pull compact connector -1- simultaneously in -direction of arrow B- out of holder.
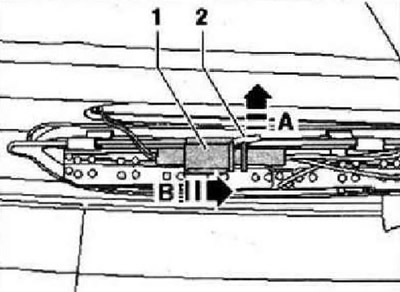
Press lock -1- in -direction of arrow- and remove connector -2- towards top.
Installation
Note: When installing auxiliary brake light bulb -M25-, make sure the seal is correctly attached. The seal must not be damaged or bent.
Connect the connector and fix the compact connector in the brake light. Clip the brake light back into the tailgate again. Check operation of additional brake light bulb -M25-.
Visitor comments