



2. With the engine installed upright, remove the timing belt (see section 5).
3. Remove the cylinder head (see section 7).
4. Loosen the mounting bolts and remove the generator and water pump.
5. Mark the position of the clutch pressure plate relative to the flywheel. unscrew the bolts and remove the pressure plate assembly, making sure that the driven clutch disc does not fall out.
6. The flywheel has a mark indicating its position relative to the support flange at the end of the crankshaft. Unscrew and remove the flywheel mounting bolts, holding the flywheel from turning with a screwdriver inserted into the flywheel ring teeth.
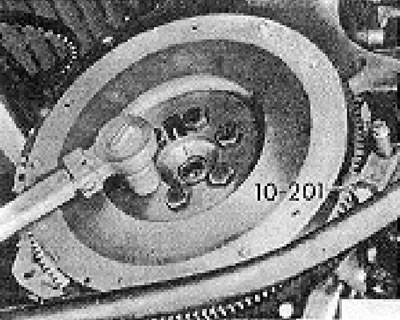
Figure 1.16. Removing the flywheel bolts. Please note the special plate. holding the ring gear from rotating (tool No. 10-201).
7. Remove the bolt securing the crankshaft pulley. To prevent the crankshaft from turning, temporarily screw 2 flywheel bolts into it and insert a metal rod between them to hold the crankshaft.
8. Unscrew the bolts and remove the oil pump. Discard the old pump gasket, as it must be visible on the new one during assembly. Remove the oil dipstick tube.
9. Loosen the bolts and remove the engine support brackets.
10. Turn the engine on its side and remove the oil pan (see section 8). Remove old gaskets and seals.
[The original text is available on the portal www.vwmanual.ru]
11. Unscrew the bolts and remove the oil intake pipe, having first bent back the tabs of the locking plate.
12. Remove pistons/connecting rods (see section 9).
13. Turn the engine over like this. so that it rests on the top surface of the cylinder block.
14. The main bearing caps are numbered from 1 to 5 (starting from the timing belt). The numbers on the caps are visible when looking at them from the oil filter side.
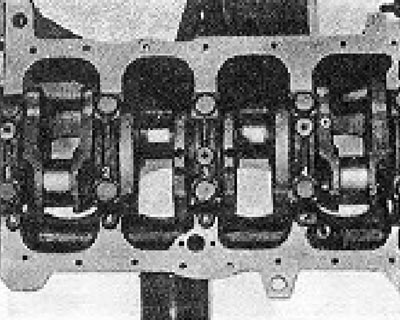
Figure 1.17. Numbers on main bearing caps.
15. Unscrew and remove the main cap bolts. Remove the lids. If they don't move, you can gently tap them with a hammer with a plastic or copper striker. Do not knock the lids sideways, as they stand on hollow pins. If you are not going to change the bearing shells, they should be left in their original caps.
16. Carefully pull the crankshaft out of the crankcase, making sure that the upper bearing shells, which may stick to the crankshaft journals, do not fall down. because in this case they can easily be confused.
17. The cylinder head can be disassembled and tidied up as described in the next section.
18. After the engine has been disassembled, proceed to inspecting it and putting it in order.
Visitor comments