
English Русский
Български
Беларускі
Український
Српски
Hrvatski
Română
Polski
Slovenský
Magyar
  |  Articles  |  Sitemap  |  Contacts  |    |
Car maintenance Ford Car maintenance Hyundai Car maintenance Chevrolet Car maintenance BMW Car maintenance Audi Car maintenance Opel Car maintenance AvtoVAZ
VWmanual.ru


Main   Passat   Golf   Polo   Touareg   Tiguan   Sharan   Transporter   Others  
LT 28 (1975-1991) LT 2D (1996-2003) Beetle (1960-1986) Caddy 3 (2003-2010)

Engine — installation (VW Lt 28)

  • Main
  • Volkswagen
  • LT 28
  • Power unit
  • Petrol engines 2.0L
  • Engine — installation
            0


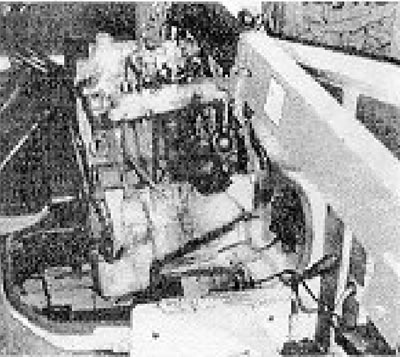
1. Place the suspended engine into the driver's cabin and carefully lower it so that it can be moved back and placed against the clutch housing (see photo).

Photo 22.1. Engine installation.

Photo 22.1. Engine installation.


During this operation, make sure that the engine does not rest with its entire weight on the transmission input shaft. You may need to turn the crankshaft slightly to align the splines on the transmission input shaft with the splines on the clutch driven disc.

2. Lower the front end of the engine onto the mounting studs and disconnect the engine suspension device.

3. Install the nuts on the studs and insert the 2 upper bolts securing the engine to the clutch housing (see photos).
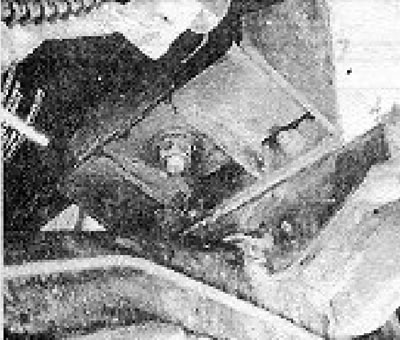
Photo 22.3A. Lower engine mount nut (right side).
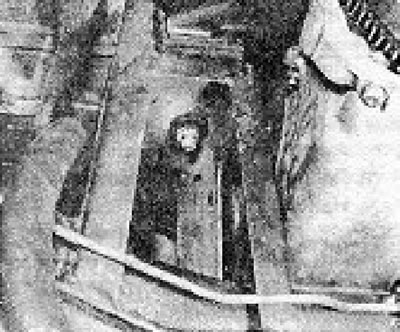
Photo 22.3A. Lower engine mount nut (right side).


Photos 22.3B. Lower engine mount nuts (left side).

Photos 22.3B. Lower engine mount nuts (left side).


4. Remove the plugs and connect the feed and return fuel hoses to the carburetor (in case of an electric fuel pump) or to the pump (in case of a mechanical fuel pump) (see photo).
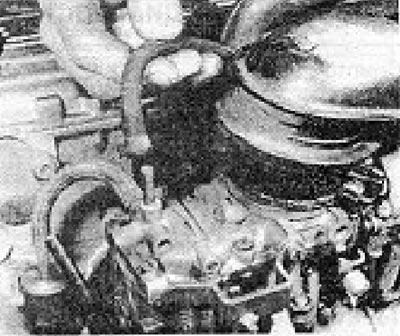
Photo 22.4. Connecting the return fuel hose to the carburetor.

Photo 22.4. Connecting the return fuel hose to the carburetor.


5. Connect the brake servo vacuum hose to the intake manifold.

6. Connect the heater hose to the water pump.

7. Connect the high and low voltage wires to the ignition coil.

8. Connect the wire to the oil pressure switch.

9. Connect the wire to the coolant temperature sensor.

10. Connect the wires to the air shut-off solenoid valve and the automatic choke unit on the carburetor (depending on the design) (see photo).
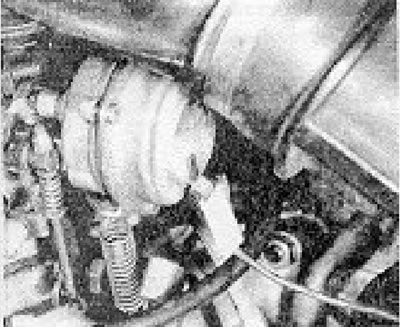

Photo 22.10. Wire and terminal of the automatic choke unit.

Photo 22.10. Wire and terminal of the automatic choke unit.


11. Connect the throttle cable to the carburetor and secure it to the support bracket.

12. Connect the choke cable to the carburetor (in the case of models with manual choke).

13. Install the air cleaner with the air intake duct and elbow. Connect the exhaust gas afterburning system and crankcase ventilation system hose (see photo).
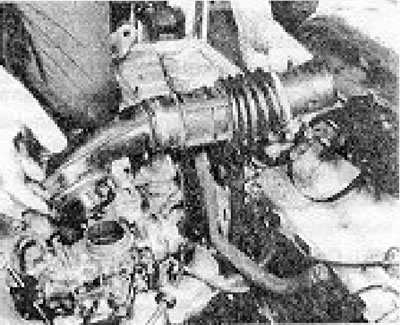
Photo 22.13. Air intake duct of the air cleaner.

Photo 22.13. Air intake duct of the air cleaner.


14. Install the expansion tank together with the connecting hoses.

15. Working under the vehicle, remove the gearbox support crosspiece or jack up the gearbox and screw in the remaining engine mounting bolts to the clutch housing.

16. Connect the electrical connector to the rear of the generator.

17. Lower the starter into place and secure it with bolts. Install the lower front clutch housing cover.

18. Install a new oil filter (see section 12).

19. Bolt the exhaust pipe to the exhaust manifold, replacing the flange gasket with a new one (see photos).
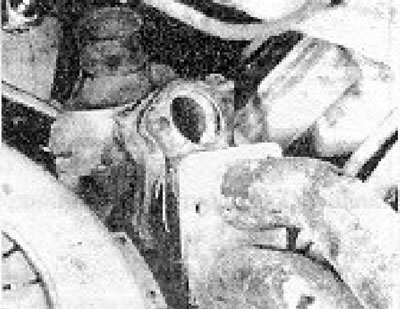
Photo 22.19A. Flange gasket of the exhaust downpipe.
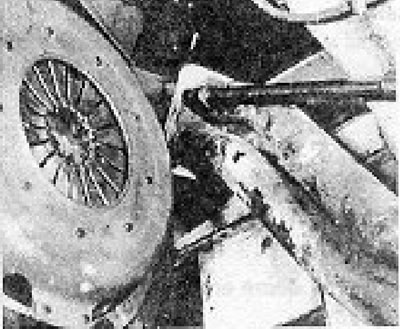
Photo 22.19A. Flange gasket of the exhaust downpipe.


Photo 22.19B. Tightening the flange nut of the exhaust downpipe.

Photo 22.19B. Tightening the flange nut of the exhaust downpipe.


The original text is available on the portal (www.VWMANUAL.ru)

20. Secure the exhaust pipe support bracket to the gearbox.

21. Install the fan on the crankshaft pulley flange and secure it with bolts (see photo).
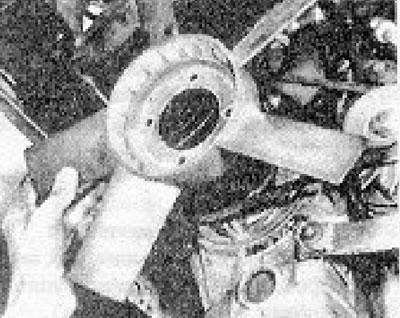
Photo 22.21. Installing the fan on the crankshaft pulley.

Photo 22.21. Installing the fan on the crankshaft pulley.


22. Install the radiator and air duct.

23. Fill the cooling system with liquid (see chapter 2).

24. Fill the engine with oil.

25. Connect the wires to the battery.

26. Adjust the gas pedal cable (see chapter 3).

27. Adjust the clutch cable (see chapter 5).

28. The engine cover and front seat are installed only after the engine has been started and inspected for leaks. It may need adjustment.

This article is available at russian, bulgarian, belarusian, ukrainian, serbian, croatian, romanian, polish, slovak, hungarian
The text has been checked: Kolesnikov Artem

Share information:

Previous articles
Engine — assembly
Valve clearances — adjustment
Engine — inspection and maintenance
Cylinder head — cleaning and decarbonization
Engine — complete disassembly
Engine — disassembly (general part)
Next articles
Engine — first start after overhaul
Engine — troubleshooting
Specifications 2.0 engine after September 1979


Similar articles from other manuals for VW cars:
Starting the car engine Passat B3 (1988-1993)
Engine adjustment data Golf 1 (1974-1984, petrol)
Starting the engine from an auxiliary battery Polo 3 (1995-2003)
Car engine number Touareg 1 (2002-2006)
Car engine number Tiguan 1 (2007-2015)
Checking the engine oil level and replacing it Sharan 1 (1995-2000)
Starting the engine from another source Transporter T4 (1990-2003)
Link to this page in different formats


Visitor comments


No comments yet


How much will 45 + 11 =


Caddy 3 
  • General information
  • User manual
  • Daily care
  • Maintenance
  • Petrol engines 1.4 l
  • Engine repair
  • Cooling and lubrication system
  • Power and exhaust system
  • Petrol engines 1.6 l
  • Engine repair
  • Cooling and lubrication system
  • Power and exhaust system
  • Diesel engines
  • Engine repair
  • Cooling and lubrication system
  • Power and exhaust system
  • Transmission
  • Mechanical gearbox 0AH
  • Mechanical gearbox 0A4
  • Drive shafts
  • Chassis
  • Car suspension
  • Steering
  • Brake system
  • Body and wiring diagrams
  • Interior and exterior
  • Electrical circuits
Beetle 
  • General information
  • Maintenance
  • Power unit
  • Engine repair
  • Cooling and lubrication system
  • Supply system
  • Exhaust system
  • Transmission
  • Clutch
  • Car gearbox
  • Chassis
  • Front suspension
  • Rear suspension
  • Steering
  • Brake system
  • Wheels and tires
  • Body
  • Exterior
  • Electrical equipment
  • Equipment and devices
  • Power devices
  • Electrical circuits
LT 2D 
  • General information
  • User manual
  • Maintenance
  • Power unit
  • Petrol engines 2.3 l
  • Diesel engines 2.5 l
  • Diesel engines 2.8 l
  • Injection system (diesel 2.8 l)
  • Transmission
  • Clutch
  • Manual gearbox
  • Differential
  • Chassis
  • Car suspension
  • Steering system
  • Brake system
  • Body
  • Body elements
  • Heating system
  • Electrical equipment
  • Equipment and devices
  • Electrical circuits
LT 28 
  • General information
  • Maintenance
  • Power unit
  • Petrol engines 2.0L
  • Petrol engines 2.4L
  • Diesel engines
  • Cooling and heating
  • Fuel and exhaust system
  • Ignition system
  • Transmission
  • Clutch
  • Car gearbox
  • Cardan shaft
  • Rear axle
  • Chassis
  • Brake system
  • Car suspension
  • Steering system
  • Body
  • Body elements
  • Doors, locks and windows
  • Electrical equipment
  • Power devices
  • Equipment and devices
  • Electrical circuits
VWmanual.ru © 2016-2026 | Mobile version | News and articles | Sitemap: EN BG BY UA RS HR RO PL SK HU | Write message | Site search
Passat B2 • Passat B3 • Passat B4 • Passat B5 • Passat B6 • Golf 1, diesel • Golf 1, petrol • Golf 2, petrol • Golf 2 • Golf 3 • Golf 4 • Golf 5 • Polo 3 • Polo 4 • Touareg 1 • Tiguan 1 • Sharan 1 • Transporter T3 • Transporter T4 • LT 28 • LT 2D • Beetle • Caddy 3 •
Our website uses cookies to ensure functionality and convenience.