



2. Drain the liquid from the cooling system and remove the radiator (see chapter 2). This is necessary to allow the tray to be tilted forward during removal.
3. Remove the generator adjusting rod and its drive belt.
4. Using a suitable ball joint puller, disconnect the ball joint on the left center tie rod and pull the rod downwards (see photo).
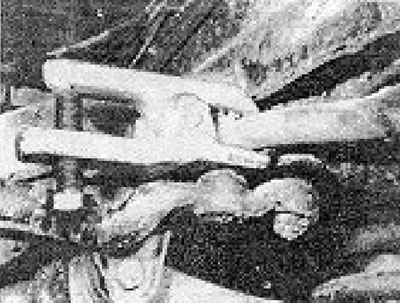
Photo 8.4. Disconnecting the ball joint of the middle steering rod.
5. Loosen and remove the pan mounting screws, loosening them diagonally by one turn each time. Remove the oil dipstick (see photo).
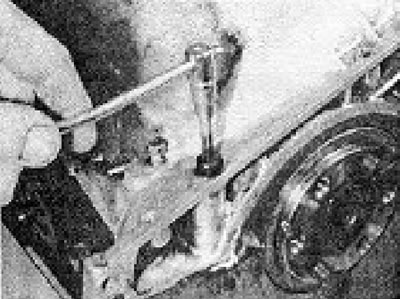
Photo 8.5. Removing the screws of the rear flange of the pan.
6. Pull the pan forward and down to avoid touching the oil pickup tube and mesh filter (see photos).
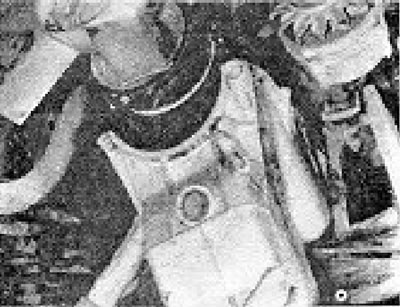
Photo 8.6A. Removing the pallet.
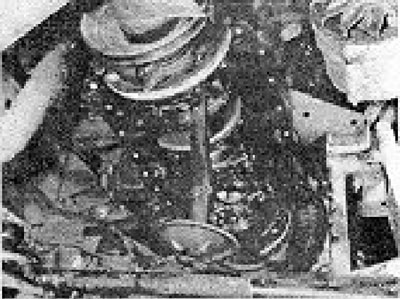
Photo 8.6B. Engine oil pickup pipe.
7. Remove the side pan gaskets and sealing strips (when installing the pallet, they will have to be replaced with new ones).
8. Install the tray in reverse order, cover the corner sealing surfaces with sealant and tighten the tray mounting screws to the required torque.
9. Check that the drain plug is securely tightened and pour the required amount of oil into the engine. Don't forget to connect the steering rod ball joint.
10. Install the radiator in place and fill the system with coolant.
Visitor comments