
English Русский
Български
Беларускі
Український
Српски
Hrvatski
Română
Polski
Slovenský
Magyar
  |  Articles  |  Sitemap  |  Contacts  |    |
Car maintenance Ford Car maintenance Hyundai Car maintenance Chevrolet Car maintenance BMW Car maintenance Audi Car maintenance Opel Car maintenance AvtoVAZ
VWmanual.ru


Main   Passat   Golf   Polo   Touareg   Tiguan   Sharan   Transporter   Others  
LT 28 (1975-1991) LT 2D (1996-2003) Beetle (1960-1986) Caddy 3 (2003-2010)

Camshaft — removal and installation (VW Lt 28)

  • Main
  • Volkswagen
  • LT 28
  • Power unit
  • Petrol engines 2.0L
  • Camshaft — removal and installation
            0


1. Remove the engine cover (see section 4).

2. Remove the air cleaner and mechanical fuel pump (early models) (see chapter 3).

3. Remove the distributor (see chapter 4) and the drive gear housing.

4. Loosen the generator mounting bolts and its adjusting rod, turn the generator towards the engine and remove the drive belt from the pulleys.

5. Loosen the screws and remove the timing belt cover and camshaft cover. Remove the timing belt (see section 5).

6. Loosen the camshaft sprocket mounting bolt. To secure the sprocket while removing the bolt, you can either wedge the high gear and handbrake, or insert a rod into one of the holes on the sprocket so that it rests against the front surface of the cylinder head.

7. Remove the sprocket.

8. Remove the lubrication tube. To do this, you will need to unscrew the nuts of the bearing caps No. 2 and 4 of the camshaft (see photo).
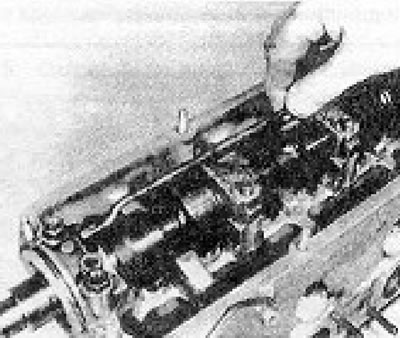
Photo 6.8. Removing the grease tube.

Photo 6.8. Removing the grease tube.


9. Loosen the nuts on the remaining bearing caps, turning them half a turn each time in the sequence 3, 5, 1.

10. Check that the bearing caps are numbered from 1 to 5 (starting from the timing belt).


11. Remove the camshaft from the cylinder head.

12. Remove the oil seal from the front end of the camshaft and put a new oil seal on it, having first lubricated its lips (see photo).
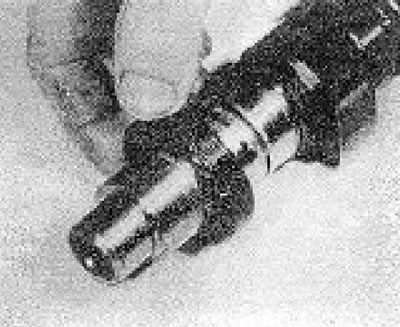
Photo 6.12. Camshaft oil seal.

Photo 6.12. Camshaft oil seal.


13. Begin installing the camshaft by lowering it onto well-lubricated bearings (see photos).
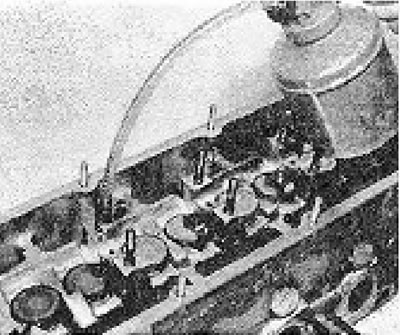
Photo 6.13A. Lubricating the camshaft bearings.
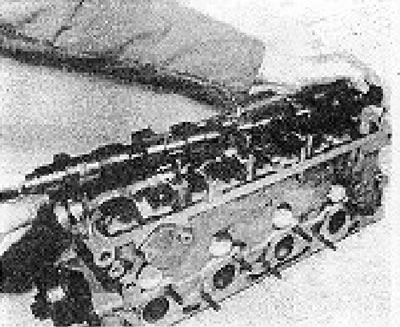
Photo 6.13A. Lubricating the camshaft bearings.


Photo 6.13B. Installing the camshaft.

Photo 6.13B. Installing the camshaft.


14. Install the bearing caps, paying attention to the fact that they are specially offset so that they can only be installed in one position (see photos).
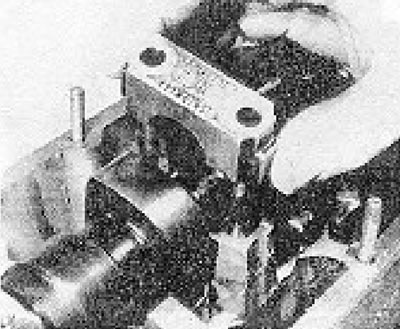
Photo 6.14A. Installing camshaft bearing cap No. 2.
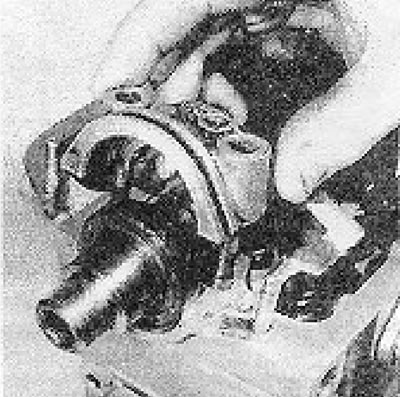
Photo 6.14A. Installing camshaft bearing cap No. 2.


Photo 6.14B. Installing camshaft bearing cap No. 1.

Photo 6.14B. Installing camshaft bearing cap No. 1.


15. Check that the TDC marks on the flywheel and clutch housing are still aligned. Install the sprocket onto the camshaft and turn the camshaft so that the mark on the sprocket aligns with the mark on the camshaft cover (see photo).
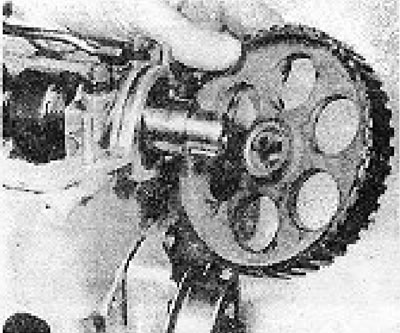
Photo 6.15. Installing the camshaft sprocket.

Photo 6.15. Installing the camshaft sprocket.


16. Gradually (half a turn at a time) tighten the bearing cap nuts in sequence 1, 3 and 5 and then 2 and 4 (nuts that also secure the grease tube). As you tighten the nuts, you will feel resistance from the valve springs. This is why the nuts should be tightened gradually to avoid deformation of the camshaft (see photo).
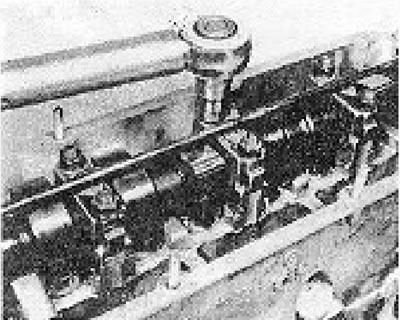
Photo 6.16. Tightening the camshaft bearing cap nuts.

Photo 6.16. Tightening the camshaft bearing cap nuts.


17. Be careful not to overtighten the bearing cap nuts.

18. Insert the camshaft sprocket bolt and tighten it to the required torque, holding the sprocket from rotating in the same way as was done when removing it (see photo).
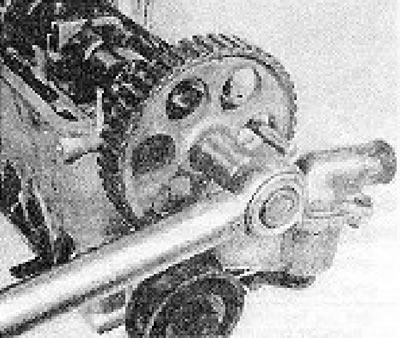
Photo 6.18. Tightening the camshaft sprocket bolt. Pay attention to the rod that secures the…

Photo 6.18. Tightening the camshaft sprocket bolt. Pay attention to the rod that secures the sprocket.


19. Install the distributor drive gear housing with a new gasket and then the distributor itself (see chapter 4 and a photograph).
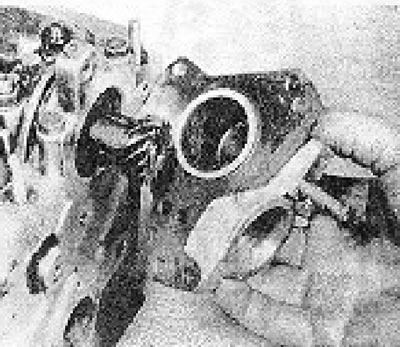
Photo 6.19. Installing the distributor drive gear housing.

Photo 6.19. Installing the distributor drive gear housing.


20. Install and tension the timing belt (see section 5).

21. Install the timing belt cover, alternator drive belt, air cleaner and mechanical fuel pump (where is it installed).

22. Install new gaskets and sealing strips on the camshaft cover (see photos).
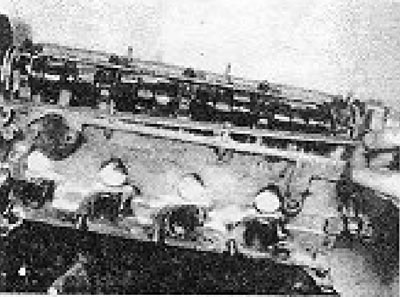
Photo 6.22A. Installing the camshaft cover gaskets.
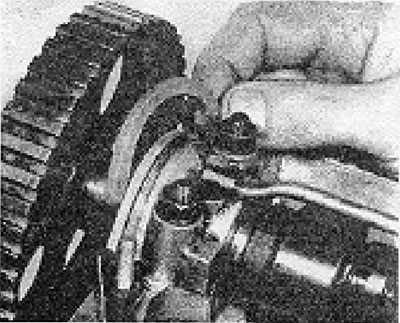
Photo 6.22A. Installing the camshaft cover gaskets.


Photo 6.22B. Installing the camshaft cover sealing strip.

Photo 6.22B. Installing the camshaft cover sealing strip.


23. Install the camshaft cover (see photo).
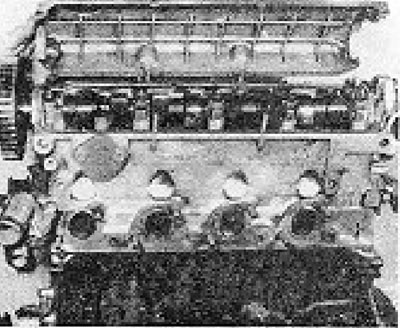
Photo 6.23. Installing the camshaft cover.

Photo 6.23. Installing the camshaft cover.


24. Tighten the camshaft cover nuts, paying attention to the position of the wire clamps (see photo).
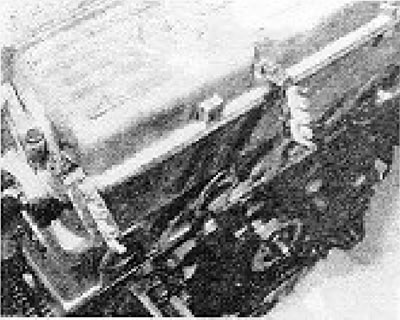
Photo 6.24. Correctly installed cable clamps on the camshaft cover.

Photo 6.24. Correctly installed cable clamps on the camshaft cover.


Install the engine cover.

This article is available at russian, bulgarian, belarusian, ukrainian, serbian, croatian, romanian, polish, slovak, hungarian
The text has been checked: Kolesnikov Artem

Share information:

Previous articles
Timing Belt — removal and installation
Engine cover — removal and installation
Basic operations that can be carried out without removing the engine from the vehicle
Routine maintenance
Description of the 2.0L petrol engine
2.0L Petrol Engine Specifications
Next articles
Cylinder head — removal and installation
Pallet — removal and installation
Pistons/Connecting Rods — removal and installation
Oil pump — removal and installation
Engine mounts — replacement
Oil filter — replacement


Similar articles from other manuals for VW cars:
Camshaft / valve drive 4-cylinder Passat B3 (1988-1993)
Timing Belt (Camshaft Drive Belt) Golf 1 (1974-1984, petrol)
Cylinder block, camshaft and flywheel Polo 3 (1995-2003)
Replacing camshaft seals Touareg 1 (2002-2006)
Camshaft drive chain Tiguan 1 (2007-2015)
Replacing the camshaft seal Sharan 1 (1995-2000)
Removal and installation the camshaft Transporter T4 (1990-2003)
Link to this page in different formats


Visitor comments


No comments yet


How much will 48 + 50 =


Caddy 3 
  • General information
  • User manual
  • Daily care
  • Maintenance
  • Petrol engines 1.4 l
  • Engine repair
  • Cooling and lubrication system
  • Power and exhaust system
  • Petrol engines 1.6 l
  • Engine repair
  • Cooling and lubrication system
  • Power and exhaust system
  • Diesel engines
  • Engine repair
  • Cooling and lubrication system
  • Power and exhaust system
  • Transmission
  • Mechanical gearbox 0AH
  • Mechanical gearbox 0A4
  • Drive shafts
  • Chassis
  • Car suspension
  • Steering
  • Brake system
  • Body and wiring diagrams
  • Interior and exterior
  • Electrical circuits
Beetle 
  • General information
  • Maintenance
  • Power unit
  • Engine repair
  • Cooling and lubrication system
  • Supply system
  • Exhaust system
  • Transmission
  • Clutch
  • Car gearbox
  • Chassis
  • Front suspension
  • Rear suspension
  • Steering
  • Brake system
  • Wheels and tires
  • Body
  • Exterior
  • Electrical equipment
  • Equipment and devices
  • Power devices
  • Electrical circuits
LT 2D 
  • General information
  • User manual
  • Maintenance
  • Power unit
  • Petrol engines 2.3 l
  • Diesel engines 2.5 l
  • Diesel engines 2.8 l
  • Injection system (diesel 2.8 l)
  • Transmission
  • Clutch
  • Manual gearbox
  • Differential
  • Chassis
  • Car suspension
  • Steering system
  • Brake system
  • Body
  • Body elements
  • Heating system
  • Electrical equipment
  • Equipment and devices
  • Electrical circuits
LT 28 
  • General information
  • Maintenance
  • Power unit
  • Petrol engines 2.0L
  • Petrol engines 2.4L
  • Diesel engines
  • Cooling and heating
  • Fuel and exhaust system
  • Ignition system
  • Transmission
  • Clutch
  • Car gearbox
  • Cardan shaft
  • Rear axle
  • Chassis
  • Brake system
  • Car suspension
  • Steering system
  • Body
  • Body elements
  • Doors, locks and windows
  • Electrical equipment
  • Power devices
  • Equipment and devices
  • Electrical circuits
VWmanual.ru © 2016-2026 | Mobile version | News and articles | Sitemap: EN BG BY UA RS HR RO PL SK HU | Write message | Site search
Passat B2 • Passat B3 • Passat B4 • Passat B5 • Passat B6 • Golf 1, diesel • Golf 1, petrol • Golf 2, petrol • Golf 2 • Golf 3 • Golf 4 • Golf 5 • Polo 3 • Polo 4 • Touareg 1 • Tiguan 1 • Sharan 1 • Transporter T3 • Transporter T4 • LT 28 • LT 2D • Beetle • Caddy 3 •
Our website uses cookies to ensure functionality and convenience.