



2. Remove the wheel.
3. Release the retaining clip that holds the hydraulic hose to the bracket.
4. Remove the brake shoe and tie it to the side.
5. Disconnect the stabilizer from the suspension arm.
6. Remove the shock absorber as described in Section 3.
7. Loosen the nut on the lower suspension pivot mount two or three turns. Using a suitable tool, release the ball joint tapered pin from the hub carrier. If you don't have the right tool, place a thick bolt between the ends of both pivot pins and back off the nut on the bolt to increase its length and thus free the lower tapered pin. Be careful not to remove the nut completely from the taper pin during this process, otherwise the threads will be damaged and the suspension arm will also be forced downwards, which could lead to dangerous consequences.
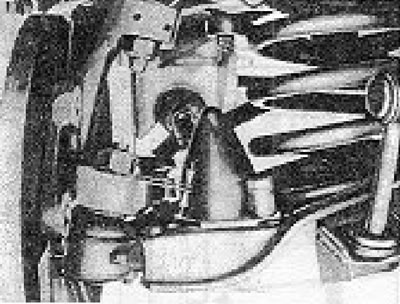
Figure 11.13. The loosened nut of the lower swivel mount.
8. Do not remove the nut from the released pivot mount until the suspension arm is securely fastened and its weight is supported by the jack.
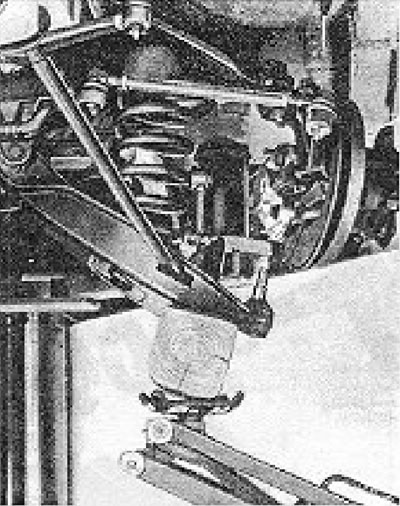
Figure 11.14. Lowering the lower suspension arm using a jack.
9. Now unscrew the nut and carefully lower the jack.
10. Once the suspension arm has been lowered sufficiently, the spring can be removed.
11. The control arm can be removed by loosening and removing the support bolt from the inner end and disconnecting the radial arm.
12. Installation is carried out by performing the above steps in reverse order, but observe the following provisions. When installing the spring, make sure that the straighter end is facing downwards.
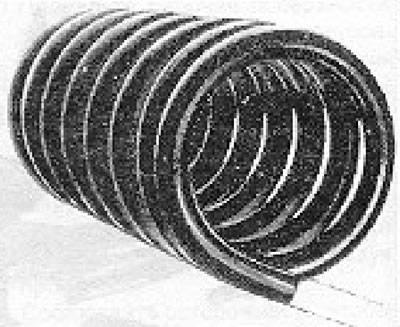
Figure 11.15. Straight end of a coil spring.
Install the radial arm as described with Section 6.
Visitor comments