



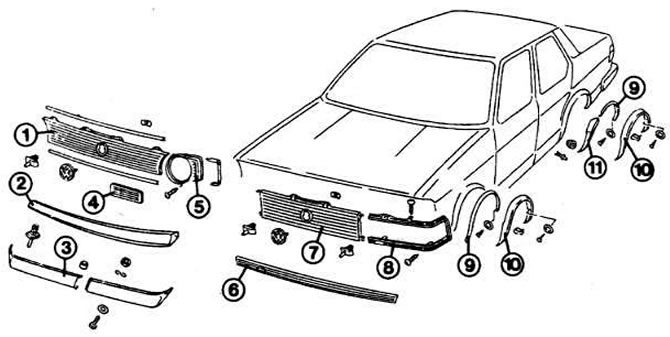
The picture shows the plastic parts that are attached to the body (on the right - in the Jetta model, on the left - in the Golf model): 1 - radiator grille; 2 - spoiler; 3 - big spoiler (equipment according to formula E); 4 - lower part of the grille; 5 - headlight trim; 6 - lower part of the grille; 7 - radiator grille; 8 - headlight trim; 9 - wheel arch insert; 10 - wheel arch extension; 11 - stone protection pad.
Only the front fenders can be removed. The rear side parts, together with the rest of the body, form a single welded unit.
Removal the wheel arch insert
To protect against stones and dirt, plastic inserts have been installed in the front wheel arches of cars since June 1982.
Remove the corresponding front wheel.
Unscrew a total of 10 Phillips-head screws along the edge and inside the wheel arch.
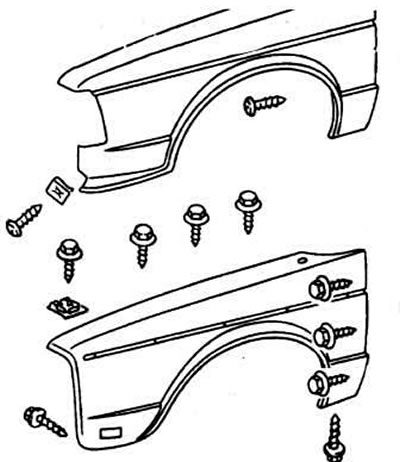
The picture shows screws with hex heads and cross-shaped slots (the latter type of screws is only available in the Jetta model). These screws are used to attach the wings.
Removal the wing
Remove the bumper.
Remove the radiator grille corner (see section "Removal the radiator grille", chapter "Body parts").
Raise the decorative strip at the entrance door (see section "Decorative strips", chapter "Body parts").
Heat the protective coating near the joints (a coating used to protect the base): then the coating can be removed with a sharp knife. You will need a gas blowtorch and a powerful hair dryer with hot air for the job.
Remove the protective layer, thereby exposing the screw heads.
Open the engine hood. Unscrew 9 screws with hex heads around the wing: at the edge of the engine hood, at the front bottom near the wing, inside closer to the door frame and at the back bottom near the amplifier.
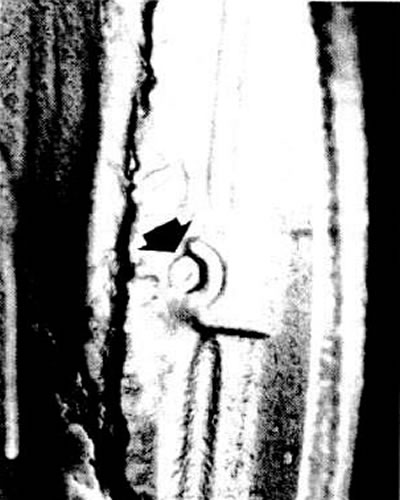
The arrow in the photo points to one of the screws. It can be reached by removing the protective coating.
In the Jetta model, you also need to unscrew 2 Phillips-head screws: in front under the bumper, and also near the door frame.
Then remove the wing, first directing it forward and then to the side.
If necessary, remove the wing trim, see next section.
Between the body and the wing, at the edge of the engine hood and at the door there are zinc plates under the screws.
If there are no such plates, place sealing strips instead. Make a corresponding hole in the sealing gasket.
After installing the wing, apply acrylic sealant to the joints between the body and the wing (N AKD 511001); smooth it out carefully with a brush.
The gap between the wing and the edge of the engine hood is thickly coated with preservative paste.
Note: If, when removing the wing, you see that the support surface has rust damage, only welding the sheet will help.
Visitor comments