



Removing
Remove wheel arch trim.
If present, unscrew the rod antenna from the wing.
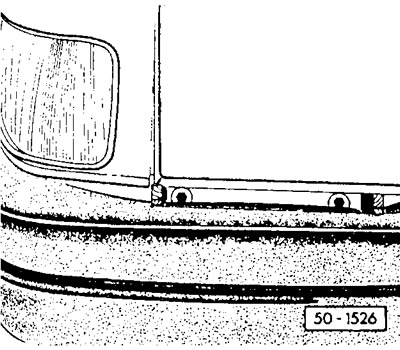
Press the bumper cover in the area of the outer mounting bolts down and unscrew the bolts. For push-ups, you can use the appropriate rubber wedge.
Attention: To avoid damage to the casing, cover it in the area where the bolts are located with adhesive tape.
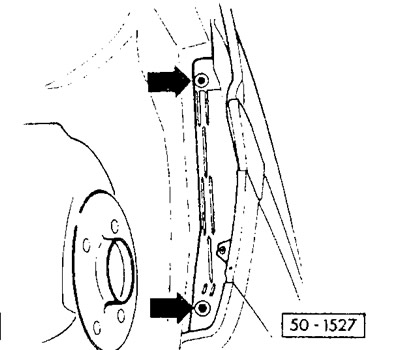
Release screws on wheel arch side.
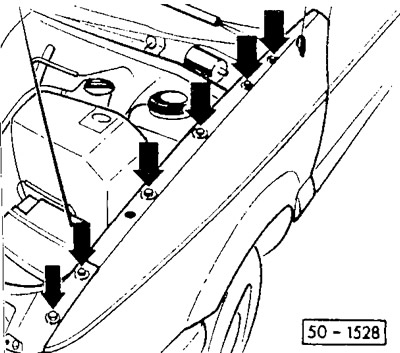
Loosen the screws on the upper side of the wing.
Thanks to the anti-corrosion protection of the underbody, the wing sits very firmly. Therefore, a hair dryer is required to remove the wing (Dryer), which creates a temperature of at least +600°C.
Equip the hair dryer with a flat nozzle, gradually soften the protective coating and carefully, section by section, remove the wing.
Installation
The wing can be varnished if necessary.
Clean the contact surfaces of the wing, align them if necessary.
Apply a standard sealing strip to the contact surfaces of the wing.
Before screwing the new wing on, install zinc gaskets VW-AKL 38103550 in the places where it fits on the wheel arch and on the A-pillar.
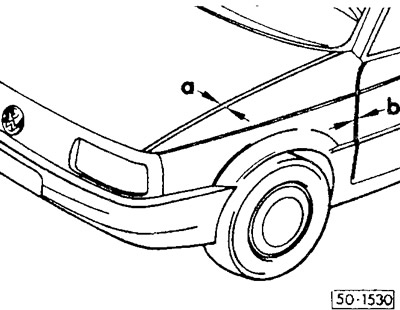
Attach the wing, align and screw. The prescribed value of the gap at the joint between the wing and the engine cowling is: a = 5.0±1.0 mm, at the joint between the wing and the door - b = 5.0±1.0 mm.
Attention: On vehicles with a sliding roof panel, do not pinch the drainage hose.
Screw on the wing.
Apply an anti-corrosion coating to the inside of the wing.
Install wheel arch trim.
Insert rubber dampers for the engine hood into the existing wing holes.
If present, screw on the rod antenna.
Removal and installation of facing of a wheel arch
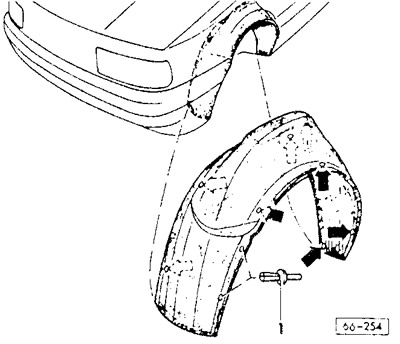
1 - spacer rivet
To remove, pull out the expansion rivets and unscrew the bolts (arrows).
Visitor comments