
For this purpose, use the door adjustment key 3320 together with the nozzle for 3320 3320/2.
If it is necessary to unscrew the upper hinge of the door on the A-pillar, the socket adapter 3320/1 can be used from the inside. To do this, the front panel must be removed.
When installing a new door outer skin, the frame of the hinged units is not affected.
The rear edge of the outer skin of the door is set approx. 2 mm higher than the door, dimension a (pic. 8.25).
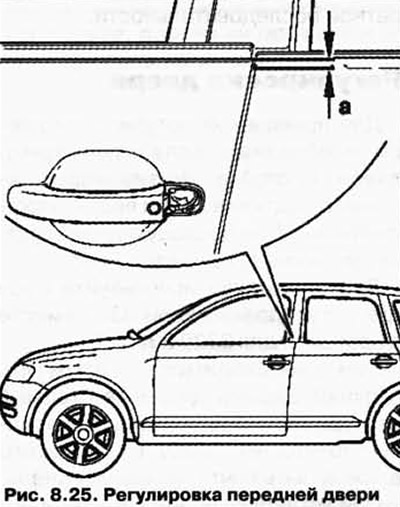
After installing the frame of hinged units, the door is lowered by these 2 mm.
Lock loop adjustment
NOTE: The vehicle must be on the ground to adjust the front door.
NOTE: The adjustment description is for the right front door only. The left door is adjusted in the same way.
NOTE: The front door should close completely with no extra effort and no wobble («play»). After adjusting the lock hinge, the door should not press up or down.
NOTE: You can adjust the lock loop if the front door does not fit with the back door.
Loosen the lock loop 1 by loosening the bolts 2 on the B-pillar (pic. 8.26).
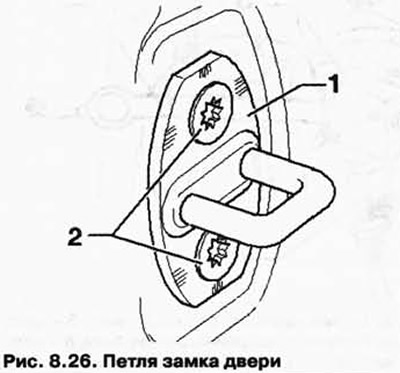
Adjust the front door by adjusting the lock loop 1 so that the front door in the closed state docks with the rear (noise goes away at speed).
Tighten the bolts 2 of the lock loop 1.
Tightening torques: bolts (2) 20 Nm.
Visitor comments