
Instructions: Depending on the configuration, two versions of the bank for the windshield washer and headlight washer can be installed. Not a drawing» shown reservoir for vehicles with headlight cleaning system (SPA). Removal and installation of the bank for cars without a headlight cleaning system is carried out taking into account this circumstance.
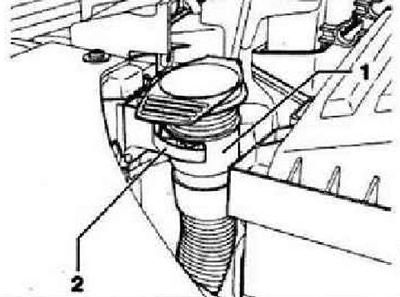
Switch off the ignition and all electrical consumers, remove the ignition key. Remove the front bumper cover. Detach connecting tube with neck -1- from holder -2-.
Unscrew securing bolt -1- and remove securing nut -2-.

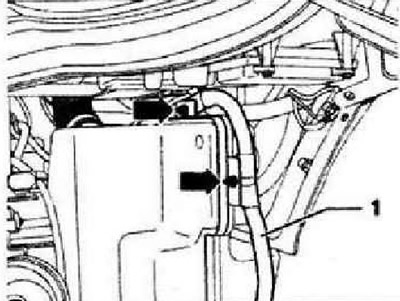
Detach wiring harness -1- from mountings -arrows- on washer fluid reservoir.
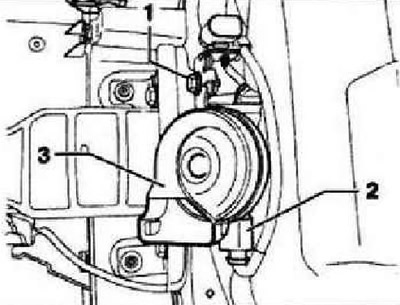
Instructions: To gain access to the front mountings of the windshield washer reservoir and headlight washer, the horn must be removed.
Unscrew the securing bolt, disconnect and unlock the connector -2- and remove the horn -3-.
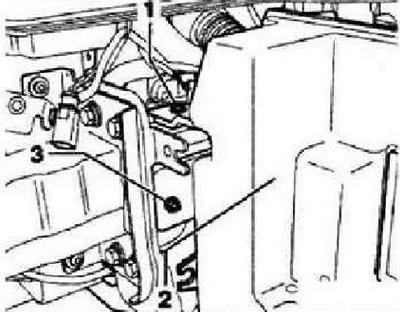
Loosen securing bolt -1- and remove securing nut -3-. Move windshield washer reservoir and headlight housing -2-, taking into account the lengths of the connected lines, out of their installation position.
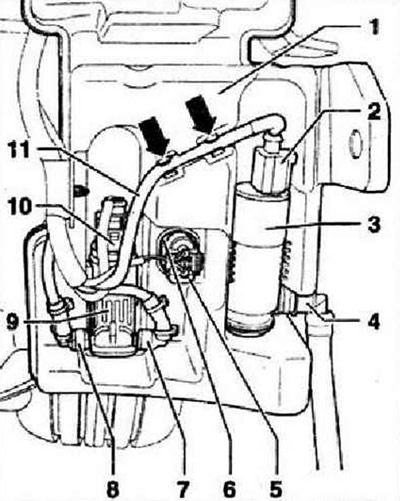
Instructions: When connecting, do not confuse the washer fluid hoses to the windshield washer pump and rear screen washer pump -V59-. hose connections of the pump and tubing are color coded. When installing, the hose fittings must be put on the matching pump fittings.
To unlock, turn locking clips on hose fittings -7- and -8- and remove them from windshield and rear screen washer pump -V59- -9-. To unlock, turn locking clips on hose fitting -4- and remove from washer pump. headlight -V11- -3-. Unlock and unplug electrical connector -5- for washer fluid level sender -G33- -6-. Unclip wiring harness -11- from reservoir -arrows-. Pull headlight cleaning pump -V11- -3- upwards out of reservoir and unplug connector -2-. Pull windshield and rear screen washer pump -V59- -9- upwards out of reservoir and unplug connector -10-. Remove reservoir -1- together with connecting pipe and filler neck from vehicle.
Install in reverse order, paying attention to the following.
Instructions: Position the horn during installation so that it does not touch neighboring parts.
Tighten all screw connections to the prescribed torques. After installation is complete, bleed the headlight cleaning system.
Visitor comments