
Switch off the ignition and all electrical consumers, remove the ignition key. Remove the interior rearview mirror. Unplug electrical connector -1- for rain and light sensor -G397- -2-.
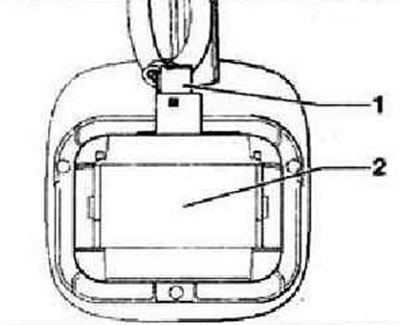
Use a screwdriver to remove the rain and light sensor -G397- -1- from the retaining plate -2-, for example.
Instruction: Pay attention to remove the entire rain and light sensor -G397- and not just the outer shell of this sensor.
Installation is carried out in the reverse order. Clean the area of the windshield in the area of the mounting plate with industrial alcohol. If fitted, remove protective cap of new rain and light sensor -G397-.
Instruction: Outer surface (connecting pad) The rain and light sensor -G397- must not be contaminated during installation. If the outer surface (connecting pad) The rain and light sensor -G397- is dirty and can be cleaned with "gluing" and then 'tearing off' one or more strips of adhesive tape.
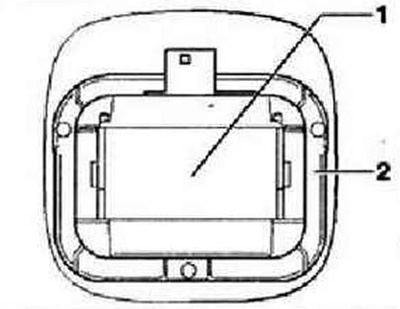
Insert the rain and light sensor -G397- -1- into the retaining plate on the windshield -2- and fix the sensor.
Note: After installation, there must be no air bubbles between the windshield and the connecting pad for the rain and light sensor -G397-. Connect plug connection -1- and secure rain sensor when installing cable cover.
Visitor comments