
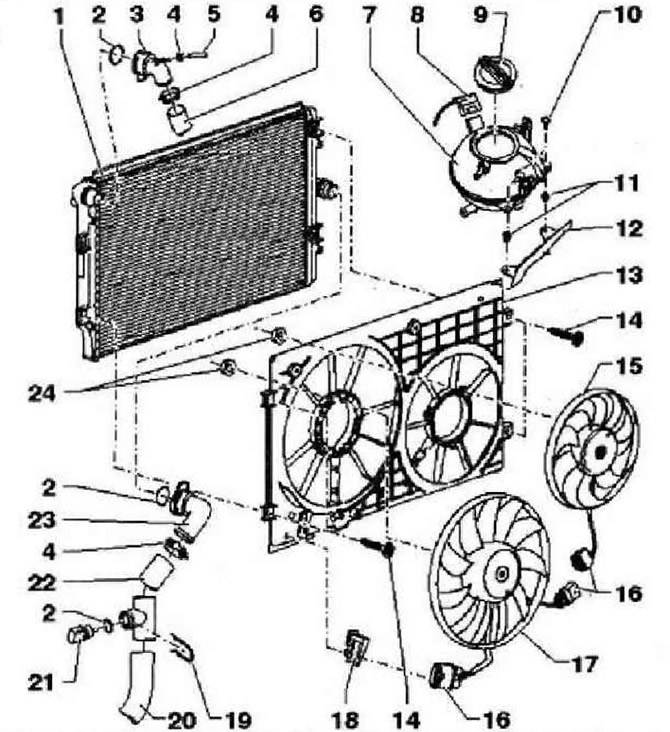
- 1 - Radiator, after replacement, change the coolant
- 2 - O-ring, replace if damaged
- 3 - Fitting, to remove, disconnect the clamp
- 4 - Spring clamp
- 5 - Coolant hose
- 6 - Hose of the cooling system, upper, to the fitting on the main head
- 7 - Expansion tank
- 8 - Connector
- 9 - Lid. Check for tightness. The safety valve in the lid must open at an overpressure of 1.4...1.6 bar
- 10 - 5 Nm
- 11 - Plastic inserts for fastening screws
- 12 - Bracket
- 13 - Guide screen with air intake
- 14 - 5 Nm
- 15 - Radiator fan 2 -V177-
- 16 - Connector
- 17 - Radiator fan -V7- with radiator fan control unit -J293-
- 18 - Connector bracket
- 19 - Mounting bracket
- 20 - Hose of the cooling system, lower, to the thermostat fitting
- 21 - Radiator outlet coolant temperature sender -G83-
- 22 - Hose of the cooling system, lower, to the thermostat fitting
- 23 - Fitting, to remove, disconnect the clip
- 24 - 10 Nm
Removing and installing radiator fan -V7- and radiator fan 2 -V177-
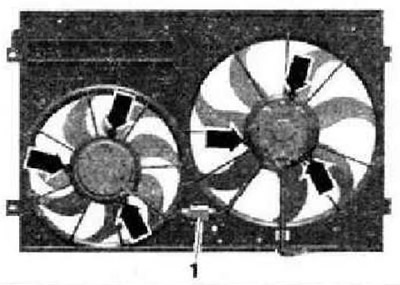
Remove the radiator frame. Disconnect electrical connector -1-. Release electrical wires. Remove nuts -arrows- and remove radiator fan. Install in reverse order.
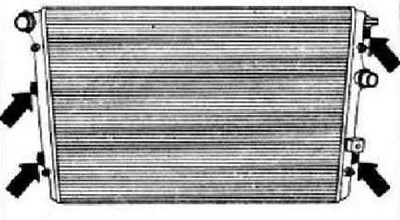
Removal and installation of a radiator
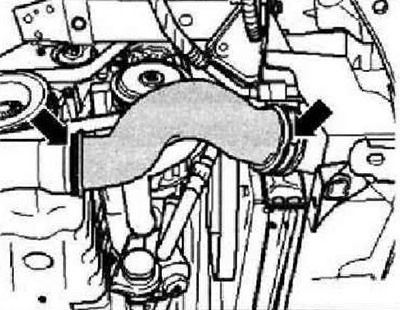
Drain coolant. Remove the radiator frame. Remove air hose -arrows-.
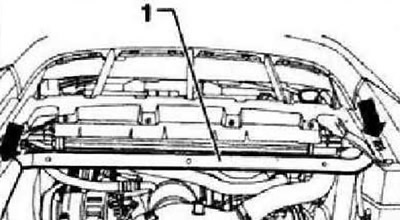
Remove bracket -1- by unscrewing securing bolts -arrows-.
Unlock clip and remove connector -arrow- from radiator. Disconnect also the connecting piece on the radiator on the right.

Unscrew securing bolt -arrow-.

Unscrew bolts -arrows- and remove radiator downwards.
Installation in reverse order.
Visitor comments