
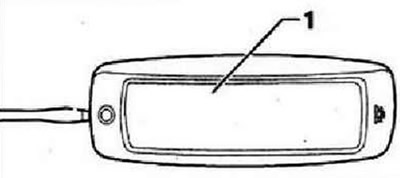
Ceiling lamps for general and individual interior lighting (car without panoramic sunroof)
The following components are installed in the ceiling lamps for general and individual illumination of the front of the cabin:
- Central left-hand driving light -W39-
- Central right-hand lighting bulb -W40-
Instructions: The dome light and individual lighting lamps, as well as the corresponding switches, are made as one component. If defective, replace the entire component assembly.
Removal and installation of ceiling lamps for general and individual lighting of the front of the cabin
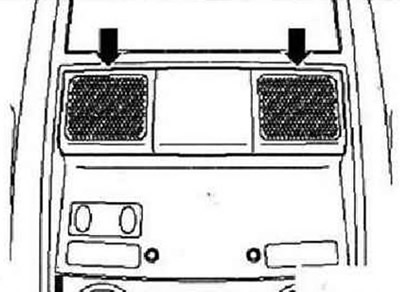
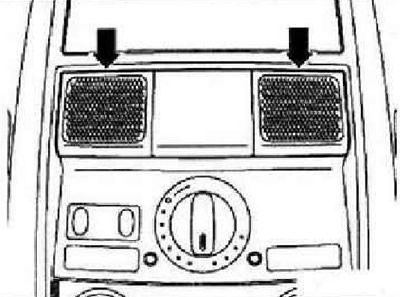
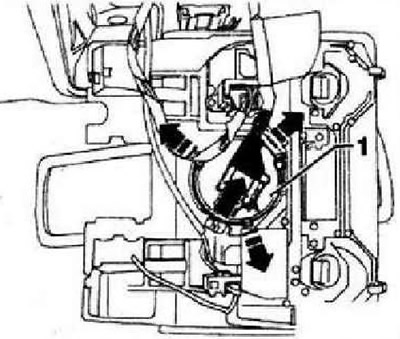
Switch off the ignition and all electrical consumers. Carefully pry off flap with wedge -VAS 3409- or screwdriver from light -arrows-.
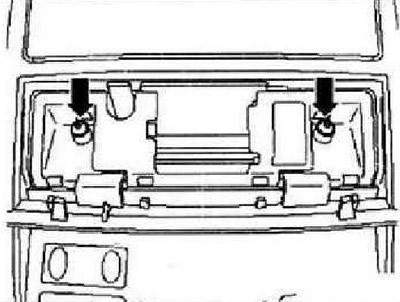
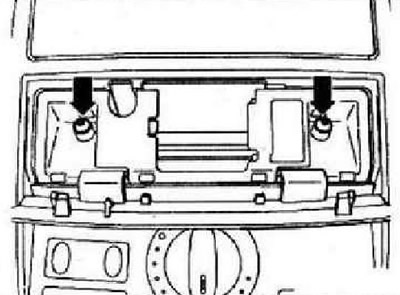
Remove securing bolts -arrows-. Remove the cover from the console in the ceiling panel.
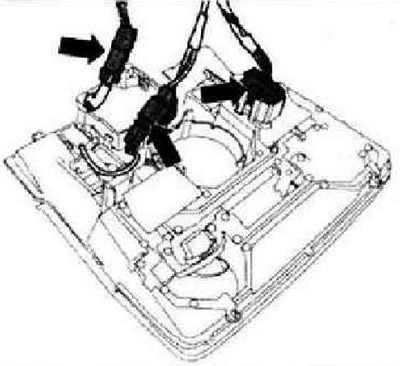
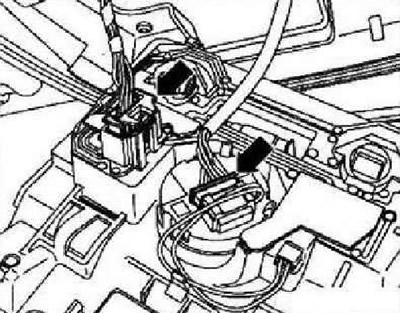
Unlock and unplug connectors -arrows- and remove headlight for general and individual illumination.
Installation is carried out in the reverse order.
Replacing individual illumination bulb, middle left -W39- and illumination bulb, middle right -W40-
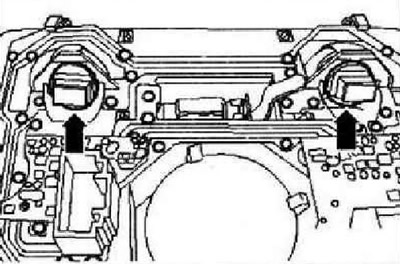
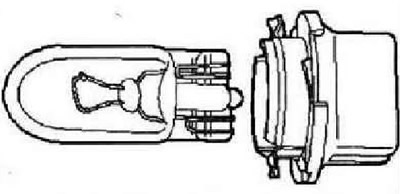
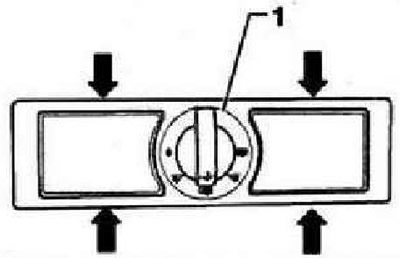
Remove the interior light cover. Turn socket -arrows- for faulty interior lighting by 90°to the left. Remove the socket with the lamp from the individual illumination lamp.
Carefully remove the pampa with the glass base from the cartridge. Replace glass base lamp (12V, 5W).
Installation is carried out in the reverse order.
Ceiling lamps for general and individual interior lighting (car with panoramic sunroof)
The following components are installed in the ceiling lamps for general and individual illumination of the front of the cabin:
- Central left-hand driving light -W39-
- Central right-hand lighting bulb -W40-
- Sunroof switch -E8-
Removal and installation of ceiling lamps for general and individual lighting of the front of the cabin
Switch off the ignition and all electrical consumers. Carefully pry off flap with wedge -VAS 3409- or screwdriver from light -arrows-.
Remove securing bolts -arrows-. Remove the individual lighting dome, taking into account the lengths of the connected wires, from the console in the ceiling panel.
Unlock and disconnect all connectors -arrows-.
Installation is carried out in the reverse order.
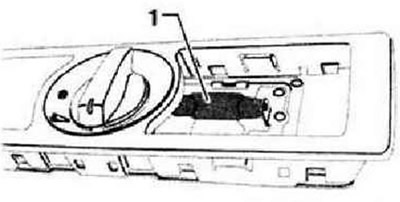
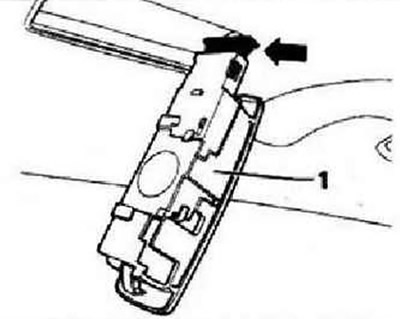
Removing and installing sunblind and sunroof opening button -E437-
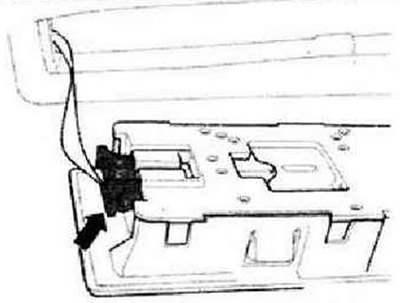
Remove the dome light. Unlock and unplug connector -arrow A-, release catches -arrows- and pull button -1- out of mounting frame.
Installation is carried out in the reverse order.
Plafond and individual backlight lamp
The following components are installed in the courtesy lamps and taillights:
- Rear interior light -W43-
- Left rear interior lighting bulb -W11-
- Right rear interior lighting bulb -W12-
Instructions: The dome light and individual lighting lamps, as well as the corresponding switches, are made as one component. If defective, replace the entire component assembly.
Removal and installation of a back plafond of illumination of salon / a plafond for reading
Switch off the ignition and all electrical consumers. Unlock the catches -arrows- with a wedge or a suitable screwdriver and remove the ceiling lamp, taking into account the lengths of the connected wires, from the ceiling panel.
Unlock and unplug connector -arrow- and remove headlight for general and individual illumination.
Installation is carried out in the reverse order.
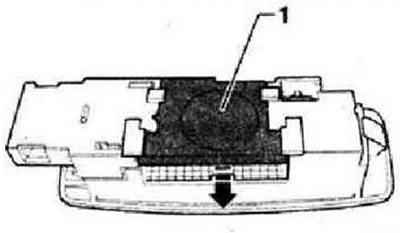
Replacing the ceiling lamps and individual lighting of the rear of the cabin
Instructions: The replacement of the lamps in the rear lampshade is carried out for both lamps in the same way, therefore the description is given only for one side.
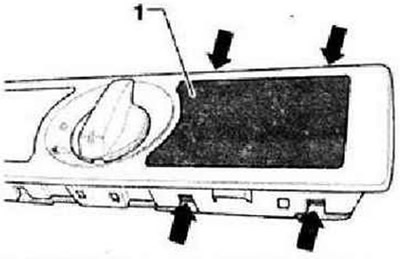
Remove the ceiling lamp and individual lighting lamp. Unlock respectively the four latches -arrows- of the lens -1- and pull it upwards out of the lampshade.
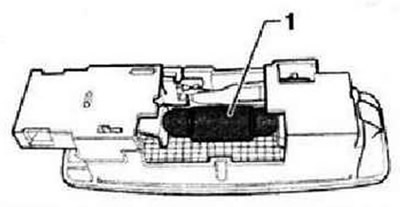
Remove bulb -1- from socket -arrows-. Rear lamps: spotlight 12 V, 5 W.
Installation is carried out in the reverse order.
Removing and installing vanity mirror light on front passenger side -W14- and vanity mirror light on driver's side -W20-
Instructions: Removal and installation of both lamps is carried out in the same way, the description is given for one lamp only.
Switch off the ignition and all electrical consumers. Use wedge -VAS 3409- or a suitable screwdriver to remove light from roof lining.
Unlock and disconnect connector -arrow-.
Installation is carried out in the reverse order.
Replacing the vanity mirror lamp
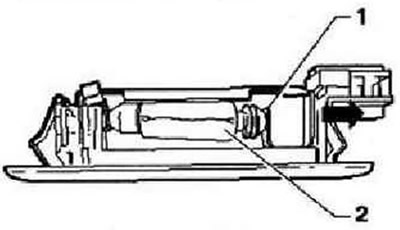
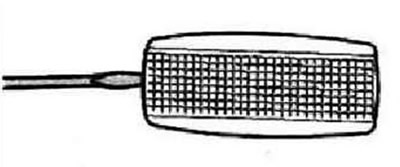
Remove the vanity mirror light. Press the contact plate -1- of the lamp in the direction of the arrow and remove the soffit lamp -2- from the holder. Replace soffit lamp (12V, 5W).
Installation is carried out in the reverse order.
Right lampshade -W17- - Removing and installing
Switch off the ignition and all electrical consumers. Release retainer for right-hand interior light -1- with wedge -VAS 3409- or a suitable screwdriver and remove from headliner, taking into account the lengths of the connected wires.
Unlock and unplug connector -arrow- and remove right-hand cover -1-.
Installation is carried out in the reverse order.
Replacing right lamp bulb -W17-
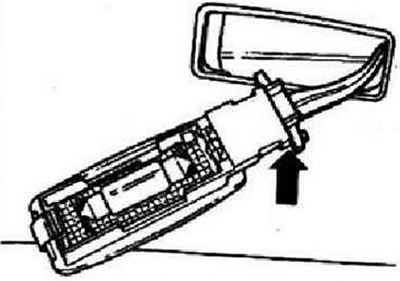
Remove right interior light -W17-. Pull cover -1- in -direction of arrow- out of right-hand light.
Remove soffit bulb -1- from right lampshade. Incandescent lamp for the right lampshade: spotlight 12 V, 5 W.
Installation is carried out in the reverse order.
Visitor comments