
Removing
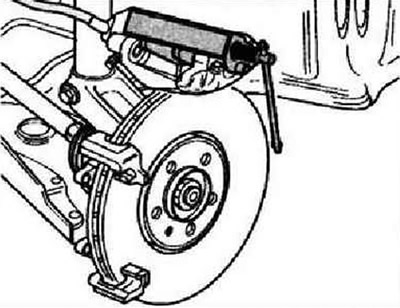
Mark the position of the brake pads if they are to be used. They must be installed back in the same places, otherwise there will be an uneven distribution of braking forces between the wheels! Remove wheels. Use a screwdriver to pry out the retaining spring -arrow- from the brake caliper.
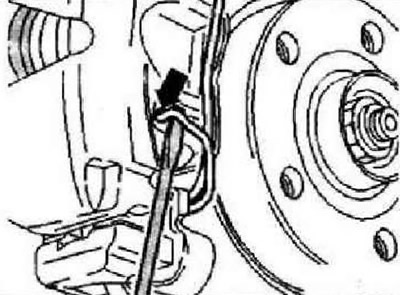
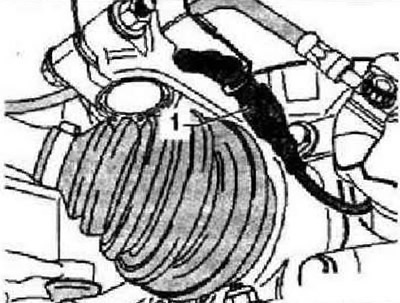
Disconnect electrical connector -1- for brake pad wear indicator.
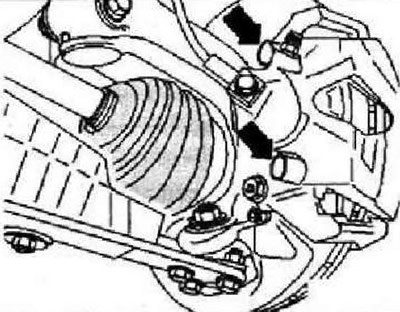
Remove caps -arrows-.
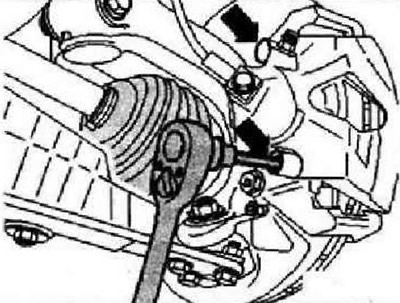
Unscrew and remove both guides -arrows- from the brake caliper. Remove the brake caliper and tie it with wire so that its weight does not damage the brake hose. Remove the brake pads from the brake caliper housing and caliper.
Thoroughly clean the bearing surfaces for the brake pads on the brake caliper, remove any corrosion products. Clean the caliper, especially carefully in the pad seat (there should be no glue or grease residues here). Use only alcohol to clean the brake caliper.
Installation
Before pressing the piston into the cylinder using a special device, it is necessary to pump out part of the brake fluid from the reservoir. If the brake fluid is topped up as the brake pads wear, this will help to avoid fluid leaks and the resulting damage. Press the piston into the caliper. Remove the protective film from the base plate of the outer brake pad. Install the outer brake shoe to the brake caliper. Insert the inner brake shoe with retaining spring into the brake caliper (piston). When installing, glue the block only when it is in the correct position in the caliper. Avoid damaging the adhesive layer.
Screw the brake caliper to the bracket with two guides. Install both protective caps. Install the retaining spring into the brake caliper. Connect the pad wear sensor cable connectors. Install wheels.
Instructions: After each replacement of the brake pads, firmly depress the brake pedal several times. This is necessary in order for the brake pads to take their working position. After replacing the pads, check the brake fluid level.
Tightening torque: guides to the brake caliper - 30 Nm.
Visitor comments