



2. Disconnect the battery and remove the engine cover.
3. Mark the position of the rear flange of the propeller shaft in relation to the flange of the rear axle joint, unscrew the mounting bolts and disconnect the flanges.
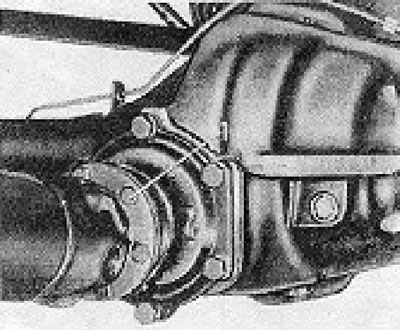
Figure 6.4. Alignment of the rear flange of the propeller shaft: 1 - Mounting bolt.
4. Remove the front end of the driveshaft from the transmission housing. When pulling out the shaft, oil loss is inevitable. You can place a strong plastic bag over the box casing and secure it with duct tape. If you do this quickly, you can avoid a lot of oil loss.
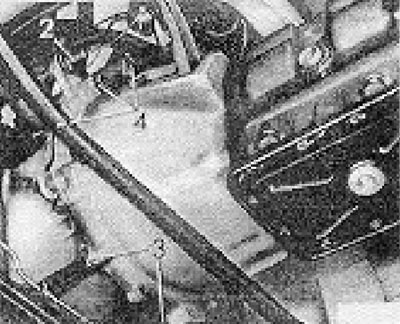
Figure 6.5. Gearbox disconnect points (left side): 2 - Clutch cable; 3 - Cover plate bolts; 4 - Clutch housing bolts.
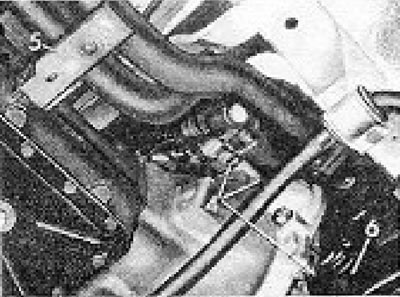
Figure 6.6. Gearbox disconnect points (right side): 4 - Clutch housing bolts; 5 - Exhaust pipe bracket; 6 - Starter motor.
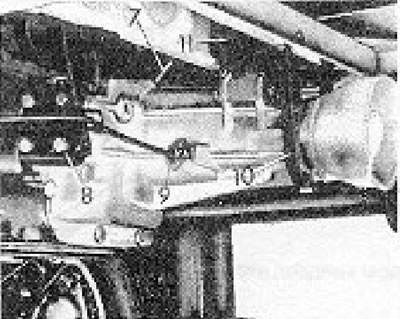
Figure 6.7. Gearbox disconnect points (rear end): 7 - Ground wire; 8 - Gear shift rod bracket; 9 - Speedometer cable; 10 - U-shaped fastening; 11 - Rear mount.
5. Disconnect the clutch cable as described in Chapter 5. And remove the cable guide from the gearbox.
6. Unscrew and remove the cover from the lower front part of the clutch housing (see photo 4.6).
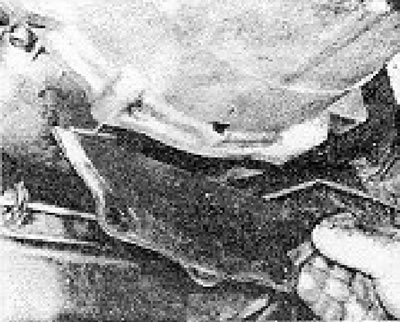
Photo 4.6. Removing the clutch housing cover.
7. Loosen and remove the bolts that secure the clutch housing flange to the engine.
8. Unscrew the stabilizer from the body and lower it down (installed only on some models).
9. Disconnect the exhaust pipe bracket from the gearbox (see photo 4.9).
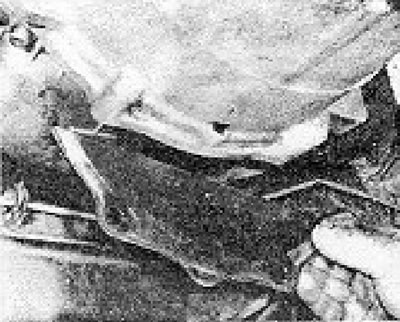
Photo 4.9. Removing the exhaust pipe support.
10. Unscrew and remove the starter motor and place it on the floor in the cabin.
11. Disconnect the gearbox ground wire from the body.
12. Unscrew the rear gear shift lever bracket from the gearbox. Disconnect the ball mount after removing the rubber bushing from it (see photo 4.12a and b).
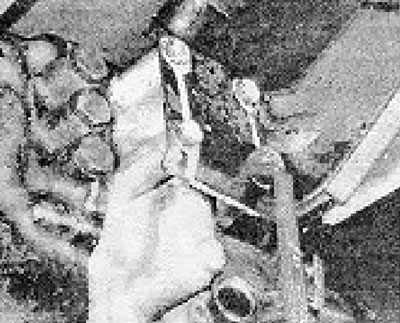
Photo 4.12a. Disconnecting the gear shift rod bracket.
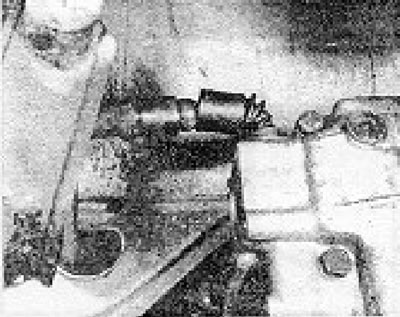
Photo 4.12b. Disconnecting the ball joint.
13. Disconnect the speedometer cable from the side of the transmission and cover its hole to prevent oil loss during transmission removal (see photo 4.13a and b.).
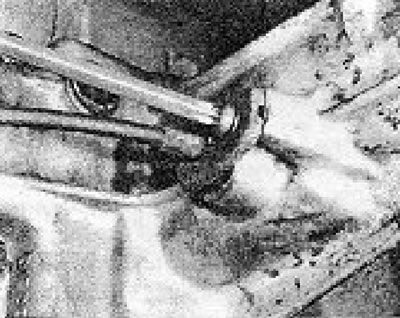
Photo 4.13a. Disconnecting the speedometer cable.
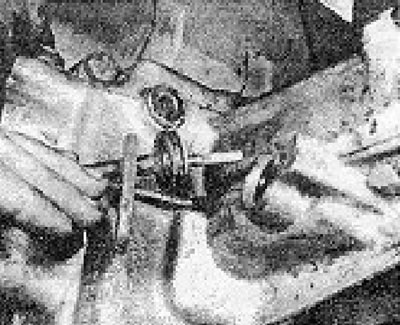
Photo 4.13b. Removing the speedometer cable.
14. Unscrew and remove the U-shaped fastening (if installed) from the rear of the gearbox housing.
15. Support the weight of the engine on the support stand by placing a wooden block on it.
16. Support the weight of the gearbox with a jack, preferably a sliding type.
17. Disconnect the gearbox from its flexible mount by unscrewing the mounting bolt (see photo 4.17).
Photo 4.17. Rear gearbox mounting bolt.
18. With the help of an assistant, move the gearbox back (to the rear of the car), removing it from the retaining tabs, then remove it from under the car on the left side.
19. Installation is carried out by performing the above steps in reverse order, however, if you touched the clutch, center its drive plate.
20. Tighten all bolts to the required torque.
21. Adjust the gear shift mechanism (Section 2).
22. Adjust the clutch cable (Chapter 5).
23. Fill the box with oil of the appropriate type.
Visitor comments