
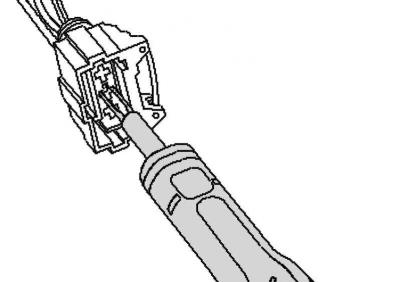
Pic. 7.135. Unblock a contact
Unblock a contact (primary fastening) a suitable pick (pic. 7.135).
Remove the contact from the connector housing by pulling on a separate wire.
Take the yellow repair wire with the correct pin from the cable repair kit.
Release the wire that needs to be repaired (about 20 cm on both sides of the repair site).
If necessary, remove the wiring harness wrap with a jackknife.
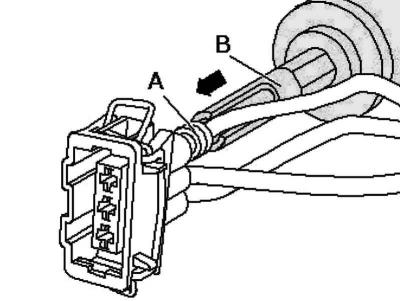
Pic. 7.136. Installing a new contact in the connector housing
Insert the new repair wire pin into the connector housing until it clicks into place (pic. 7.136).
Push the wire seal onto the repair wire.
Note: The smaller diameter of the seal must be on the side of the connector housing.
Insert the seal using a suitable installation tool into the connector housing.
Cut the repair and separate wire in the car to the required length with wire stripping pliers.
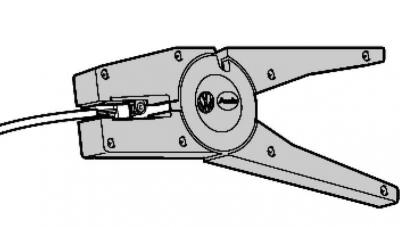
Pic. 7.132. Wire stripping
Strip 6-7 mm of insulation from the ends of the wires using a wire stripper (pic. 7.132).
Crimp the stripped ends of the wires with crimping pliers and a sleeve, as described in chapter «Wire break in one place».
Note: If several wires need to be repaired, a certain distance between the crimp sleeves must be observed. so that the wire harness does not turn out to be too thick in the girth after repair, install the crimp sleeves with some offset relative to each other.
If the initially repaired place was wrapped with electrical tape, then after repair it should be wrapped with yellow electrical tape.
The repaired wiring harness should then, if necessary, be secured with a wire tie to avoid extraneous sounds when driving.
Visitor comments