



93. Remove the valve cover.
94. Remove the distributor (see section 7 of this Appendix).
95. Remove the camshaft sprocket mounting bolt while holding the shaft from turning using one of the methods described in Chapter 1, Section 6.
96. Remove bearing caps No. 1 and 4 (the covers are numbered starting from the front of the engine).
Note: Bearing caps #2 and #3 are installed offset, so mark the position of the caps relative to the bearings before removing them.
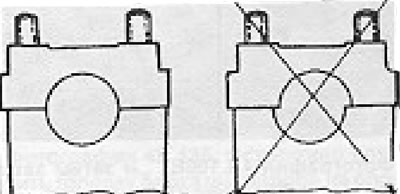
Figure 13.7. Bearing caps Nos. 2 and 3 are installed with an offset, so their position should be carefully noted before removing them (Section 4B).
97. Remove bearing caps No. 2 and 3, gradually unscrewing the remaining nuts in a diagonal sequence (this is necessary in order to gradually relieve the pressure exerted by the valve springs on the camshaft).
98. Remove the camshaft.
99. Before installing the camshaft in place, lubricate it and the bearing surfaces with clean engine oil.
100. Lubricate the sponge of the new oil seal with engine oil and install it on the camshaft (see (photograph).
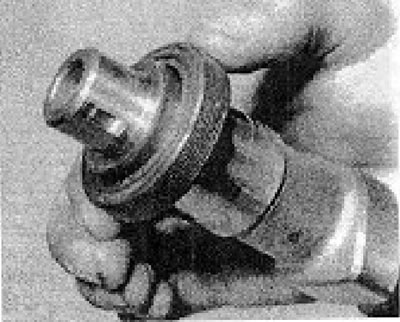
Photo 4B.100. Installing the front camshaft oil seal.
101. Carefully lower the camshaft into the bearings (see photos).
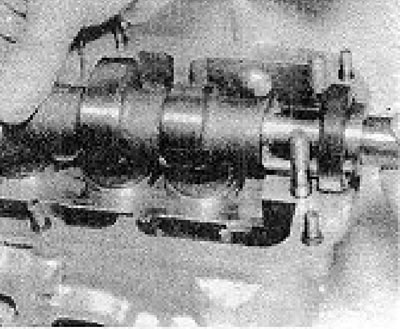
Photo 4B.101A. Lower the camshaft into the front bearing...
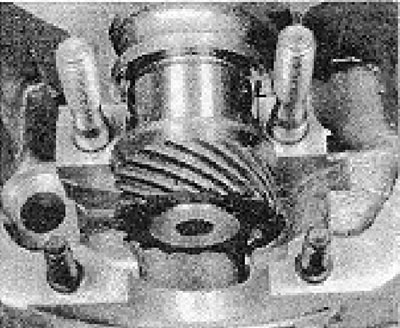
Photo 4B.101B....and then into the rear bearing.
102. Position the cams for cylinder #1 so that they both point upward at approximately the same angle (see photo).
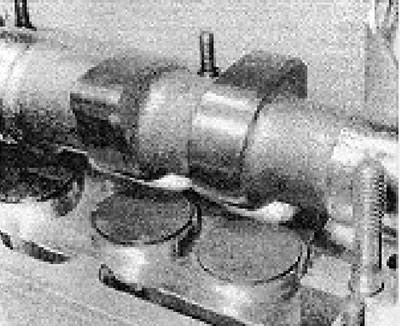
Photo 4B.102. Ensure that both cams for cylinder No. 1 point upward at approximately the same angle.
[The original text is available on the portal: www.VWManual.ru]
103. Install bearing caps No. 2 and 3, observing the marks made earlier.
104. Tighten the cover fastening nuts in the reverse order of their loosening.
105. Install covers No. 1 and 4 and lightly tighten their nuts.
106. Check that the front crankshaft oil seal is completely driven into place (see photo), and then tighten both bearing cap nuts to the specified torque (see photo).
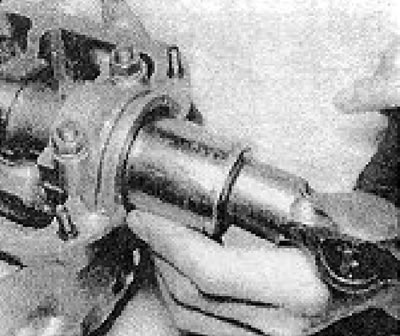
Photo 4B.106A. Using a socket wrench, hammer the seal all the way into place...
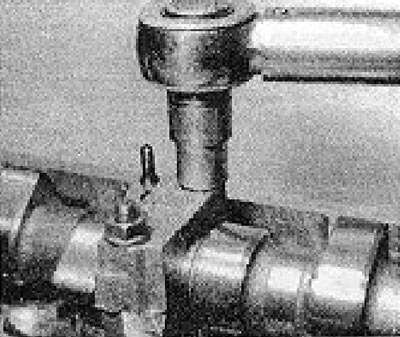
Photo 48.106B....and then tighten the bearing cap nuts.
107. Install the rear timing belt shield (if it was filmed).
108. Install the sprocket key onto the camshaft.
109. Install the camshaft sprocket (see photo).
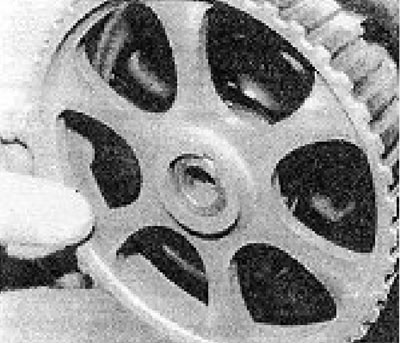
Photo 4B.109. Installing the camshaft sprocket.
110. Install the sprocket mounting bolt and tighten it to the specified torque (see photo).
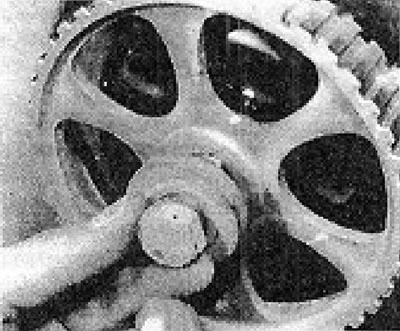
Photo 4B.110. Installing the camshaft sprocket bolt.
Note: When tightening the mounting bolt, be careful not to turn the camshaft, as this may cause the valves to hit the pistons. Likewise, be careful not to crank the engine until the timing belt is in place and the valve timing is adjusted.
111. Install the rubber plug on the rear end of the cylinder head (see photo).
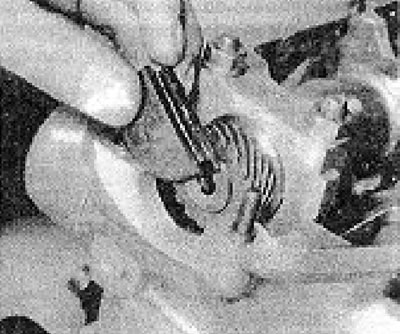
Photo 4B.111. Installing the rubber plug on the rear end of the cylinder head.
112. Install a new seal on bearing cover No. 1 (see photo).
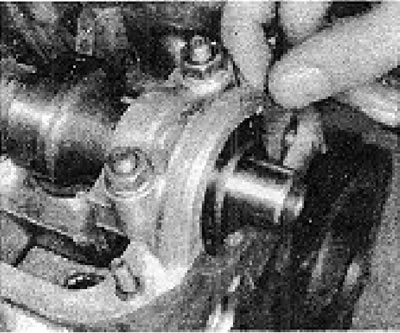
Photo 4B.112. Install the seal on the bearing cover No. 1...
113. Install a new valve cover seal (see photo).
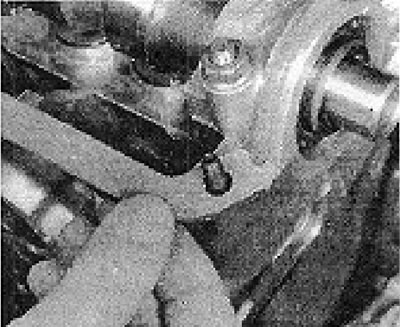
Photo 4B.113. ...and the valve cover cork seal.
114. Install the valve cover and tighten its mounting nuts to the required torque.
115. If you have installed a new camshaft, you should check and adjust the valve clearances after installing the timing belt.
116. Install the timing belt as described above.
Visitor comments