



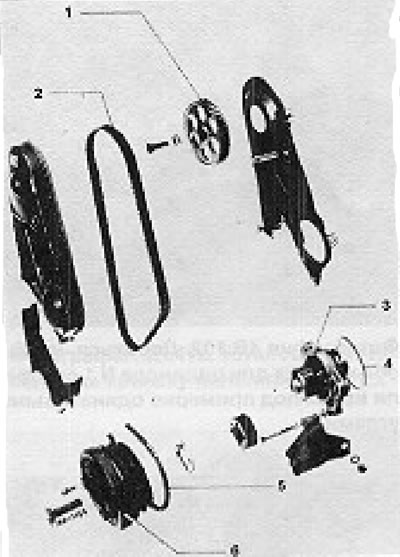
Fig. 13.4. Timing mechanism parts - models produced before 1984: 1 - Camshaft sprocket; 2 - Toothed belt; 3 - Water pump; 4 - O-ring with circular cross-section; 5 - Generator belt; 6 - Vibration damper.
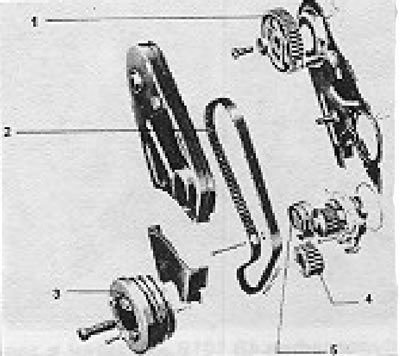
Figure 13.5. Timing mechanism parts - models produced after 1984: 1 - Camshaft sprocket; 2 - Toothed belt; 3 - Vibration damper; 4 - Crankshaft sprocket; 5 - Intermediate roller.
82. The procedure is similar to that given in chapter 1, Section 5, except for the following differences.
83. The upper dust cover is held in place by quick release clamps.
84. The crankshaft can be turned using the method described in paragraph 161.
85. Loosen the water pump bolts to relieve tension on the belt.
86. Remove the lower casing.
87. On models produced after May 1984, there is an intermediate tensioner roller, which is attached to the cylinder block with 1 bolt.
88. If you are not going to change the belt, you should mark the direction of its movement on it and make sure not to twist the belt when removing it.
89. After installing the belt, tighten it by turning the water pump to the left, and then tighten the pump mounting bolts.
90. A correctly tensioned belt should twist no more than 90° when moderate force is applied to it.
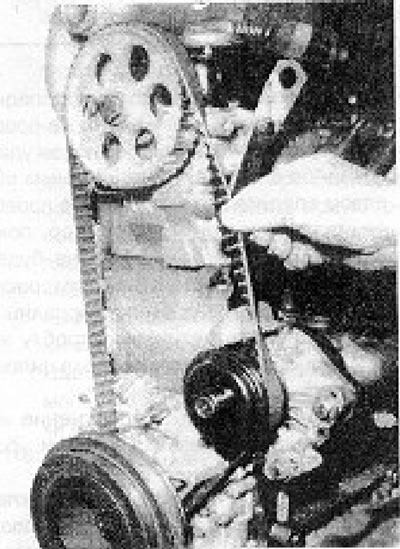
Figure 13.6. Timing belt tensioning (section 4B).
91. When installing the anthers, check that the seals are in place (see photo).
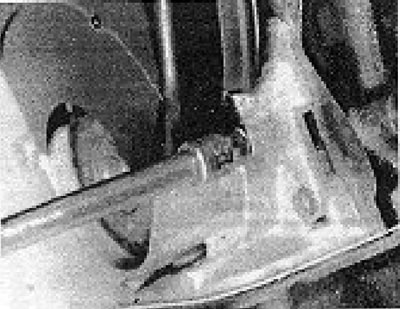
Photo 4B.91A. Installing the lower timing belt cover bolts.
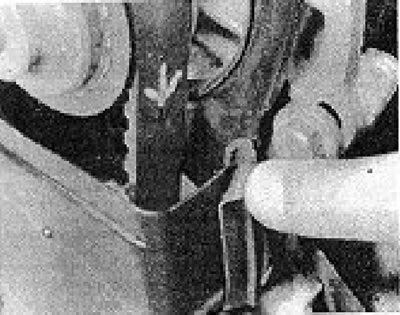
Photo 4B.91B. Check that the seals are installed.
[The original material is available on the portal: www.VWManual.ru]
Visitor comments