
Removing
Remove crankshaft (see section "Removal, disassembly, assembly and installation of the crankshaft").
Unscrew the connecting rod nuts and remove the connecting rod cap, mark the bearings.
Examination
Check the connecting rods for external damage.
Connecting rod bolts must not show any signs of impact or crushing. If the bolts are damaged, replace the entire connecting rod.
When replacing one or more connecting rods, measure the mass of the old and new connecting rods, since the difference in mass between the connecting rods should not exceed 10 g. The connecting rods must be weighed without bearings.
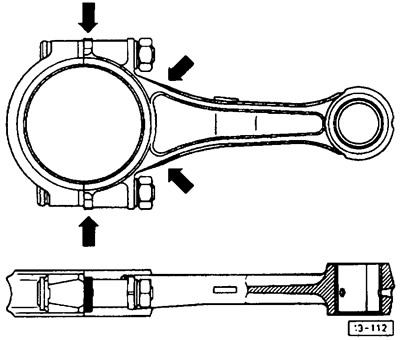
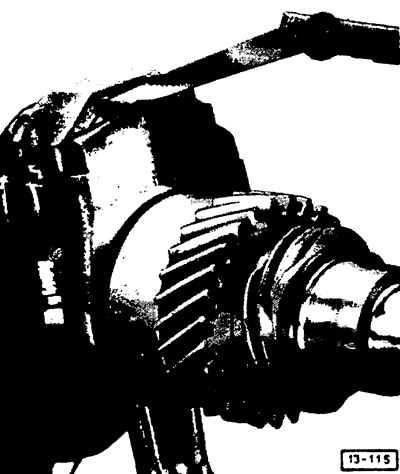
In case the new connecting rods are overweight, they must be processed in strictly defined places, which are shown in the figure. Withdrawal "superfluous" metal, you can achieve a weight reduction of 8 g.
Check the bushings in the upper heads of the connecting rod. The piston pin is inserted into the new sleeve in a cold state with light finger pressure.
Align the connecting rods if necessary (work done in the workshop).
Installation
Rinse all parts in kerosene and lubricate with oil.
Install bearings according to marks.
Install rods.
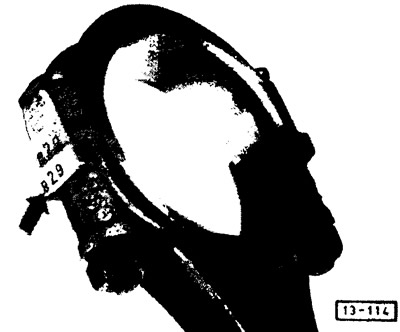
The numbers of the marking at the junction of the head and the rod of the connecting rod must be located on the same side.
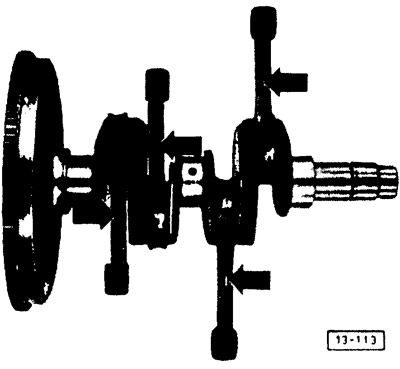
The marking on the rod of the connecting rod during installation must be located on top (see arrows).
Install the connecting rod caps with new nuts. Before doing this, clean the nuts from grease.
Attention! Kafer 1200 vehicles must use new connecting rod bolts.
Lubricate the mating surfaces of the nuts with oil, and tighten the nuts themselves with a torque of 35 Nm (3.5 kgcm).
After installation, the connecting rods should slide down under their own weight.
Small stresses that may occur between the bearing halves when the bolts are tightened are eliminated by light hammer blows on both sides of the connecting rod.
Check the end play of the connecting rod with a feeler gauge. The wear limit is 0.7 mm.
Visitor comments