
Car models up to 9/93
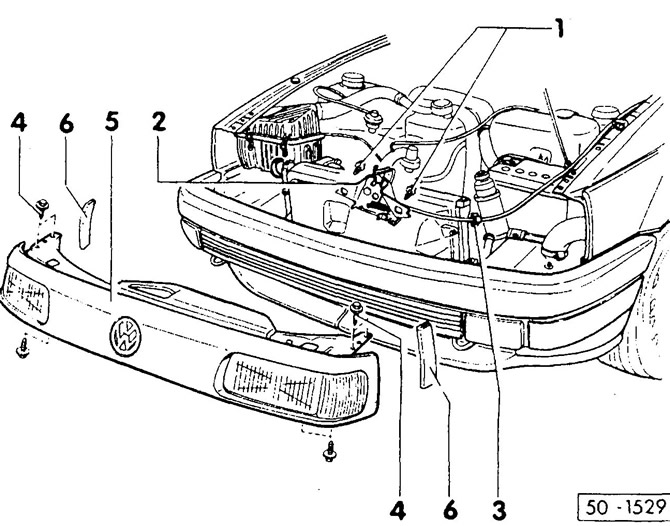
- 1 - bolt, 12 Nm
- 2 - lock
- 3 - clamp
- 4 - screw, 5 Nm
- 5 - lock beam with front cladding
- 6 - protective detail of the edge of the wing
Car models since 10/93
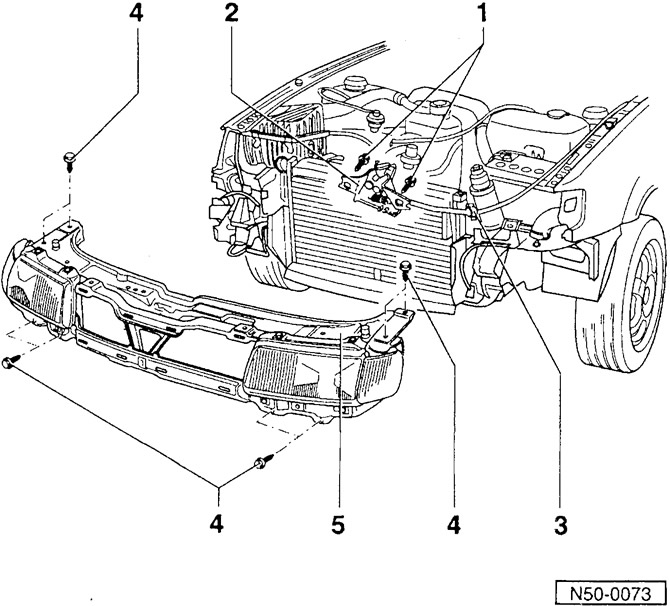
- 1 - bolt, 12 Nm
Self-locking. For repeated use, clean the threads and treat with anti-twist VW D 185 400 A2 before installation.
- 2 - lock
- 3 - clamp
- 4 - screw, 5 Nm
- 5 - castle beam
Removing
Remove the front grille/radiator grille, see above.
From 10/93: remove the front bumper, see above.
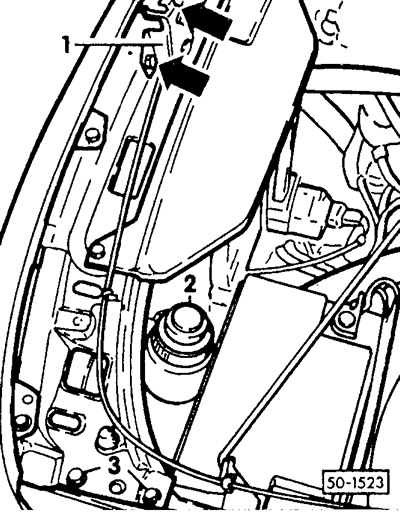
Mark securing bolts and unscrew lock -1-.
Detach the bonnet lock drive rod from the plastic clips and set the lock aside.
Disconnect the plug connection of the main and fog lamps, as well as the direction indicator lamps.
Loosen retaining clip and remove expansion tank -2- for power steering and place to one side with hoses attached.
If equipped, unscrew the holder of the air conditioning refrigerant pipe at the lock beam.
Release screws -3-.
Up to 9/93: remove the ventilation grill at the bottom.
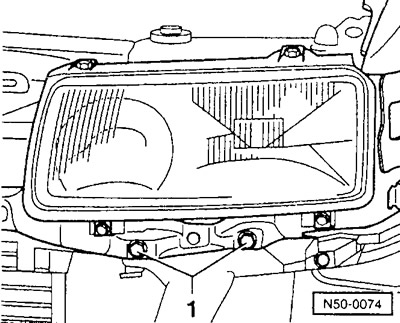
From 10/93: Remove bolts -1-.
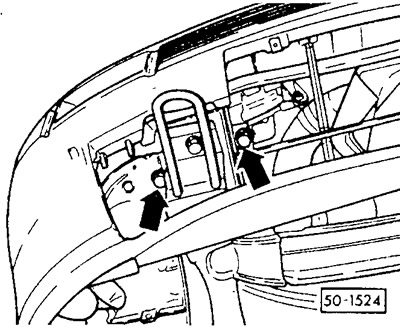
Up to 9/93: Remove the fixing bolts (arrows) from the underside of the car.
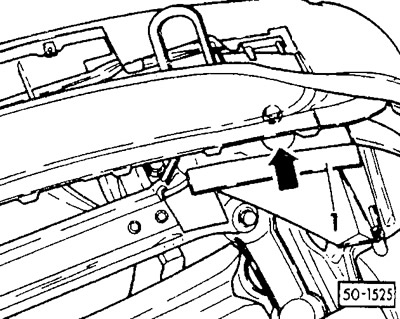
Vehicles with a turbocharged diesel engine up to 9/93: Open plug -1- for charge air cooler air duct and unscrew outer bolt through mounting hole (arrow).
Raise the lock beam in front slightly and carefully pull it out.
Caution: Do not damage the protective coating at the leading edge of the wings.
Installation
Check the strength of the fastening of the protective part of the wing edge.
Carefully insert the lock beam» screw.
Install a ventilation grill at the bottom.
Attach and securely fasten the compensation tank of the hydraulic booster of the steering mechanism with a clamp.
Connect the multi-pin connector for the headlights, fog lights and turn signal lights.
Screw on the hood latch. At the same time, lay the hood drive rod in the same place and fasten it.
From 10/93: Install front bumper and grille.
Visitor comments