



Instructions: Work with the cardan shaft should be carried out, if possible, on a two-support lift with a platform. Before removing, mark the location of all mating parts relative to each other. Assemble according to the marks made, ensuring the initial location of the parts relative to each other. This will eliminate the possibility of damage to the bearings and the occurrence of noise caused by the resulting imbalance. Do not bend the cardan shaft; place and transport it only in a straight position. When removing the cardan shaft, do not allow it to "sag" under its own weight; always support the shaft. Always disconnect and connect the cardan shaft to the flange horizontally.
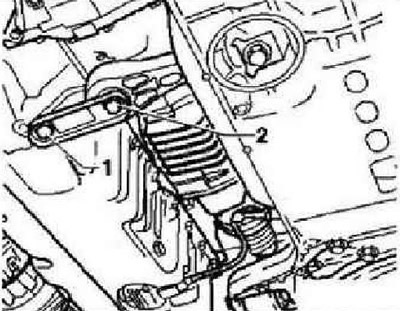
Remove the sound insulation. Unscrew bolts "1" and "2" of the lower support of the power unit.
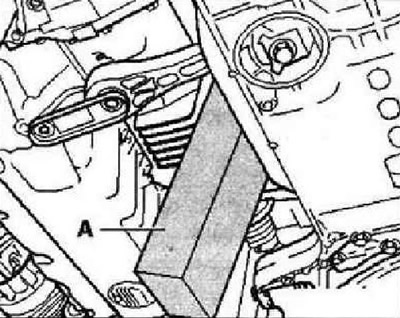
Press the "engine and gearbox" forward by hand and fix them in this position with a suitable wooden block "A". Support the front part of the exhaust system with the tilting device -VAG 1383 A-.
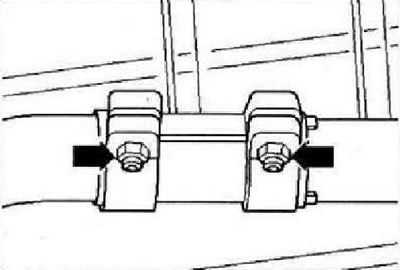
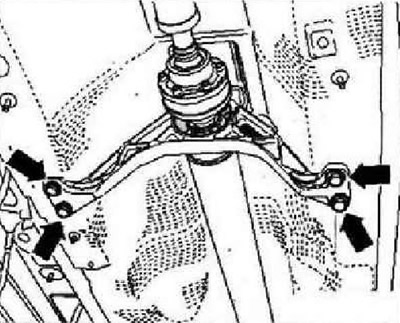
Loosen the clamps "arrows" and remove the rear part of the exhaust system. Remove the tunnel cross member.
Loosen the intermediate support "arrow" bolts by two turns. Loosen the cardan shaft at the front and rear, but do not unscrew it yet.
To disconnect and tighten the propeller shaft, hold it in the rear final drive.
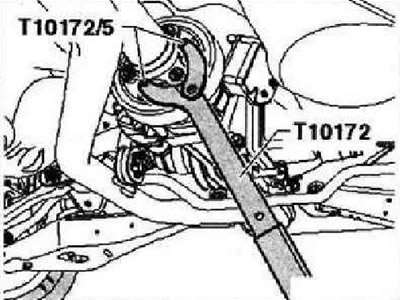
To avoid noises due to imbalance later. If there are no "arrow" marks, then mark the position of the cardan shaft in relation to the flange on the main gear. Also mark the position of the cardan shaft in relation to the flange on the angular gearbox. Unscrew the cardan shaft from the rear main gear and place it on the tilting device -VAG 1383 A-
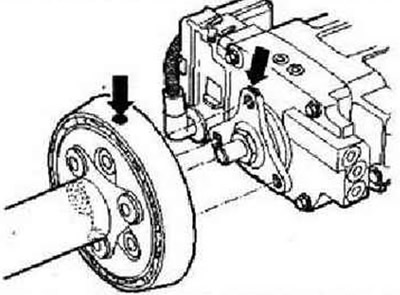
When removing and connecting the cardan shaft, always take care not to damage the "arrow" bushing.
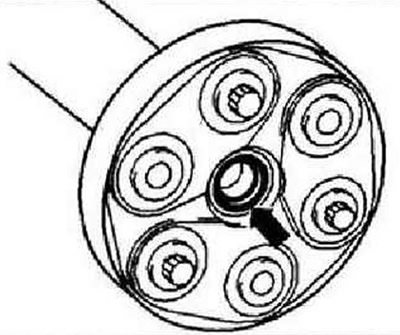
Unscrew the cardan shaft from the angular gearbox.
CAUTION: To avoid damaging the protective cover on the intermediate support, the cardan shaft should be removed and installed, and stored as straight as possible.
Unscrew the intermediate support and remove the cardan shaft downwards, as straight as possible.
Installation is carried out in the reverse order. All components, the relative positions of which were marked relative to each other, must be installed in their original position. Tighten the propeller shaft. Secure the lower support of the power unit with "new" bolts. Install the exhaust system. Install the noise-insulating casing. Install the tunnel crossmember.
Visitor comments