



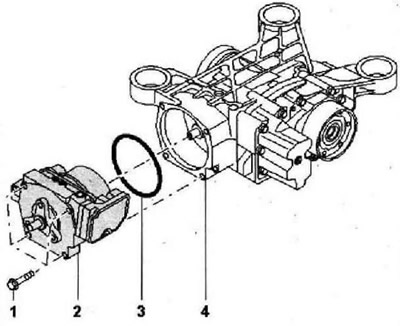
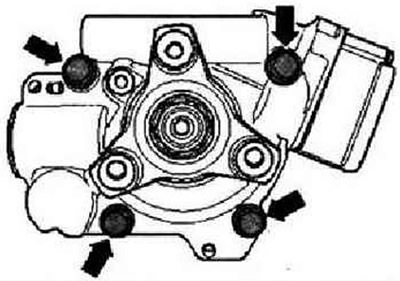
- 1 - Hexagon head bolt, tightening torque 50 Nm, 4 pcs.
- 2 - Haldex coupling with control unit
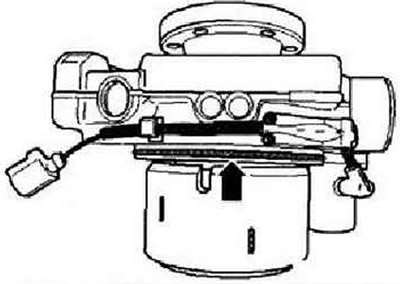
- 3 - O-ring, must be replaced, lubricate with Haldex coupling oil before installation
- 4 - Main gear
Removal
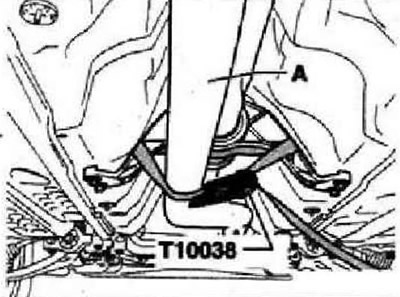
Secure the intake pipe "A" with the tensioning belt "T10038" on the intermediate support of the propeller shaft.
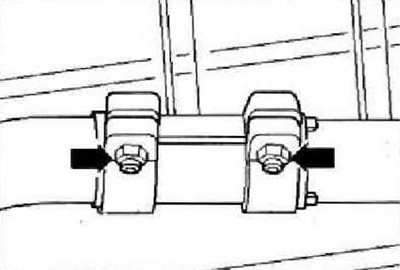
Loosen the clamps "arrows" and remove the rear part of the exhaust system. Remove the noise-insulating casing under the power unit.
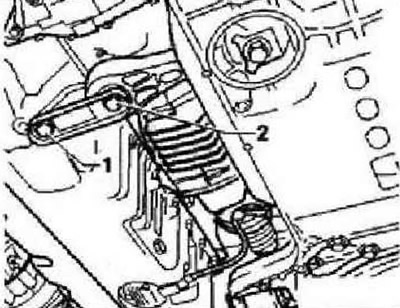
Unscrew bolts "1" and "2" of the lower support of the power unit.
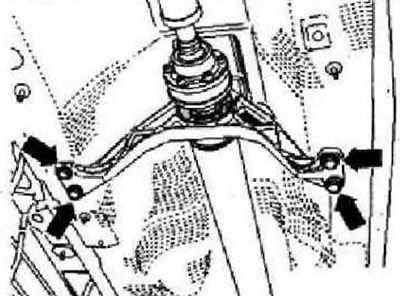
Loosen the "arrow" bolts securing the intermediate support of the propeller shaft by approximately two turns.
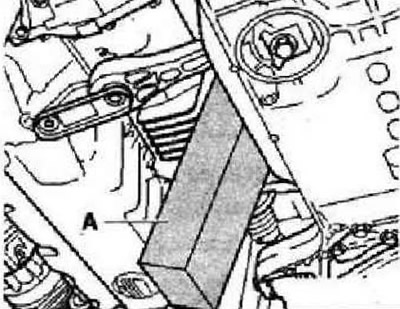
Press the "engine and gearbox" forward with your hand and fix them in this position with a suitable wooden block "A".
To avoid noises due to imbalance later. If there are no "arrow" marks, then mark the position of the cardan shaft in relation to the flange on the main drive.
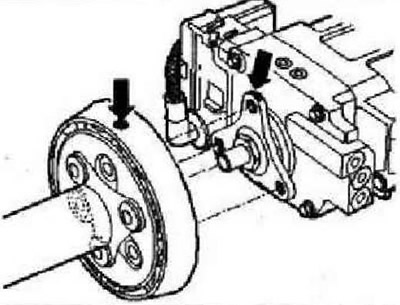
Unscrew the elastic coupling fastening from the main gear. Place a rag on the tunnel cross member. Remove the cardan shaft together with the elastic coupling and place it on the tunnel cross member.
Instructions: To remove the Haldex coupling, sufficient free play is required to the flexible coupling.
To do this, you only need to release the tunnel crossbar, but do not unscrew it. Place a tray for service cranes -VAS 6208- under the main gear.
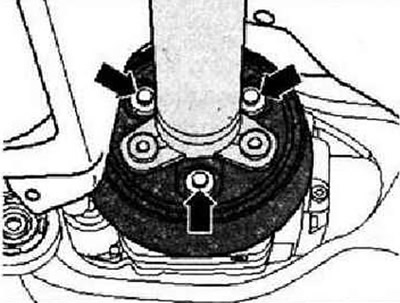
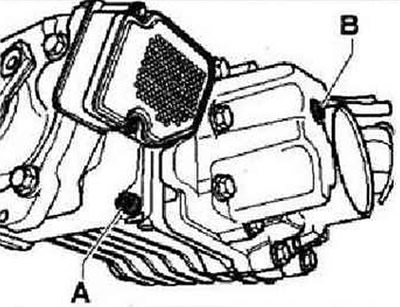
Unscrew drain plug "A" and completely drain the Haldex coupling oil.
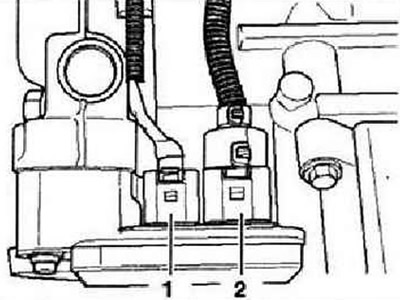
Disconnect connector "2" from the all-wheel drive control unit J492-.
Place the service tray -VAS 6208- under the final drive. Screw in the drain plug "A" with a new sealing ring and tighten it to 30 Nm. Unscrew the bolts securing the "arrow" and remove the Haldex coupling from the rear final drive.
Installation is carried out in the reverse order. All components, the mutual position of which relative to each other was marked, must be installed in the original position. Install a new sealing cuff "arrow", having previously lightly lubricated it with oil for Haldex couplings.
Insert the Haldex coupling into the rear final drive. Tighten the bolts "arrows" to the specified torque. Connect connector "2" to the all-wheel drive control unit J492-. Tighten the propeller shaft. Loosely align the intermediate support and secure. Tighten the tunnel cross member. Secure the lower support of the power unit with "new" bolts. Install the exhaust system (ensure there are no distortions). Install noise insulation. Fill with new oil for Haldex couplings, check the oil level in the Haldex coupling. Tightening torque: Haldex coupling to the rear final drive - 50 Nm.
Visitor comments