



WARNING: Avoid burns from hot liquid. The coolant temperature of a warm engine may exceed 100°C. The fluid in the cooling system is under pressure. Before starting repair work, wait until the pressure and temperature of the coolant have decreased.
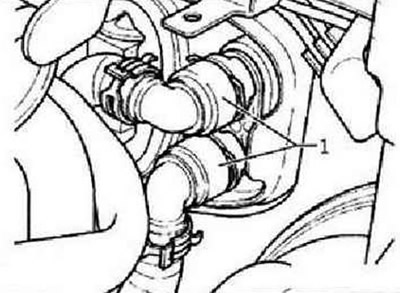
Clamp coolant hoses -1- with hose clamps for hoses up to Ø 40 mm -3093- and remove coolant hoses from heat exchanger. Push the short hose -A- onto the top connection of the heat exchanger. Place a container -B- under the lower fitting -C-.
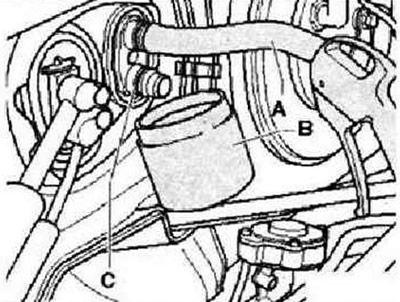
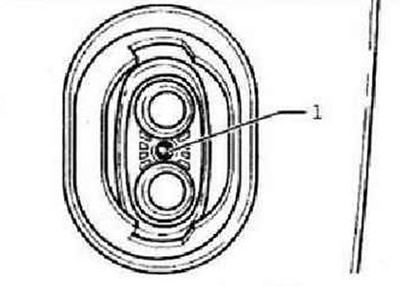
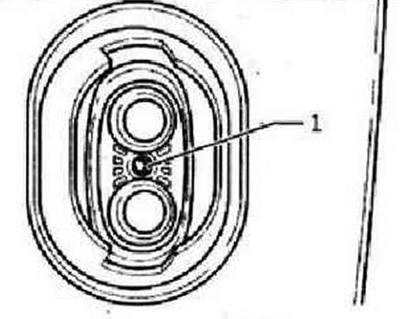
Carefully blow the coolant out of the heat exchanger into container -B- using a blow gun. Loosen a little (do not twist) bolt located between the fittings on the heat exchanger flange.
Note: Loosening the bolt -1- releases the tension on the coolant lines and makes it easier to remove the heat exchanger.
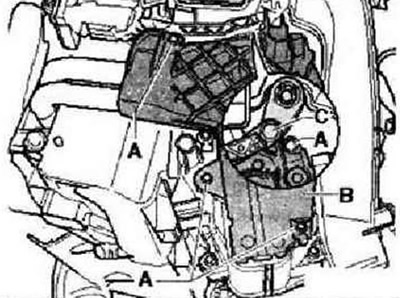
Remove the footwell trim on the driver's side. Remove left footwell air duct. Release screws -A- and remove cover -B-.
Instruction: There are several versions of the cover -B-. The illustration shows the version with additional air heater -Z35-. The operating lever -C- for the temperature control flap can be positioned so that access to the bolt -A- is blocked. In this case, you should change the position of the temperature control flap using the temperature regulator knob, and for vehicles with air conditioning using the display and control panel, for example, in the direction of increasing the temperature ("Hi").
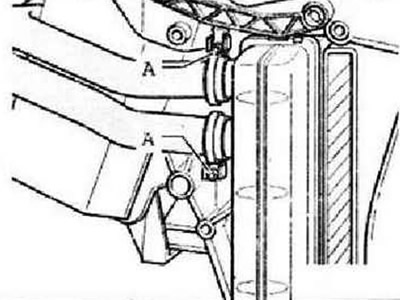
Spread a waterproof film and absorbent paper on the fabric floor of the car under the heat exchanger. Disconnect the clamps -A- and remove the hoses from the heat exchanger. Remove the heat exchanger from the heater module.
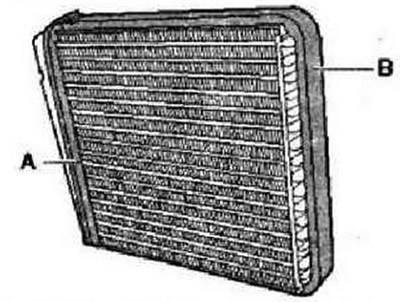
Installation is carried out in the reverse order. Check condition of heat exchanger seals -A- and -B-; install the heat exchanger only with intact seals.
Instructions: If the seal is not glued correctly, it may twist when the heat exchanger is inserted into the heater. If the seal is damaged or incorrectly installed, cold air may flow past the heat exchanger.
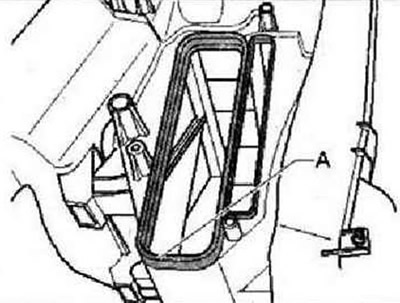
With the heat exchanger removed, inspect the heater (through the cavity -A- for the heat exchanger) for the presence of contaminants. If necessary, remove dirt and coolant residues from the heater, for example after removing a leaky heat exchanger. Insert the heat exchanger into the heater.
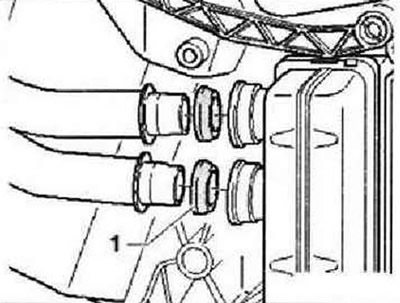
Soak sealing rings -1- in coolant before installing. Insert O-rings -1- into heat exchanger fittings.
Instructions: Make sure that the rings are installed in the correct direction. Deformed clamps must be replaced.
Connect the coolant hoses to the heat exchanger. Clamps -A- must be twisted slightly around the hoses during installation. Position clamps -A- as shown. Tighten clamps -A- to 2 Nm. After tightening the screws, check the position of both clamps -A-. They must completely cover the junction of the hose with the heat exchanger and not touch other parts. Tighten bolt -1- on flange between heat exchanger fittings to 2 Nm.
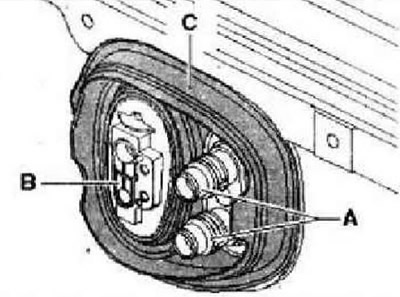
Check that the sealing collar -C- is correctly seated in the bulkhead. Seal the edges of the heat exchanger pipes -A- and the expansion valve for the evaporator to prevent moisture penetration (only for vehicles with air conditioning) -B- in places of passage through the cuff -C- with silicone sealant.
Instructions: O-rings must be replaced. After replacing the heat exchanger, it is necessary to completely replace the coolant. Check the tightness of the cooling circuit, paying particular attention to the connections of the cooling system hoses to the heat exchanger.
Visitor comments