
English Русский
Български
Беларускі
Український
Српски
Hrvatski
Română
Polski
Slovenský
Magyar
  |  Articles  |  Sitemap  |  Contacts  |    |
Car maintenance Ford Car maintenance Hyundai Car maintenance Chevrolet Car maintenance BMW Car maintenance Audi Car maintenance Opel Car maintenance AvtoVAZ
VWmanual.ru


Main   Passat   Golf   Polo   Touareg   Tiguan   Sharan   Transporter   Others  
LT 28 (1975-1991) LT 2D (1996-2003) Beetle (1960-1986) Caddy 3 (2003-2010)

Removal and installation the engine (VW Beetle)

  • Main
  • Volkswagen
  • Beetle
  • Power unit
  • Engine repair
  • Removal and installation the engine
            0


Contents: Removal ↓ Installation ↓

Removal


To remove the engine, the car must be raised at the rear by approximately 1 m and supported using reliable supports.
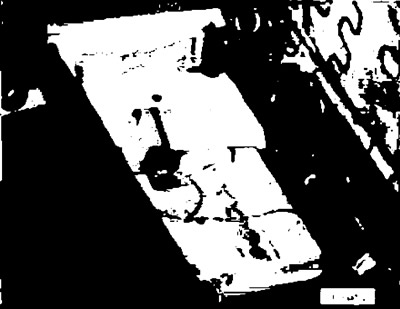
Raise the rear seat and disconnect the ground terminal from the battery.

Raise the rear seat and disconnect the ground terminal from the battery.

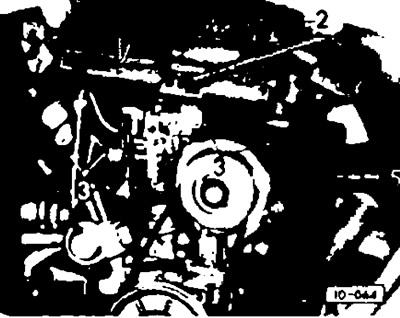
Disconnect the air ducts from air filter 2 and unscrew the bolts securing it from below. Remove the…


Disconnect the air ducts from air filter 2 and unscrew the bolts securing it from below. Remove the filter and cover the carburetor with a clean, lint-free cloth.

Disconnect electrical wires 3 from the generator, ignition coil, automatic starter, idle speed control solenoid valve and oil pressure sensor.

Disconnect accelerator rod 4 from the carburetor and remove the guide tube from the fan housing.

Caution! Do not lose the mounting sleeve!
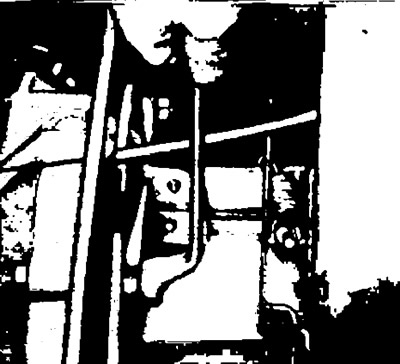

Unscrew nuts 5 from the two upper bolts 3* of the fan. In this case, the assistant must hold the…


Unscrew nuts 5 from the two upper bolts 3* of the fan. In this case, the assistant must hold the bolts.


Raise the vehicle and place it on supports.
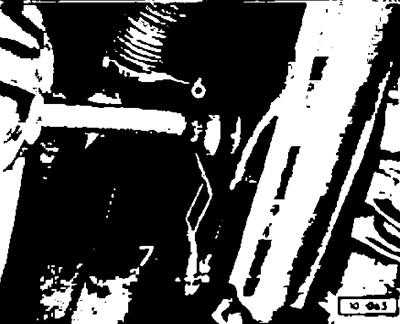
Release the spring clamp on the heating air duct 6 and disconnect the air duct. Disconnect the left…


Release the spring clamp on the heating air duct 6 and disconnect the air duct. Disconnect the left and right heating rods 7.
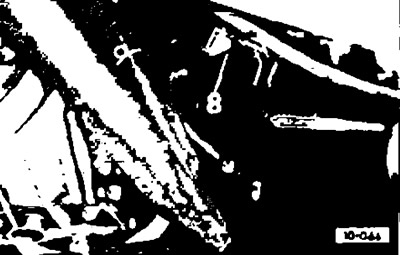
Disconnect fuel hose 8 and plug it with a wooden plug.


Disconnect fuel hose 8 and plug it with a wooden plug.

Unscrew the engine mounting bolts 9 at the top left.

Pull the accelerator rod out of the guide tube.

Place a jack under the engine crankcase and slightly raise the engine.
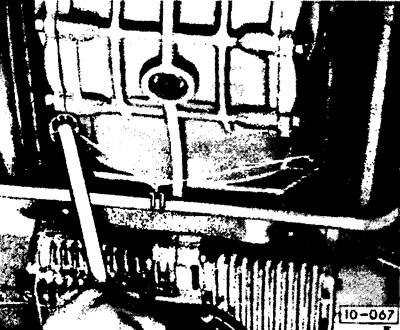
Loosen nuts 11 of the lower engine mounting bolts.


Loosen nuts 11 of the lower engine mounting bolts.


Move the engine away from the gearbox and lower it down, being careful not to damage the input shaft and clutch disc.

Installation


Before installing the engine, thoroughly clean the gearbox housing and the engine flywheel housing (do not clean the clutch release bearing with gasoline or any other means!).

Check the clutch release bearing for wear and replace if necessary. 2 based paste to the plastic ring.

Lubricate the starter shaft bushings with a small amount of grease.

MoS₂ based paste to the splines of the gearbox input shaft.

Note: To check or center the clutch disc, see. chapter "Clutch".


Engage 1st gear so that the input shaft of the gearbox cannot turn.

Install the engine on the lift. The engine can also be installed using a thick board approximately 50 cm wide. In this case, at least two assistants will be required for lifting.

Give the assistant the command to lift the engine and at the same time direct it from above into the engine compartment. The unit must be installed with great care to avoid damaging the clutch disc, clutch release bearing and gearbox input shaft. Slide the engine onto the gearbox while turning the V-belt pulley to turn the crankshaft and insert the input shaft into the clutch disc.

Caution! Before connecting the engine to the gearbox, insert the accelerator cable into the fan housing guide pipe.


Press the engine against the gearbox, insert the upper engine mount bolts and tighten them, then do the same with the lower bolts.

Connect the heater ducts and air damper rod.

Connect the fuel hose.

Check the operation of the clutch (see chapter "Clutch").

Lower the vehicle and connect the electrical wires.

Slide the accelerator cable guide tube into the fan housing and tighten the mounting sleeve. Connect the accelerator cable (see section "Replacing the accelerator cable").

Install the air filter.

Check the oil level in the engine oil sump.

Adjust the ignition (see section "Ignition system").

This article is available at russian, bulgarian, belarusian, ukrainian, serbian, croatian, romanian, polish, slovak, hungarian
The text has been checked: Kolesnikov Artem

Share information:

Previous articles
Lifting a car
General description of engines
Next articles
Disassembling and assembling the engine
Removal and installation cylinder heads
Removal, checking and installation valves
Valve grinding
Lapping valves
Checking valve seats for leaks


Similar articles from other manuals for VW cars:
Starting the car engine Passat B3 (1988-1993)
Engine adjustment data Golf 1 (1974-1984, petrol)
Starting the engine from an auxiliary battery Polo 3 (1995-2003)
Car engine number Touareg 1 (2002-2006)
Car engine number Tiguan 1 (2007-2015)
Checking the engine oil level and replacing it Sharan 1 (1995-2000)
Starting the engine from another source Transporter T4 (1990-2003)
Link to this page in different formats


Visitor comments


No comments yet


How much will 17 + 46 =


Caddy 3 
  • General information
  • User manual
  • Daily care
  • Maintenance
  • Petrol engines 1.4 l
  • Engine repair
  • Cooling and lubrication system
  • Power and exhaust system
  • Petrol engines 1.6 l
  • Engine repair
  • Cooling and lubrication system
  • Power and exhaust system
  • Diesel engines
  • Engine repair
  • Cooling and lubrication system
  • Power and exhaust system
  • Transmission
  • Mechanical gearbox 0AH
  • Mechanical gearbox 0A4
  • Drive shafts
  • Chassis
  • Car suspension
  • Steering
  • Brake system
  • Body and wiring diagrams
  • Interior and exterior
  • Electrical circuits
Beetle 
  • General information
  • Maintenance
  • Power unit
  • Engine repair
  • Cooling and lubrication system
  • Supply system
  • Exhaust system
  • Transmission
  • Clutch
  • Car gearbox
  • Chassis
  • Front suspension
  • Rear suspension
  • Steering
  • Brake system
  • Wheels and tires
  • Body
  • Exterior
  • Electrical equipment
  • Equipment and devices
  • Power devices
  • Electrical circuits
LT 2D 
  • General information
  • User manual
  • Maintenance
  • Power unit
  • Petrol engines 2.3 l
  • Diesel engines 2.5 l
  • Diesel engines 2.8 l
  • Injection system (diesel 2.8 l)
  • Transmission
  • Clutch
  • Manual gearbox
  • Differential
  • Chassis
  • Car suspension
  • Steering system
  • Brake system
  • Body
  • Body elements
  • Heating system
  • Electrical equipment
  • Equipment and devices
  • Electrical circuits
LT 28 
  • General information
  • Maintenance
  • Power unit
  • Petrol engines 2.0L
  • Petrol engines 2.4L
  • Diesel engines
  • Cooling and heating
  • Fuel and exhaust system
  • Ignition system
  • Transmission
  • Clutch
  • Car gearbox
  • Cardan shaft
  • Rear axle
  • Chassis
  • Brake system
  • Car suspension
  • Steering system
  • Body
  • Body elements
  • Doors, locks and windows
  • Electrical equipment
  • Power devices
  • Equipment and devices
  • Electrical circuits
VWmanual.ru © 2016-2026 | Mobile version | News and articles | Sitemap: EN BG BY UA RS HR RO PL SK HU | Write message | Site search
Passat B2 • Passat B3 • Passat B4 • Passat B5 • Passat B6 • Golf 1, diesel • Golf 1, petrol • Golf 2, petrol • Golf 2 • Golf 3 • Golf 4 • Golf 5 • Polo 3 • Polo 4 • Touareg 1 • Tiguan 1 • Sharan 1 • Transporter T3 • Transporter T4 • LT 28 • LT 2D • Beetle • Caddy 3 •
Our website uses cookies to ensure functionality and convenience.