
Replacement and tension
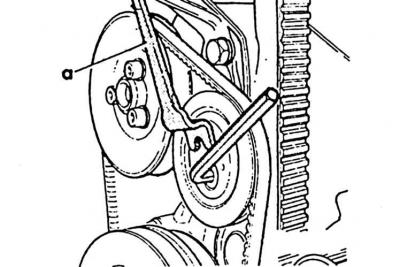
1. Unscrew the 3 mounting bolts on the belt pulley using a hex wrench while holding the belt pulley with a screwdriver (a) from turning.
2. Remove pulley head and V-belt.
3. Note the position of the spacers inside and out.
4. Put on the V-belt, install the pulley halves and spacers.
5. If the belt needs to be tightened further, remove 1 spacer between the pulley halves and install it from the outside.
6. Tighten pulley halves to 20 Nm.
Attention! While tightening the screws, rotate the belt pulley so as not to pinch the V-belt. Distribute excess spacers evenly behind and in front of the belt pulley.
7. Check the tension of the V-belt by pressing it between the two pulleys with your thumb. If the belt flexes about 5 mm, it is correctly tensioned. If, for example, it is necessary to tighten the V-belt more, remove one spacer between the halves of the pulley and install it behind or in front of the pulley.
5 cylinder engine
1. The V-belt is correctly tensioned if, when pressed with your thumb between the two belt pulleys, it flexes by about 5 mm.
2. Loosen the hexagon socket screw by cutting with a 6 mm hex socket wrench.
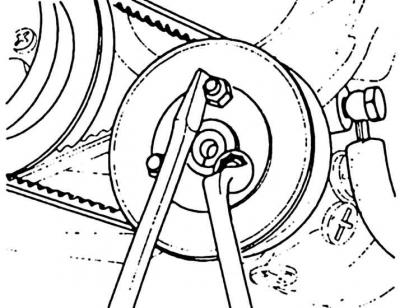
3. Turn the tensioning pulley with a nut, eg HAZET2587, so that the V-belt can be removed.
4. Put on the V-belt and tension with the tension roller until the correct tension is achieved.
5. Tighten the hexagon socket screw.
Visitor comments