



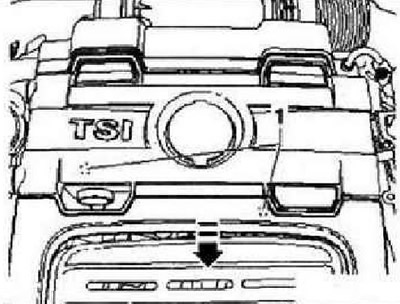
Unscrew the heat shield above the "arrow" turbocharger. Remove the air filter.
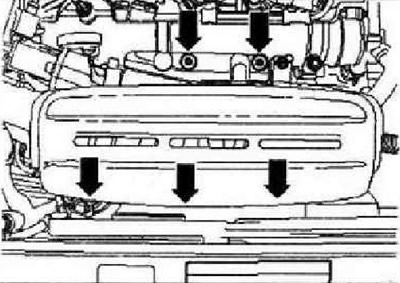
Open and close the expansion tank cap to relieve pressure in the cooling system. Drain the coolant.
Instructions: Disconnect the coolant hoses from the engine using the hose clamp pliers -VAS 6340-.
Unlock the hose guides "arrows" and remove the cooling system hose "1" on the coolant expansion tank.
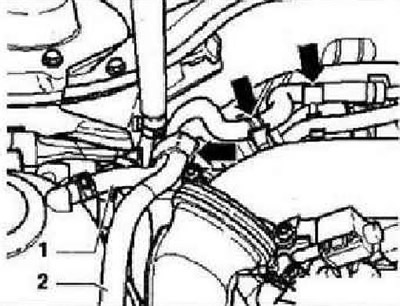
Remove hose "2" from the solenoid valve 1 of the activated carbon absorber "NBD" to the activated carbon absorber.
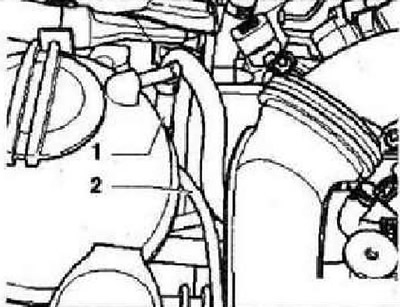
CAUTION: The fuel in the pressure line is under pressure!
Disconnect the fuel supply line "1" and the line to the activated charcoal canister "2". To do this, press the locking tabs. To prevent contaminants from entering the fuel system, plug the fuel line openings. Observe the rules for maintaining cleanliness. Depending on the vehicle configuration, remove the sound insulation or underride guard. Remove the front right and left mudguards. Move the radiator frame to the service position. The engine is removed downwards together with the gearbox. Disconnect the battery terminals. Remove the battery and the battery holder frame. When installing the engine, it is necessary to reinstall all cable ties that were removed or cut during removal in the same places. Disconnect all wires from the gearbox, generator and starter and release them. Disconnect all other wires that need to be disconnected from the engine and put them aside. Disconnect the vacuum and ventilation hoses from the engine. Remove the connector of the temperature sensor and the radiator fan. Remove the windshield wiper arms. Remove the cover of the water drainage box. Remove the engine control unit "J623". Unlock all the clamps of the wiring box "arrows".
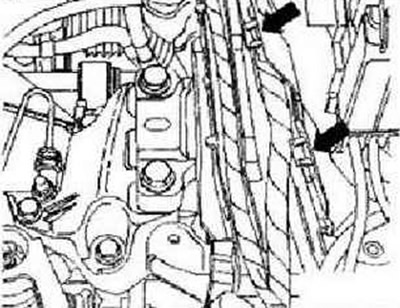
Remove the wiring from the engine control unit. Secure the wiring to the engine with a cable tie. Remove the lambda probe wiring after the "G130" catalytic converter and the generator of the "arrow" wiring box.
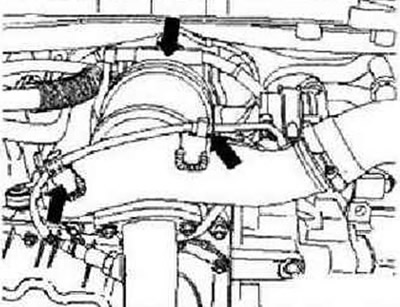
Remove the lambda probe connector after the "G130" catalytic converter. Remove the lambda probe after the catalytic converter "G130" "1". Unlock the hose clamp "3" and remove the boost air pipe "2". Unscrew the exhaust pipe on the catalytic converter "arrows".
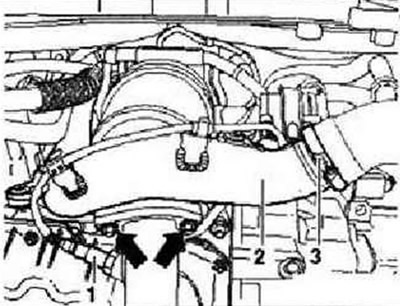
All-wheel drive vehicles
Remove both drive shafts. Unscrew the mounting bolts "1" and "2" of the exhaust pipe support. Pull the exhaust pipe support downwards.
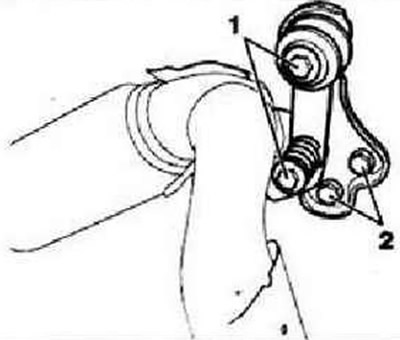
Unscrew the nuts of the double clamp "arrow" and move it forward along the exhaust pipe.
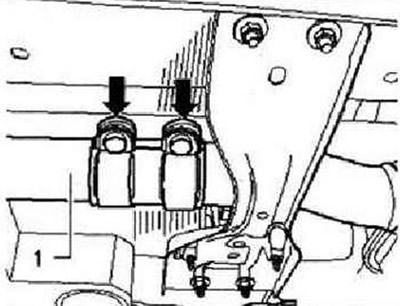
Unscrew the "arrow" nuts and pull the exhaust pipe back.
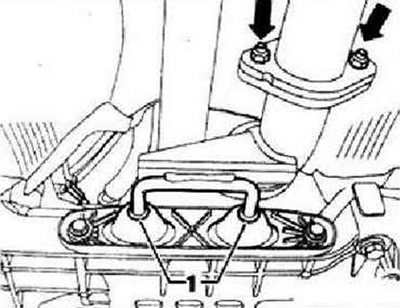
Press the exhaust pipe back from the suspension mount "1". Unscrew the fastening bolts of the cardan shaft on the angular gearbox. Press the cardan shaft to the side. Lower the subframe. Remove the exhaust pipe moving forward. Remove the gearbox bracket from the angular gearbox
Front wheel drive cars
Unscrew the exhaust pipe with the detachable element "arrows".
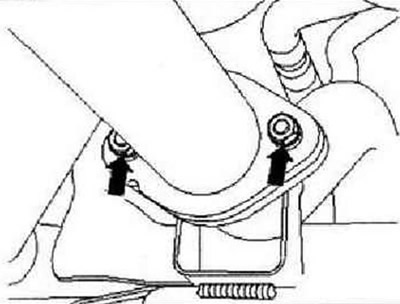
Loosen the double "arrow" bracket mounting bolts and pull the exhaust pipe back.
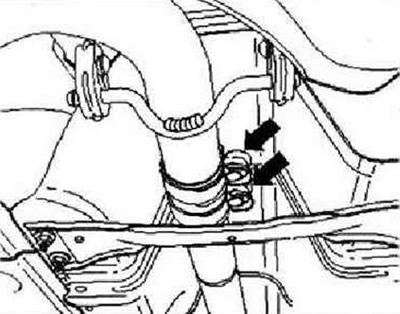
Continued for all cars
Unscrew the pendulum support of the "arrow".
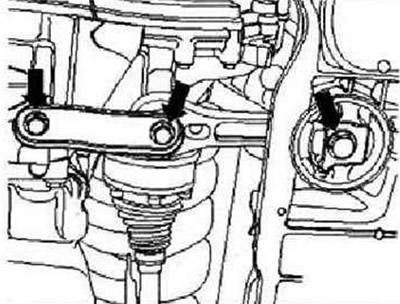
Unscrew the gear shift drive from the gearbox. Disconnect the hose "1" of the hydraulic clutch slave cylinder.
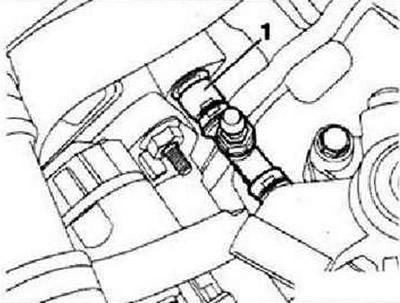
Instructions: Do not press the clutch pedal.
Removing the poly V-belt. Remove the air conditioning compressor.
Instructions: The air conditioning system lines are not opened.
Secure the air conditioning compressor to the radiator frame. Avoid kinking the lines. Consider additional instructions and installation work. To lower the engine with the gearbox, you will need a T40075A engine bracket with adapters -/4-, -/5- and -/5-.
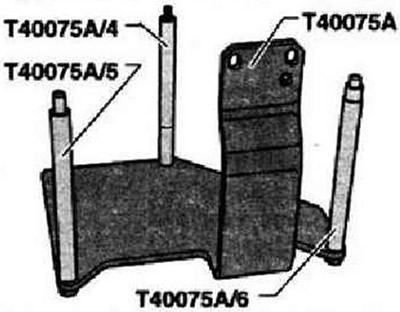
Screw the T40075A /4 adapter into the engine crankcase until it stops. Install the engine bracket -T40075A- with adapters -/5- and -/6- on the crankcase.
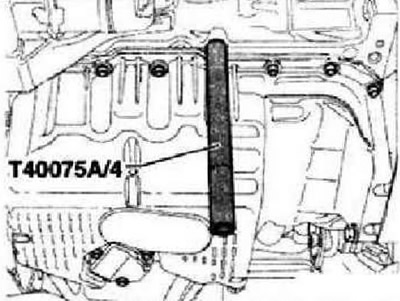
Secure the engine bracket -T40075A- using bolt "1" screwed into the engine crankcase by hand.
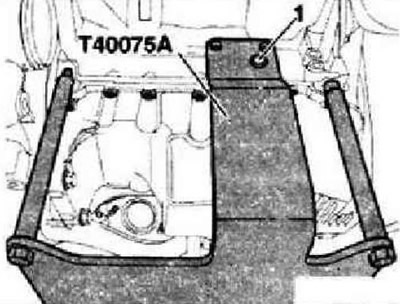
Tighten all bolts on the engine bracket -T40075A- to 20 Nm. Raise the engine slightly using the engine tilting device -VAG 1383 A-.
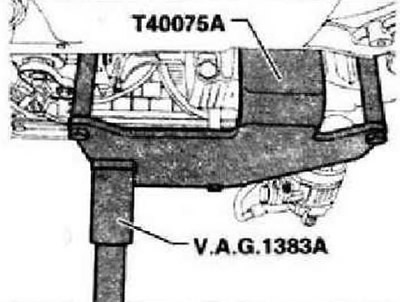
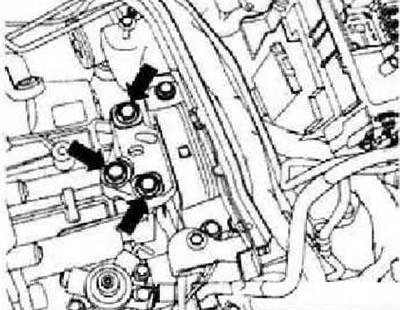
Unscrew the unit support from the engine side above the "arrow".
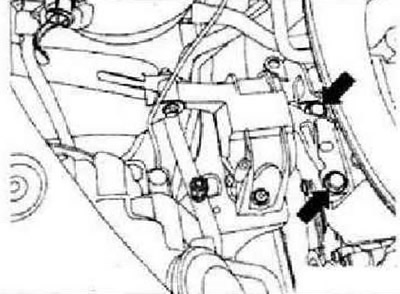
Unscrew the unit support from the gearbox side above the "arrow".
The power unit should be lifted carefully to avoid damage to the body. Carefully lower the engine and gearbox down.
Visitor comments