



2. Remove the propeller shaft as described in Chapter 7.
3. Carefully mark the position of the gear nut in relation to its end.
4. Now you need to hold the gear flange stationary while the gear nut is loosened and removed. If you do not have the special holding tool (2032), use a flat steel strip with two holes drilled in one end that can be bolted to the gear flange. This device will be quite sufficient, provided that the steel strip is of sufficient length, since the nut is very tight. Count the number of turns required to loosen the nut and write down this number.
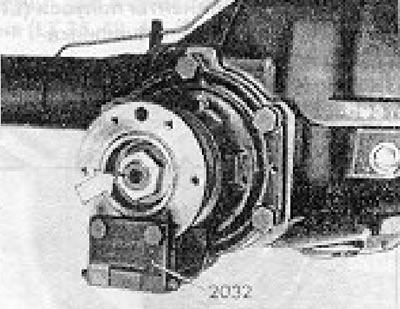
Ch Figure 8.3. Mark for installing the gear nut (indicated by the arrow). 2032 - tool for holding gear in a stationary position.
5. After removing the nut, use a puller to remove the gear flange. Be prepared for some oil to spill.
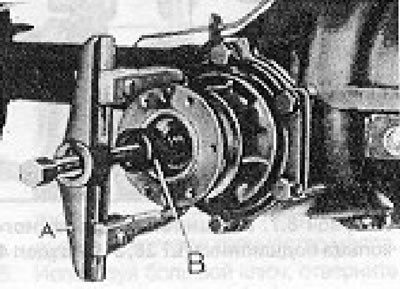
Figure 0.4. Removing the gear flange (Section 3): A - Ejector; B - Thrust roller.
6. Remove the oil seal. If this causes difficulties, drill two holes in the seal at diametrically opposite points. Screw two self-tapping screws into them and then use them to grip. Be careful not to damage the oil seal housing.
7. Fill the lips of the new seal with multi-purpose grease and press the seal into place very evenly using a piece of metal tubing.
8. Install the gear flange.
9. Clean the threads of the nut and gear shaft and apply a hardening compound to the threads.
10. Screw the nut back into exactly the same position it was in before removal. This is very important to ensure that the pinion bearing installation load is as originally specified.
11. Install the driveshaft as described in Chapter 7.
12. Check the oil level in the rear axle and top up if necessary.
Visitor comments