



18. Remove the distributor cap.
19. If desired, you can disconnect the ignition wires from the cover, marking them according to the cylinder numbers. Similarly, mark the terminals on the cover.
20. This is necessary to be able to connect the wires without any problems later.
21. Disconnect the low voltage wire (see photo).
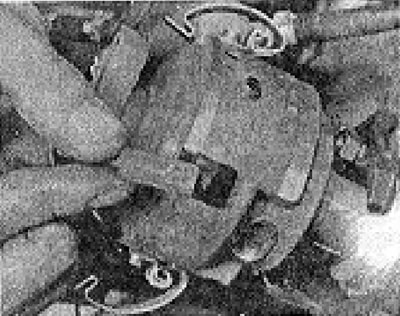
Photo 7.21. Disconnecting the low voltage wire.
22. Disconnect the vacuum hose (see photo).
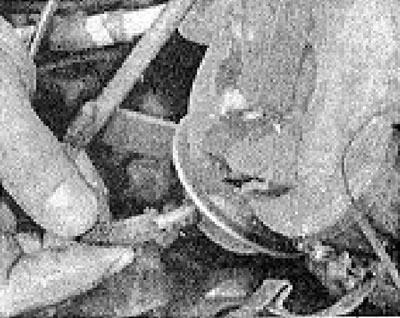
Photo 7.22. Disconnecting the vacuum hose.
23. Unscrew the clamp nut securing the distributor to the cylinder head (see photo).
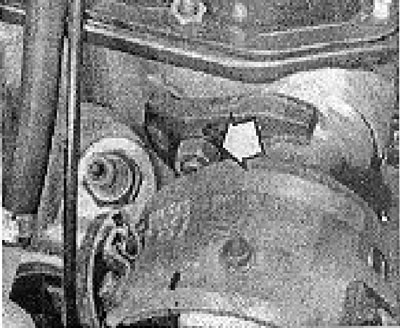
Photo 7.23. Distributor clamp nut (shown by the arrow).
24. Remove the distributor.
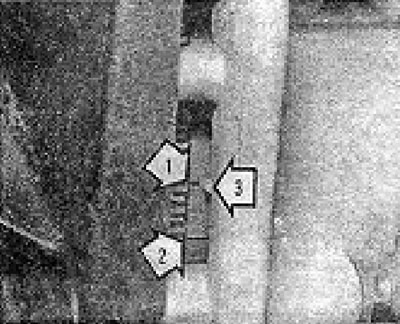
25. Before installing the distributor in place, turn the engine so that the TDC marks on the flywheel are aligned (see chapter 4, section 6).
26. Install a new gasket under the distributor.
27. Temporarily install the rotor on the distributor and turn the rotor so that the rotor aligns with the mark for cylinder No. 1 on the rim of the distributor housing (see photo).
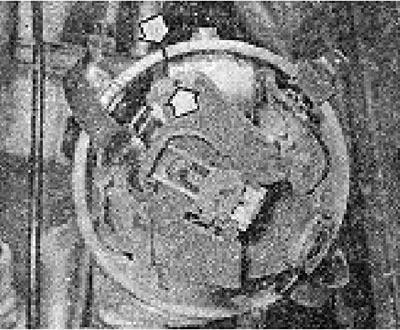
Photos 7.25. Flywheel timing marks: 1 - TDC mark; 2 - Mark 7.5° before TDC; 3 - Mark on the clutch housing.
(In this position, when aligning the marks made before removing the distributor, the vacuum regulator should point downwards).
28. Turn the slider a few degrees clockwise. Once the distributor is in place and its drive gears are engaged, the rotor will rotate counterclockwise and again align with the mark on the distributor rim.
29. Install the clamp and tighten its nut.
30. Check and adjust the gap between the breaker contacts (see above).
31. Remove the runner, install the moisture-proof cover and reinstall the runner.
32. Install the distributor cap.
33. Check the ignition timing.
Visitor comments