



2. If uneven braking occurs or the brakes shake when applied, suspect a faulty disc and check the evenness of its surface using a special measuring tool - over the entire surface while the disc rotates.
3. To remove the disc, lift the car and remove the front wheel.
4. Remove the shoe mounting bolts and the tie rod arm bolts on LT 40 and 45 models.
5. On all models except LT 40 and 45, remove the hose clamp.
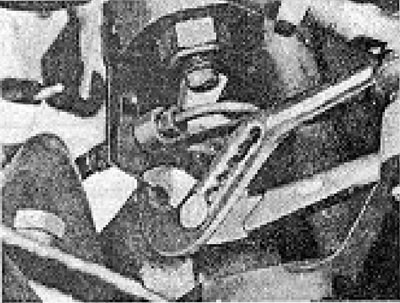
Figure 9.9. Removing the brake hose retaining clamp.
6. Remove the pad from the disc and tie it to the side, being careful not to twist or stretch the hose.
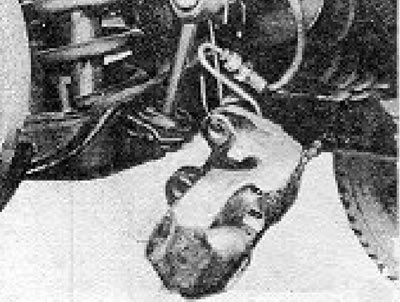
Figure 9.10. A shoe tied with a piece of wire.
7. Using a suitable hook, remove the hub cap. On the LT 40 and 45 models, this cover is recessed deep into the hub.
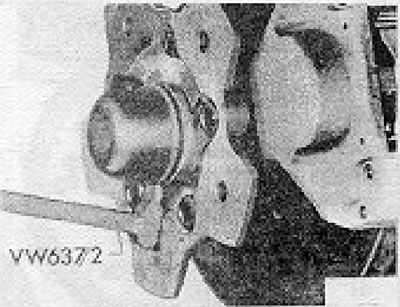
Figure 9.11. Removing the hub cap.
8. Loosen the special hub nut, remove the thrust washer and remove the disc/hub assembly from the axle shaft. Be careful not to let the outer bearing fall out.
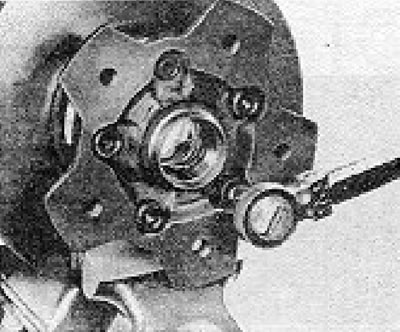
Figure 9.12. Loosening the disc/hub mounting bolt.
9. Secure the disc in a vice with jaws covered with soft metal.
10. Remove the hex head screws that secure the disc to the hub.
11. Installation is carried out by performing the above steps in reverse order. Tighten all bolts to the required degree. Clean off all traces of the protective coating from the new disc.
12. The hub bearings should be adjusted by rotating the hub and tightening the nut with your fingers. The final installation of the nut should also be done with your fingers until the axial play disappears.
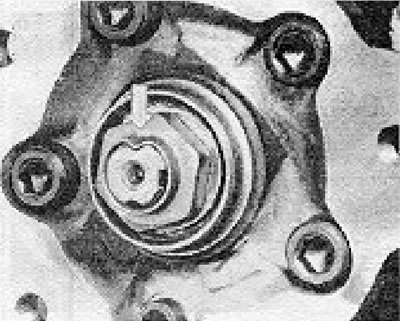
Figure 9.13. Installed hub nut.
13. Tap the nut into the axle shaft groove without changing the adjustment.
14. If this nut has been used twice already, use a new nut.
15. Check that the protective sleeve on the flexible hose is positioned as shown in Figure 9.14.
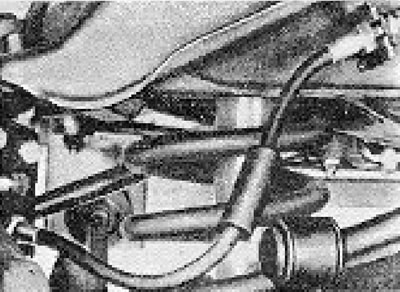
Figure 9.14. Location of the front brake hose protective sleeve.
16. Install the wheel and lower the car to the ground.
Visitor comments