



2. Check the thickness of the friction material of the linings. If it is worn to a thickness less than the minimum specified in the Specifications, all front axle brake linings (4 pieces) must be replaced.
3. If you remove the pads for other purposes, mark them so that you can install them in their original position during assembly, otherwise the braking will be uneven.
4. Using a fine punch, tap the mounting studs towards the center line of the body (see photo 3.4).
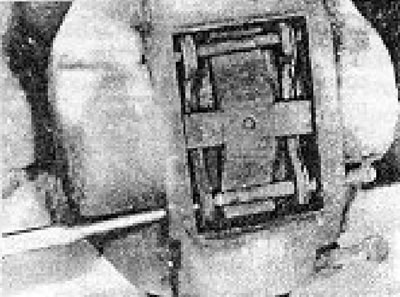
Photo 3.4. Removing the brake pad mounting stud.
5. Remove the cross-shaped free travel limit spring.
6. Remove the pads from the pad using pliers (see network 3.6).
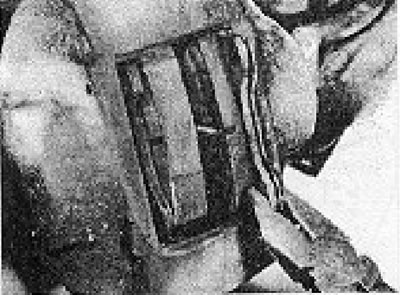
Photo 3.6. Removing the brake disc pads.
7. Clean any dust and dirt from the pad, taking care not to inhale the dust.
8. Before installing new linings, it is necessary to insert the pistons back into the cylinders. For this purpose, you can use a flat metal strip; you can use a crowbar. As the pistons are pressed, hydraulic fluid will be forced out of the cylinders and will cause the level in the master cylinder reservoir to rise. Anticipating this, remove some liquid from the tank in advance.
9. Install the new linings in place, ensuring that the friction surface is facing the disc.
10. Install the mounting plate. You will find that the protrusions on the plate will align with the notch in the piston rim (see photo 3.10).
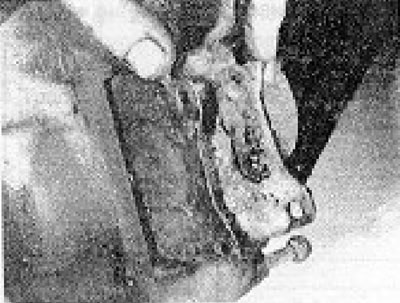
Photo 3.16. Installing the disc linings and mounting plate.
View the original article on the resource: www.VWmanual.ru
11. Install the cross spring and then insert the mounting studs (see photo 3.11).
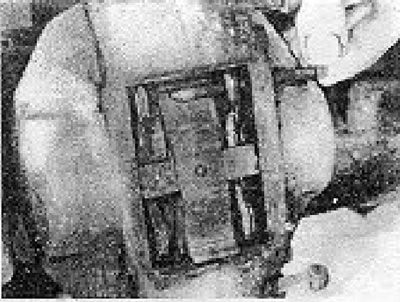
Photo 3.11. Inserting the brake pad mounting stud.
12. Press the brake pedal several times.
13. Repeat the above steps for the opposite side, install the wheels, lower the car to the ground and add brake fluid to the reservoir up to the mark.
Visitor comments