




Figure 12.35. Secondary lock components of the rear door of a van (Section 13): 1 - Ledge; 2 - Locking rod; 3 - Clamp; 4 - Castle; 5 - Lock pins.
1. Open the door. Loosen the screw and remove the handle from the edge of the door.

Figure 12.33. Secondary lock handle of the rear door of a van. The arrow indicates the mounting screw (Section 13).
2. From inside the door opening, remove the clips from the locking rod pins.
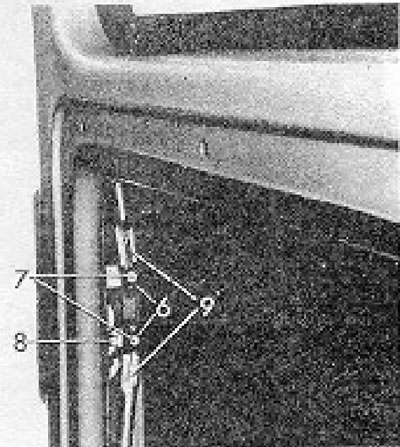
Figure 12.34. Van rear door locking rods (Section 13): 6 - Clamps; 7 - Pins; 8 - Castle; 9 - Locking rods.
3. Disconnect the rods from the pins, and then remove them from the tracks at the top and bottom of the door.
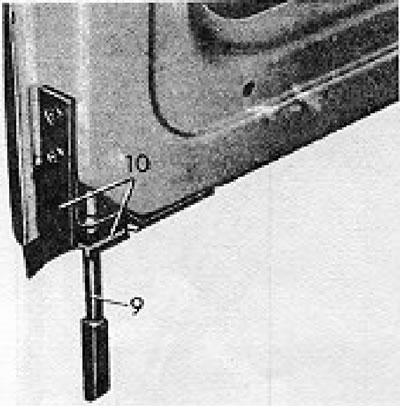
Figure 12.36. Removing the locking rod of the rear door lock of the van (Section 13): 9 - Locking rod; 10 - Guide rod.
4. Unscrew the screws and remove the lock from the door opening.
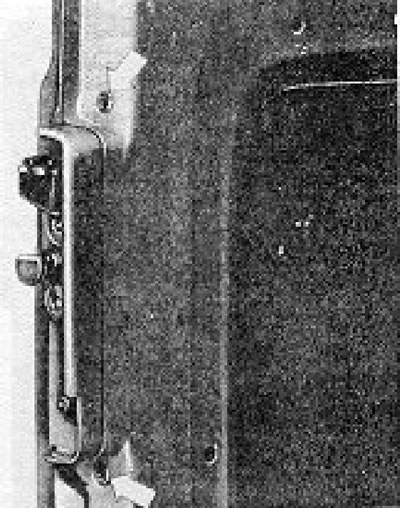
Figure 12.37. Secondary lock mounting screws for the rear door of a van (Section 13).
5. Reinstallation is done by reversing the above steps, remembering to adjust the locking rods as described below before attaching them to the pins on the lock. Before adjusting, set the handle to the unlocked position.
6. The upper locking rod is correctly adjusted when the measurement (a) between the end of the tang and the extreme surface of the guide is as shown in Figure 12.38.
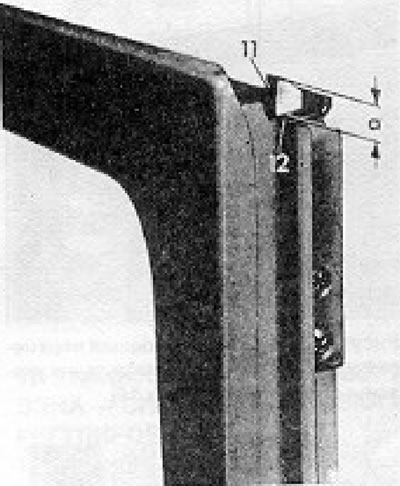
Figure 12.38. Upper locking rod adjustment diagram (Section 13): 11 - Ledge; 12 - Rod guide surface; a = 11.2 to 12.2 mm.
The original article is available at: vwmanual.ru
7. The lower locking rod is correctly adjusted when the end of the projection is flush with the surface of the guide. Adjustment should be made either by turning the locking lug one full turn or by rotating the locking rod half a turn (180°).
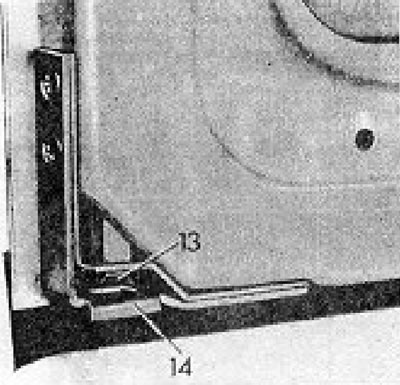
Figure 12.39. Lower locking rod adjustment diagram (Section 13): 13 - Ledge; 14 - Rod guide.
8. The counter parts can be moved if necessary to ensure a smooth and secure closing; to do this, loosen their screws.
9. Close the doors and check for rattling. If it is present, the cause is insufficient pressure between the rod guide (17) and the rubber stopper (16) (see Figure 12.40).
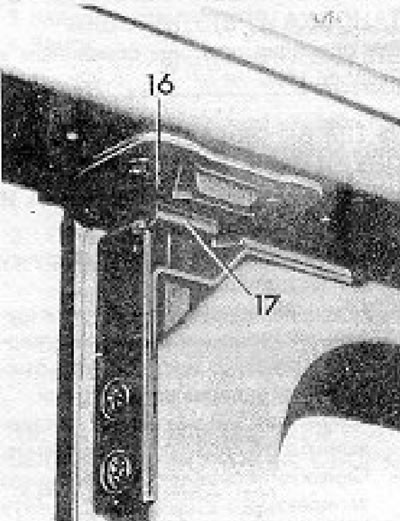
Figure 12.40. Rubber stopper (16) of the rear door of the van and guide rod (17) (Section 13).
This can be corrected by inserting a washer (Part No. 281 827 533A).
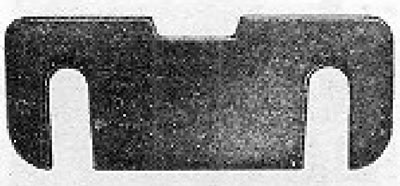
Figure 12.41. Door rattling washer (Section 13).
Visitor comments