



2. Working under the car, unscrew the bolts and remove the protective shield above the radiator.
3. Disconnect the lower hose from the radiator (see photo).
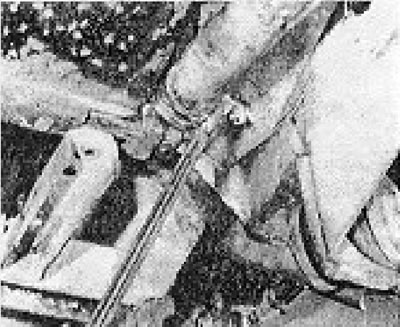
Photo 5.3. Disconnecting the lower radiator hose.
4. Disconnect the upper hose from the radiator.
5. Unscrew and remove the 2 bolts securing the radiator base to the brackets or crosspiece (see photo).
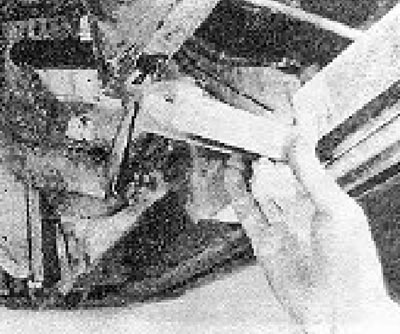
Photo 5.5. Radiator support bracket.
b. Remove the self-tapping screws securing the protective panels on both sides of the radiator and remove the radiator from the bottom along with the foam sealing ring. The top of the radiator is secured with a pin that releases automatically (see photos).
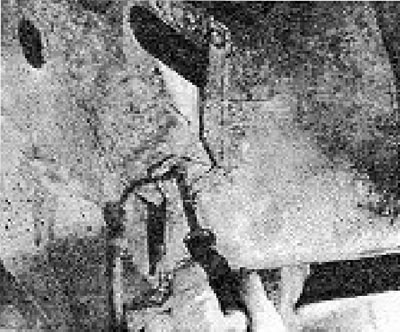
Photo 5.6A. Removing the side radiator guards.
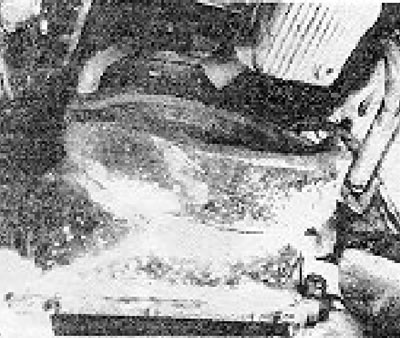
Photo 5.6B. Removing the radiator.
The information is posted on this website (VWmanual.ru)
7. If the radiator is leaking, you should either replace it with a new one or take it to a specialist for repair. It's best not to try to solder the radiator yourself, as overheating it can only increase the leakage. Small leaks can be temporarily sealed using special radiator sealants.
8. The radiator is installed in reverse order. Check that the upper radiator mount pin fits into the hole provided for it.
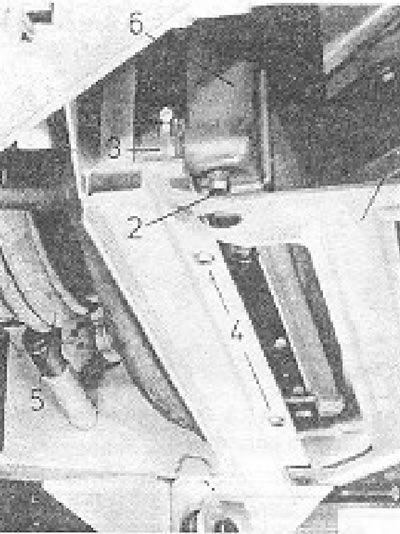
Figure 2.2. Radiator disconnect points (Section 5): 1 - Protective shield; 2 - Drain plug; 3 - Lower hose; 4 - Bracket bolts; 5 - Rubber boot; 6 - Radiator.
9. Fill the cooling system with fluid.
Visitor comments