
1. Disconnect the battery clamp with the sign so as not to cause an electrical circuit during operation.
2. Loosen the screws securing the left button.
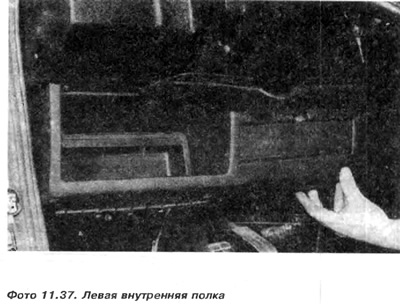
3. Remove the shelf (photo 11.37).
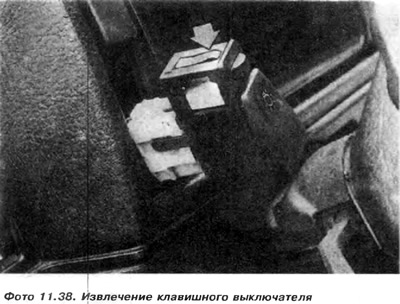
4. Remove rocker switches (photo 11.38).
5. Take out control endings 6 (pic. 11.10), rotary blower lever 10 and cover 9.
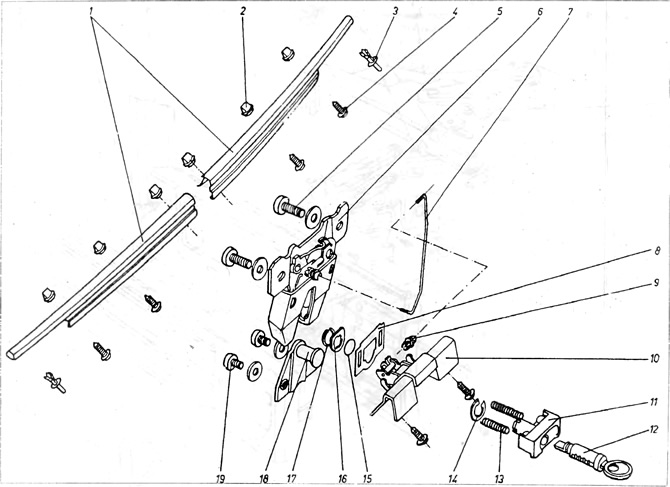
Pic. 11.10. Furnace control rods
1 - stove valve cable; 2 - valve cable that directs air to the middle and sides; 3 - valve cable that directs air to the window and legs; 4 - body; 5 - controls; 6 - plastic endings; 7 - dividing board; 8 - screws; 9 - cover; 10 - rotary knob.
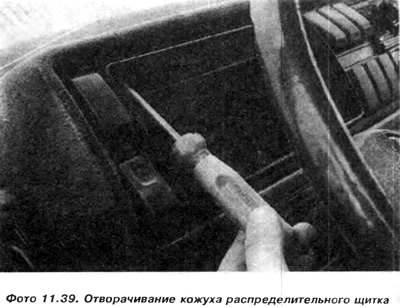
6. Remove the cover of the switchboard 3 (pic. 11.16).

7. Remove the two screws securing the switchboard Tilt the switchboard forward.
8. Squeeze the protection of the speedometer cable and disconnect it from the shield.
9. Disconnect the electrical wiring cubes.
10. Unscrew and remove the body of the dividing board.
Installation
11. Installation is made in sequence, return to removal.
Visitor comments