



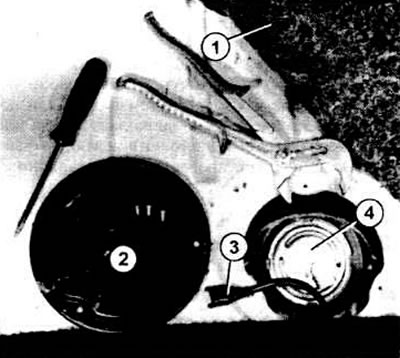
The fuel quantity sensor (4) is visible after opening the trunk lid (1) and unscrewing the cover (2). Once the plug (3) has been removed, the tank sensor can be disconnected using the pipe wrench shown in the illustration.
Removal the fuel quantity sensor
For the Golf model, remove the rear seat completely (see chapter "Salon").
For the Jetta model, remove the rear seat (see chapter "Salon").
Remove the covering from the bottom of the car.
Remove the black cover.
Remove the plug from the fuel tank sensor.
Insert a pipe wrench into the slots on the top of the sensor.
Unscrew the sensor and remove it by turning it slightly.
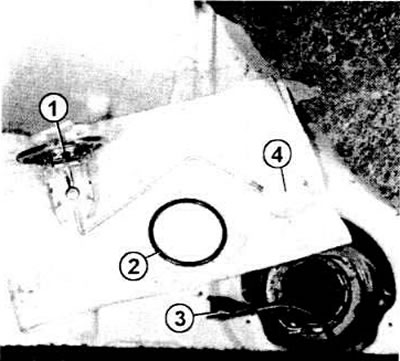
Removed fuel tank sensor: 1 - sensor: 2 - sealing rubber ring; 3 - wire to the sensor; 4 - fuel tank sensor float
The sealing ring should be replaced. Before installation, it is enough to lubricate the ring with a small amount of oil so that it can rotate without jamming when the sensor is screwed in.
Apply even pressure to the fuel tank sensor cap before applying a pipe wrench to tighten securely.
When installing, pay attention to the correct mounting location of the sensor: the connector at the fuel tank sensor should be directed forward, with a deviation of 30 degrees to the left of the vehicle axis.
Visitor comments