



Contents: Removal ↓ Installation ↓
Complete removal of the ignition distributor is only required for major repairs or when disassembling the engine.
Removal
Use a screwdriver to press the clamps on the distributor cap and remove the cap.
Label the vacuum hoses and disconnect them from the distributor.
Disconnect the wires from the ignition distributor.
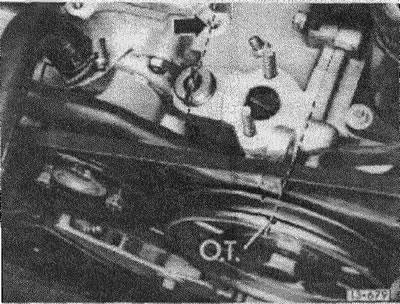
Set cylinder 1 to the top dead center position. To do this, move the car with the gear engaged and align the mark on the belt pulley with the connection line of the two halves of the engine crankcase (Figure 13-679). If the vehicle is raised, turn the crankshaft by the rear wheel with the gear engaged. At the same time, the tip of the distributor rotor should be directed toward the cylinder 1 mark on the distributor housing, see Figure 13-678.
Loosen the nut securing the ignition distributor bracket to the engine crankcase. Pull out the ignition distributor.
Installation
If necessary, replace the distributor sealing ring.
Set cylinder 1 to top dead center position, see above.
The offset slot in the distributor drive shaft head must face the threaded hole or bolt - arrow-. The small segment must face the water pump.
If the spacer spring was removed, insert it using a piece of welding wire. To do this, first insert the welding wire and then push the spring.
When installing the ignition distributor, turn the distributor shaft by the distributor runner so that the notch on the runner is opposite the cylinder 1 mark on the edge of the ignition distributor housing. When installing the ignition distributor, the connecting part of the shaft enters the slot in the drive shaft when turning lightly.
Tighten the distributor by hand.
Connect the vacuum hoses to the ignition distributor.
Connect the TSZ-H control unit communication connector to the ignition distributor.
Install the distributor cap.
Adjust the ignition timing.
Visitor comments