



Contents: Removal ↓ Installation ↓
NOTE: If the engine control unit needs to be replaced, connect the VAS 5051B diagnostic tester and execute the guided function "Motorsteuergeraet ersetzen/Replace control unit".
Removal
Turn off the ignition.
Remove the windshield wiper arms.
Remove the casing of the water drainage box.
NOTE: The threads of the shear screws are coated with thread varnish. Heating the shear screws with a hair dryer reduces the binding effect of the thread varnish.
CAUTION: To prevent damage from burning, cover wires, plugs and control units near the engine control unit.
Adjust the settings of hair dryer 4 as shown in Figure 2.284.
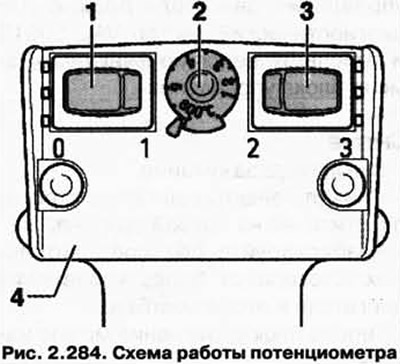
Turn the temperature control potentiometer 2 to the maximum heating power (600°C).
Set the two-stage air quantity switch 3 to position 3.
CAUTION: Due to the heat of the shear screws, parts of the protective housing also become very hot, to avoid injury, wear protective gloves.
Point the hair dryer nozzle at the breakaway screw.
Turn on the hair dryer and heat the screw head for about 20-25 seconds.
Remove the shear screw 2 times by the head with pliers.
The method for unscrewing the second screw is similar.
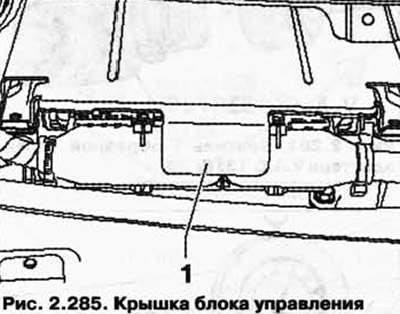
Remove cover 1 from the control unit (fig. 2.285).
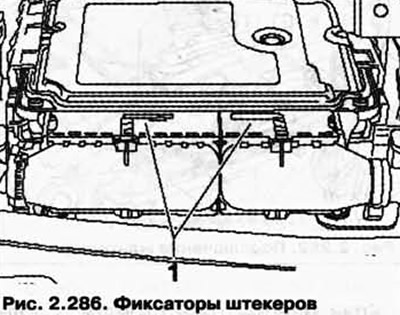
Move the connector latches 1 on the engine control unit to the edges and disconnect both connectors (fig. 2.286).
Remove the engine control unit.
Installation
Insert the engine control unit into the mounting frame in the water drain box.
Connect the plugs to the engine control unit and move the clamps 1 towards the middle.
Place cover 1 on the engine control unit and screw in the new shear screws by hand (fig. 2.287).
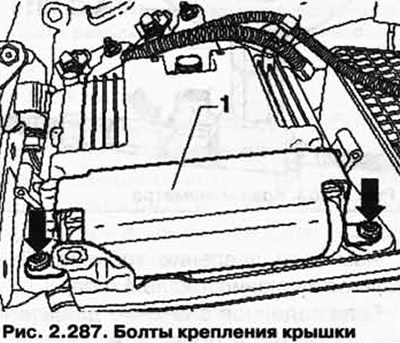
Tighten the new shear screws evenly until the heads break off.
Install the casing of the water drainage box.
Install the windshield wiper arms.
Visitor comments